Abby

I've been quilting since the late 1980s - long enough ago that I can't remember the exact year. I'm fond of starting new projects and not so good at finishing them. Last time I counted my UFOs I had 85, before I found a couple more bins I'd forgotten about. My life's goal is to finish them all, one way or another.

Apr 072016
 

Here’s my proposed finished list for second quarter of the Finish-Along, I’ve added a must-finish quilt and rolled over the ten remaining from last quarter, as if I have a snowball’s chance in hell of finishing all ten! Not listed is a joint project I am working on with my sister, which is also a must-finish quilt although the deadline is a little further out.

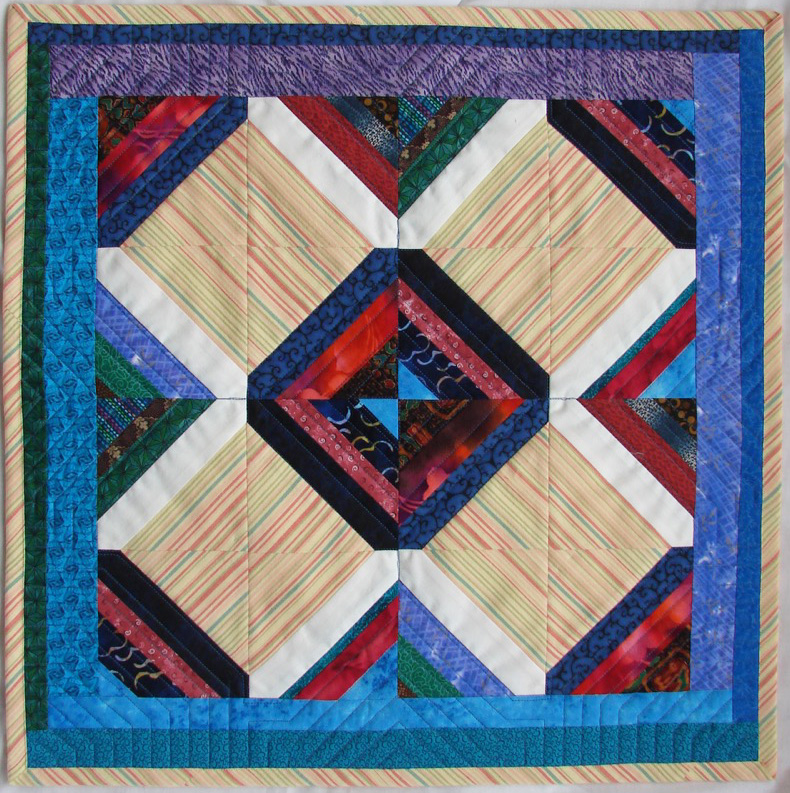
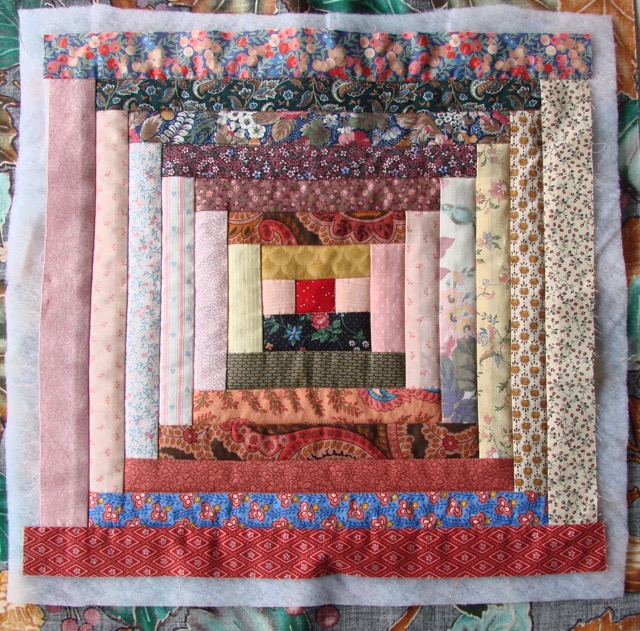
1. Sumner’s Quilt — My mom made the courthouse steps blocks and I am finishing it into a quilt for my brother, who is getting married in late July. So I MUST get this one done. The blocks have been quilted (with a walking foot) and I have just started putting them together using a Quilt-As-You-Go technique. Mum's block
The rest of the list is carried over from Q1, but with new numbers.

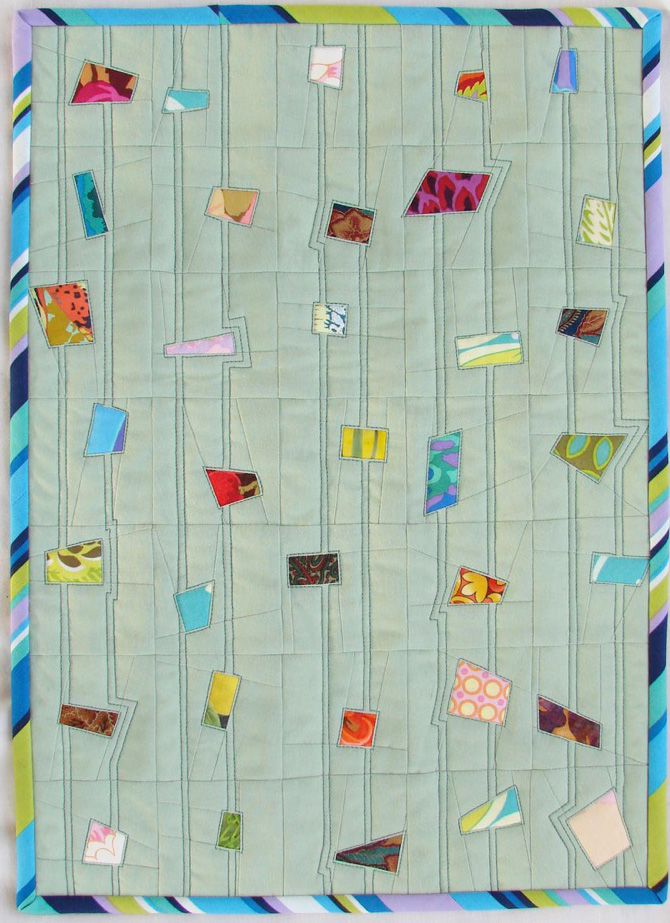
2. Confetti #4 – needs binding, sleeve, and label – I did manage the binding last quarter, but it still needs a sleeve and label. Confetti #4
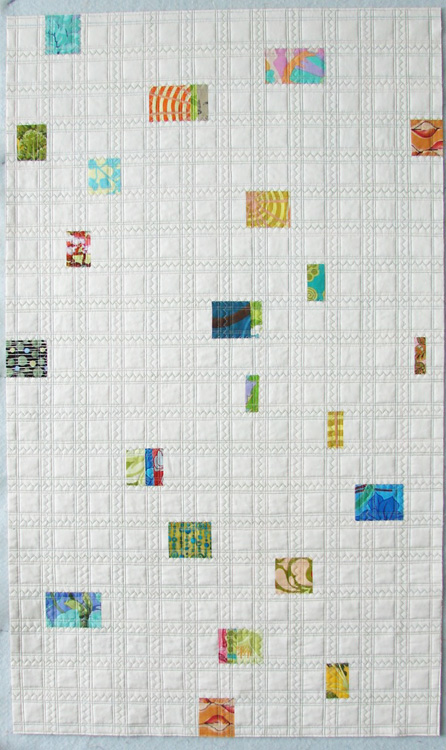
3. Corral – needs quilting. Corral

4. Cuddle quilt – needs quilting, this one is nap size. cuddle quilt
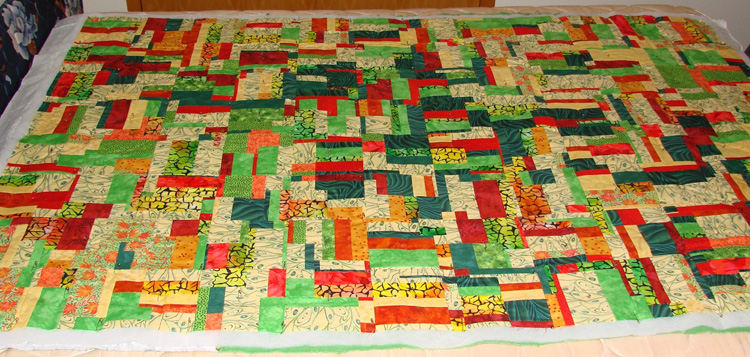
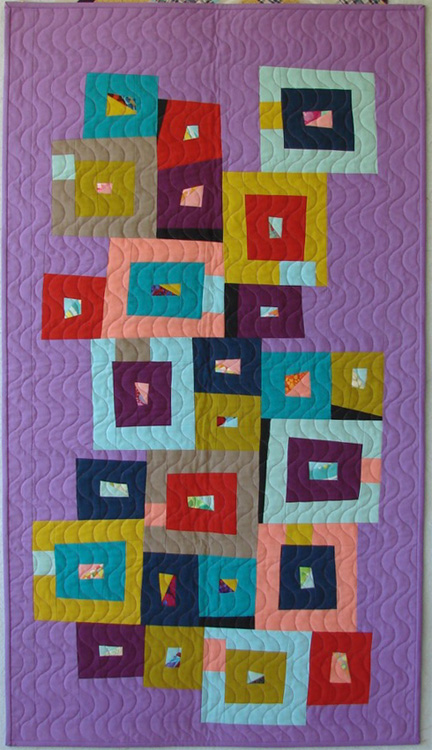
5. Improv piece A, small. needs quilting. improv color study 1
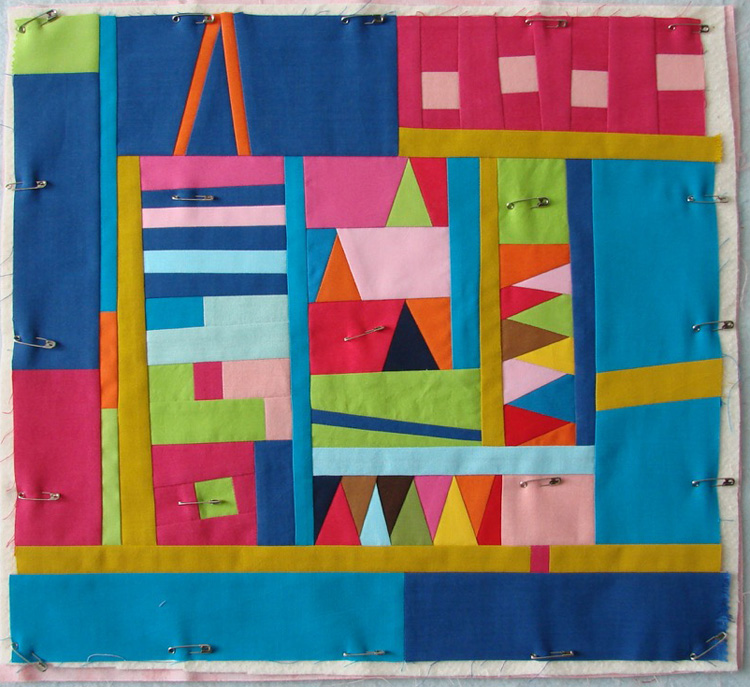
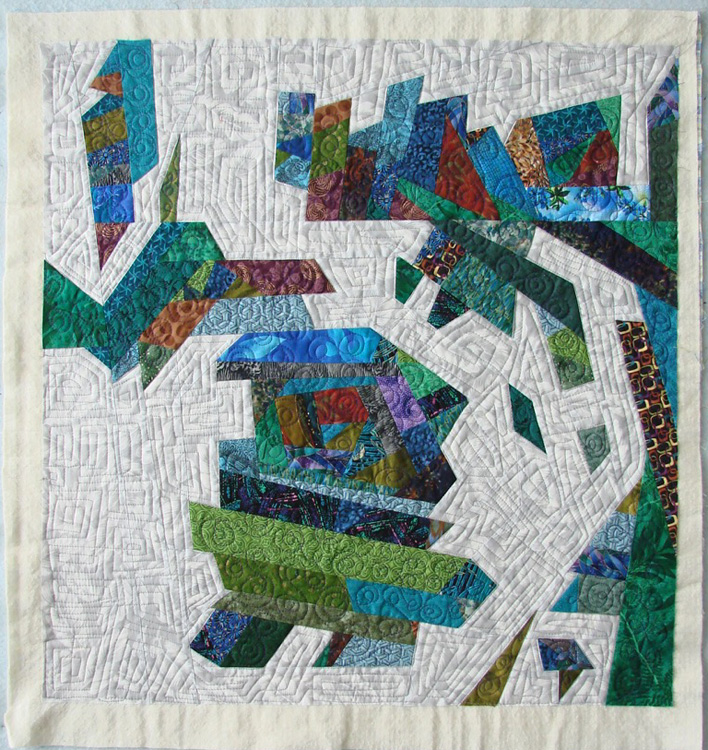
6. Improv piece B, needs quilting (now half done with the quilting). Improv FGs
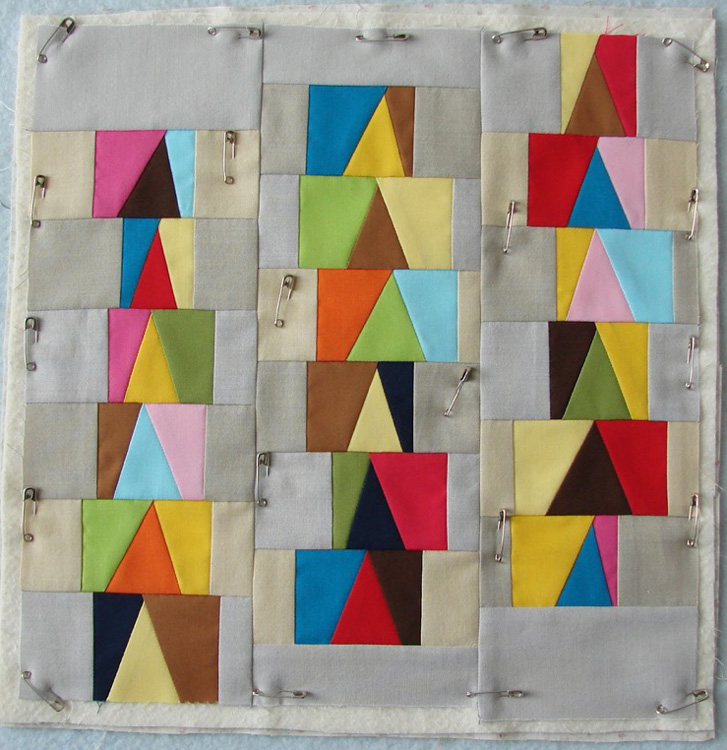
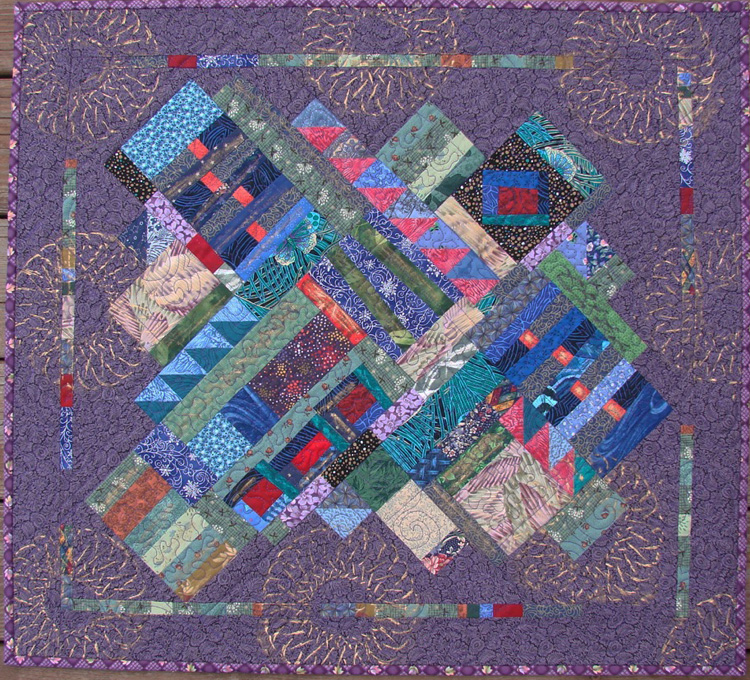
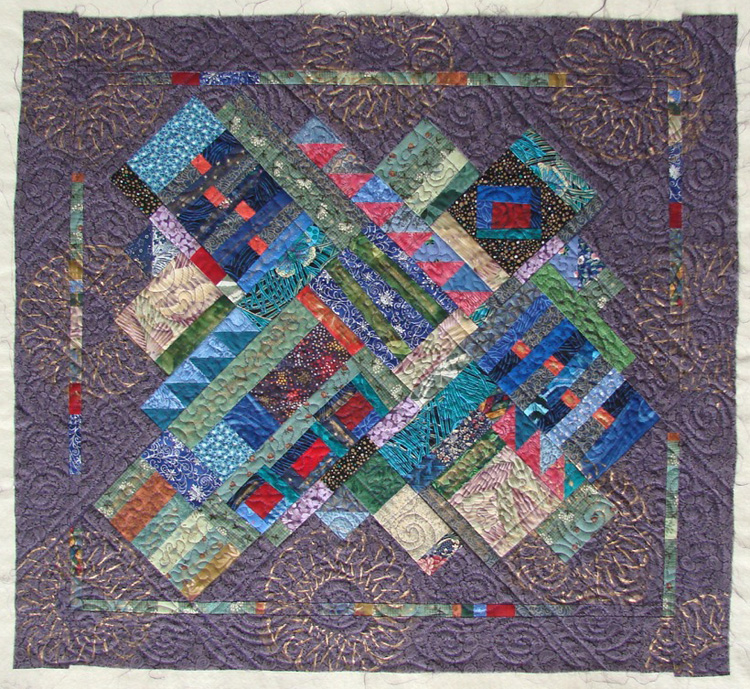
7. Purple spirals, needs binding, sleeve, label – binding was done last quarter but still needs sleeve and label. Purple Spirals
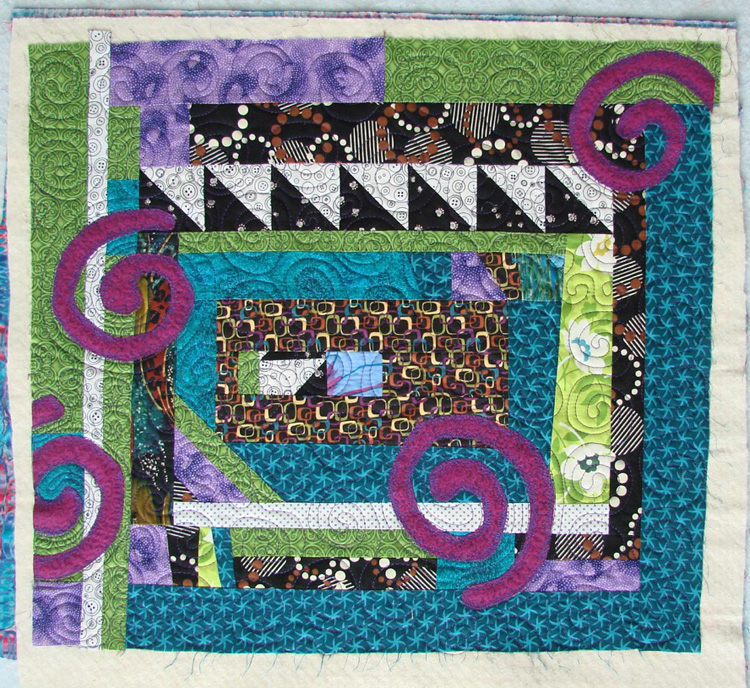
8.  QAYG project – one block shown, this one is twin I think. needs assembly. QAYG block
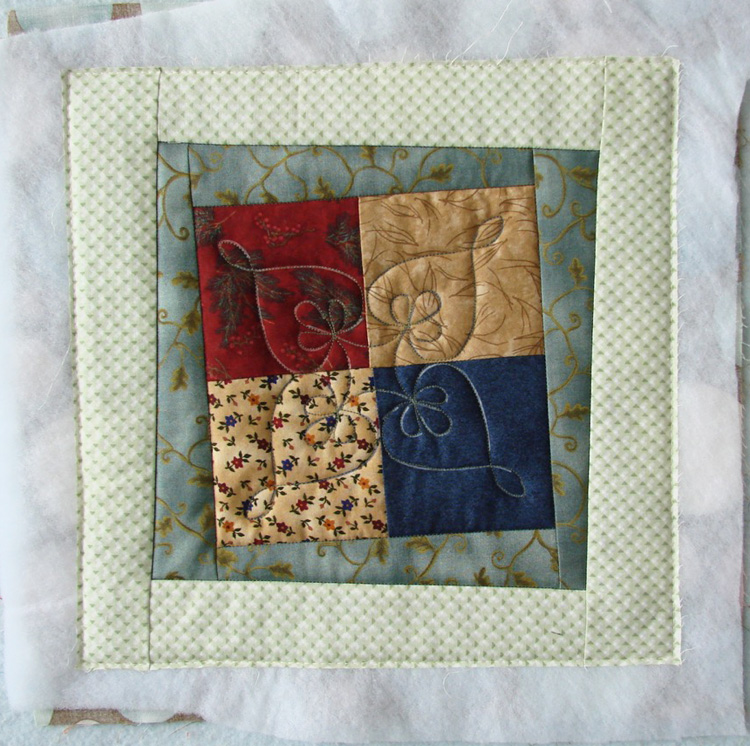
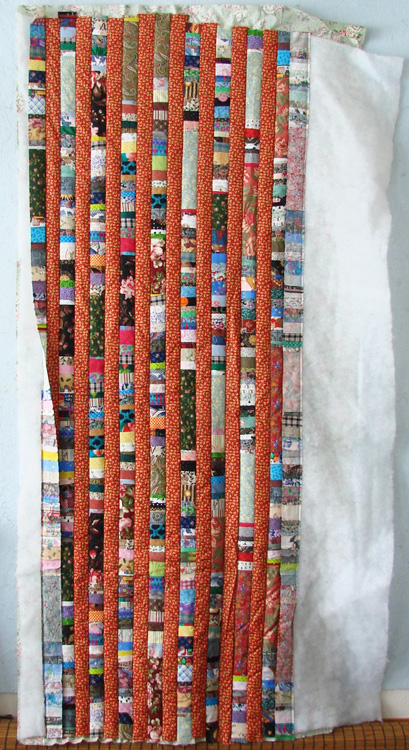
9. Red Stripes, another QAYG project, this one with strips sewn onto backing and batting. Needs the other strips sewn. Will be twin. red stripes
10. Red-eyed ghosts (isn’t that what it looks like?) – was bound last quarter, still needs sleeve and label and maybe a little embellishment. Red-eyed Ghosts

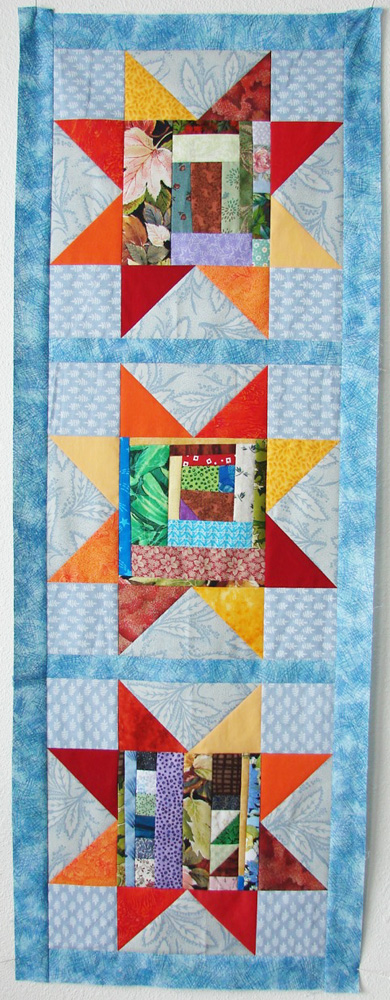
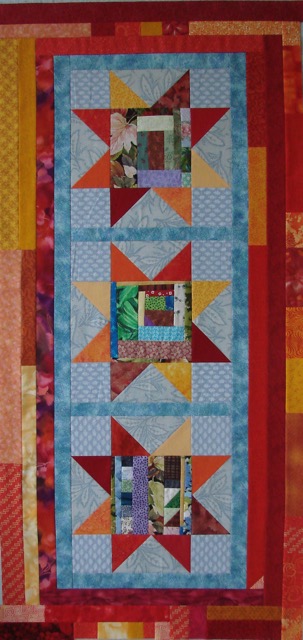
11. Three Stars, needs border, then basting and quilting. I added a border last quarter, but it overwhelms the stars so I need to change it. The second photo is a bit dark, sorry about that.

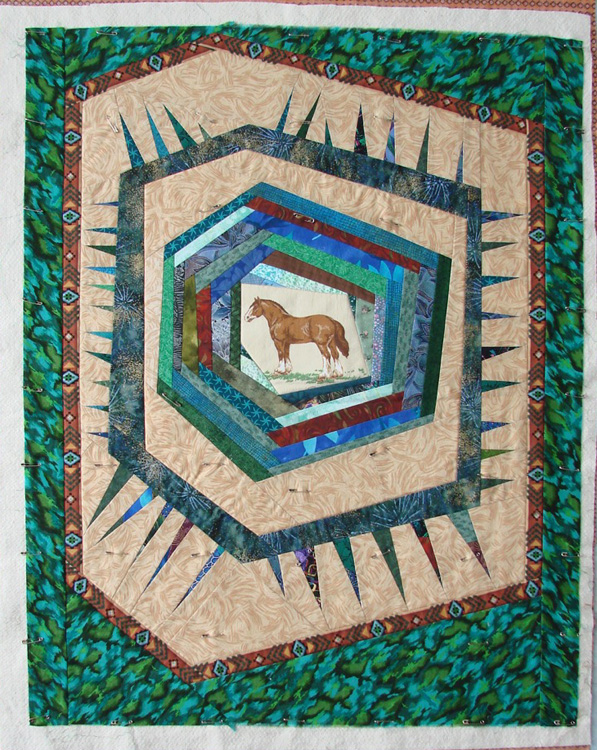
three star banner 1three stars

 April 7, 2016  Posted by at 7:35 pm Finish-Along Comments Off on Finish-Along Q2 Proposed Finishes List
Apr 012016
 

This first finish was completed 2-3 weeks ago, but it has taken me this long to get pics and write a blogpost. It’s taken me even longer to finish the quilt! I can’t remember when I started it, all I can tell you is I decided to play around with some scraps that were cluttering up my sewing room. I thought the scraps were light enough to stand out against a dark background, but they weren’t really that light. Or the dark wasn’t dark enough, I’m not sure. My stash was a lot smaller back then. The top sat around in the UFO pile for awhile, then I used it to play with paintsticks. I used a glass dish from Goodwill for the “rubbing plate” – literally a plate in this case. That helped. It languished for some additional time in the UFO pile, until I did a free-motion quilt-along 2-3 years ago and used it for a practice piece following one of the tutorials. And now, TA DA – I finally put the binding on! I even did it the hard way, hand-stitched to the back. And I added a sleeve, although I didn’t get a pic so you’ll have to trust me on that one.

I call it Scrappy Mess. Which may need a number because it isn’t the only scrappy mess I’ve made, but I’m not counting.

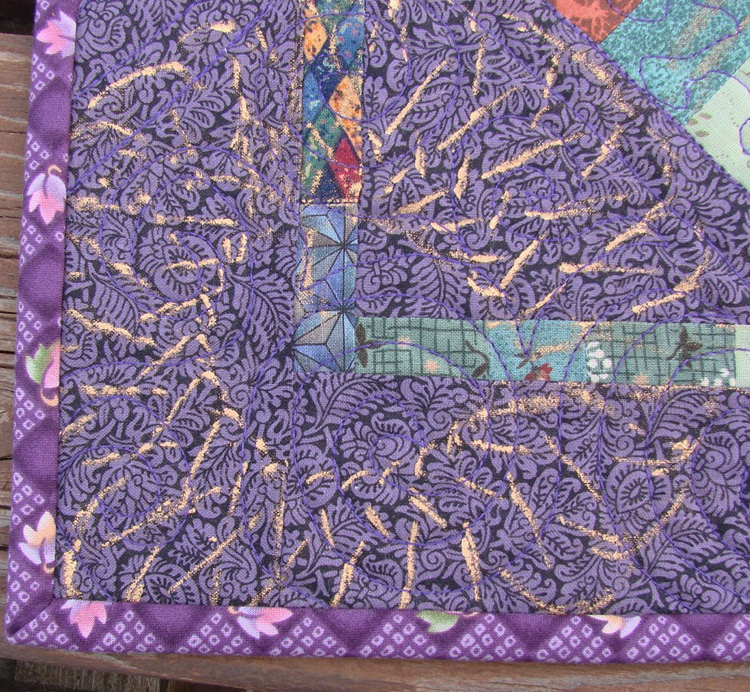
Scrappy Mess Scrappy Mess corner

Next up is the one project this quarter that I managed to quilt AND bind! I did work on some others but wedding announcements by two family members changed my quilting priorities so they got put aside. This one started with some little scraps I fished out of the waste basket after my sister left, so I call it Waste Basket #1 (number 2 was finished earlier). The scraps were prints and the rest is solids, something I don’t work with very often. I quilted it with a walking foot, and boy was I tired of twisting the quilt back and forth by the time I was done! I finished hand-stitching the binding down about 3 days ago.

Waste Basket #1 WB1 edge

You’d think I had a purple theme going here, but it’s just chance. I think. It’s not my favorite color or anything.

EDIT: Here’s the link to my proposed finishes list, and these two are numbers 9 and 8 (respectively) on that list.

 April 1, 2016  Posted by at 8:34 pm Finish-Along Comments Off on FAL Q1 finishes number 6 and 7
Feb 262016
 

I had hoped to be further along in my finishes stack by now, but Spring came early here in Idaho and I’ve been spending too much time in my garden. I’ve got a couple more bound or half bound that I hope to finish by the deadline, and one waiting for me to stitch the sleeve on. The following two have the binding and sleeve and I’m calling them done.

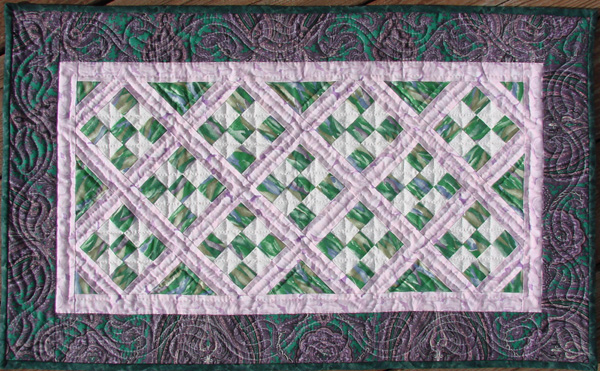
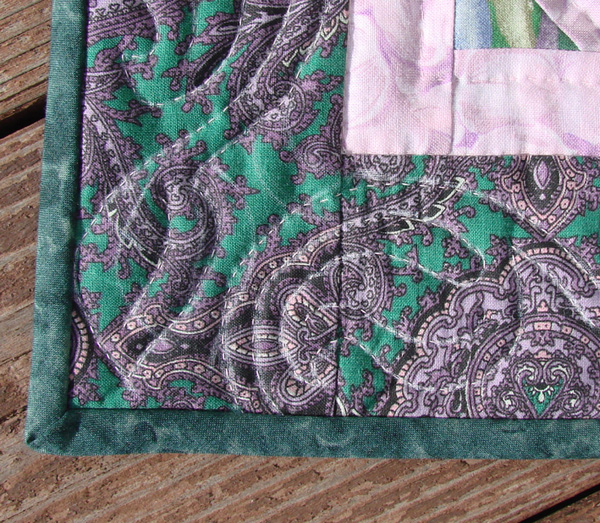
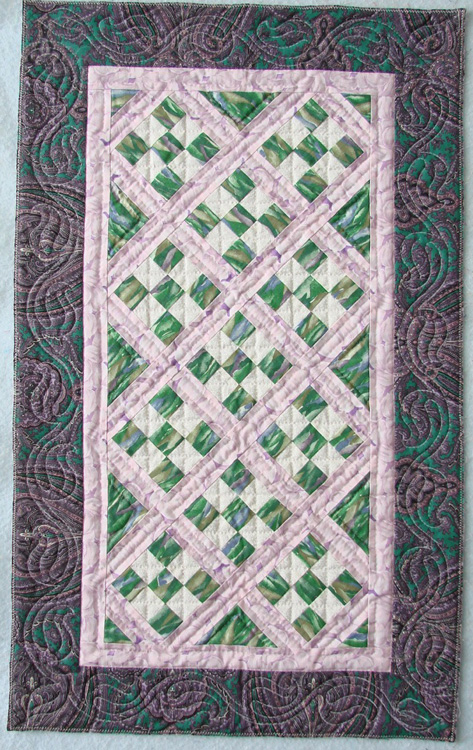
First up is this green 9-patch with lilac sashing, one of the last quilts I hand quilted, so I suspect I started it when we lived in Alaska, which we left in 2003. It feels good to finally get it bound! (oops – I forgot to rotate the image, it’s supposed to hang vertical)

purple lattice done purple lattice corner

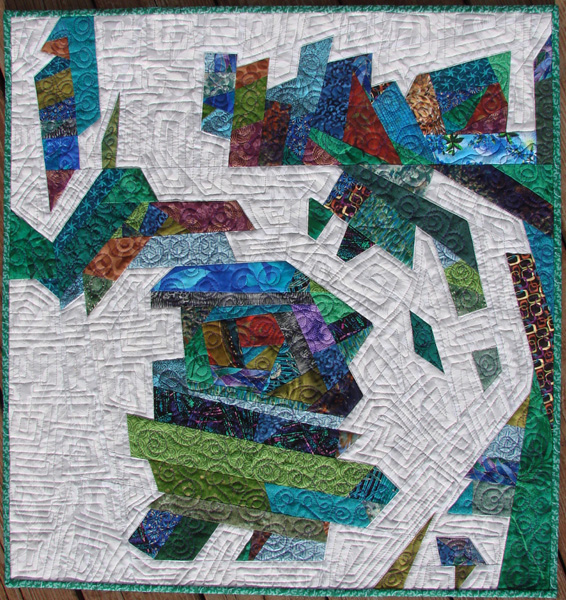
And then we have this piece, which I sewed up from scraps of a much bigger project, totally at random to start with and then I added the gray/white background, and eventually this figure appeared and started hacking at the tree. I don’t know why, I don’t ask. He’s been waiting for a binding for 3 or 4 years now, maybe now that he has one he can stop torturing the poor tree.

hacker done hacker corner

And here’s the link to my list of proposed finishes. These two were numbers 7 and 16.

 February 26, 2016  Posted by at 9:46 am Finish-Along Comments Off on FAL Q1 Finishes Four and Five
Feb 172016
 

Patchwork Posse has a page with links to all 30 days of organizing posts, which I have failed to keep up with here or in my studio. Her site is a bit ad-heavy, but the list is a handy place to look for ideas for any specific area of organizing your space.

The Quilt Show is running weekly posts, as I mentioned at some point. Here are the latest three, all on what to do with scraps:

Week 4, scraps part a, ideas for both quilts and non-quilts. I like the fabric boxes! But if you REALLY have a lot of scraps – those dog beds would clear your space in no time.

Week 5, scraps part b, with 6 ideas for using scraps other than making a quilt (some use more scraps than others).

Week 6, more scrap ideas, all scrap quilts this time, and there are some lovely ones.

(The posts are on their blog, no need to buy a membership.)

And in my own studio, I did a rough count of UFOs. Assuming I have not missed an entire bin full somewhere (always possible), I now have 114. <gulp> I really have got to learn to spend more time finishing and less time starting! Or spend less time gardening and more time sewing. Or less time blogging … oh, wait, I already tried that.
 February 17, 2016  Posted by at 2:32 pm Organizing and Decluttering Comments Off on Organizing Update – not much progress
Feb 062016
 

I am going to have to stop opening the emails from Project Quilting, I keep falling for the challenge! I failed to finish Week 2’s challenge, but had to try again for Week 3, and here I am. I really do have other quilts I should finish instead of making new ones.

The theme was “thread” and Kim made some spool tutorials available if we wanted to use them. I looked at them, and thought “that looks easy, I can design my own.” So I did, using the same block idea but modernizing the spool. When was the last time you saw an actual wooden thread spool? Yeah, me neither. These are plastic thread spools.

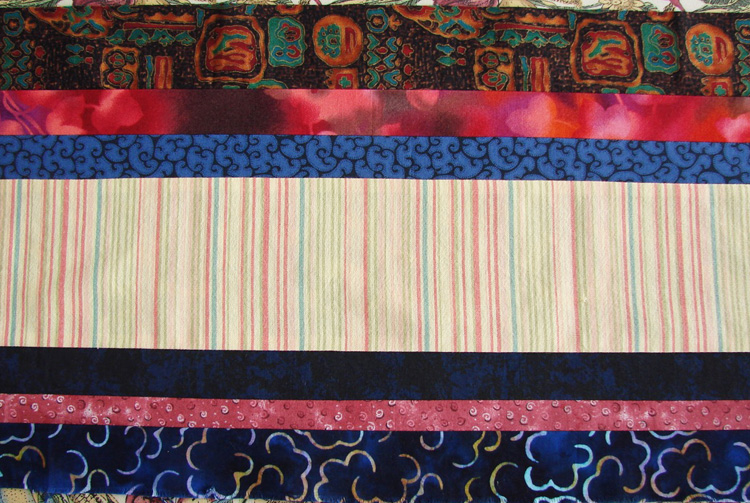
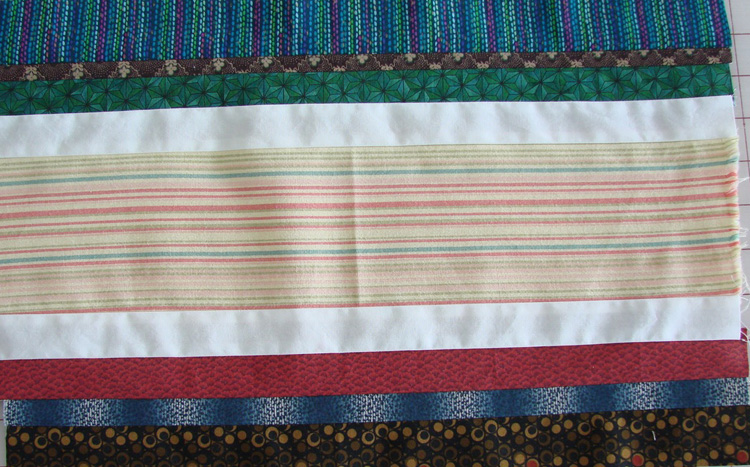
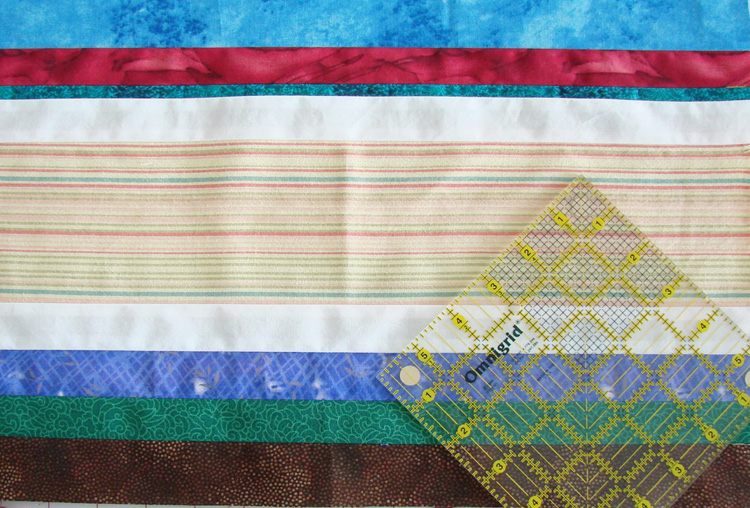
I dug around in my stash and found a suitable stripe, and some white, then went to my scraps for some background strips. Here are my initial pieces – you’ll note I’ve carefully cut the stripe one way for one set and the other way for the other set. You can also see my square ruler set to line up the 3 7/8 mark on the edge of the “thread” print. I decided to make my units measure 4 inches (finished), so the spool block finished 8 inches. spools fabric 1
spools fabric 3

spools fabric 2

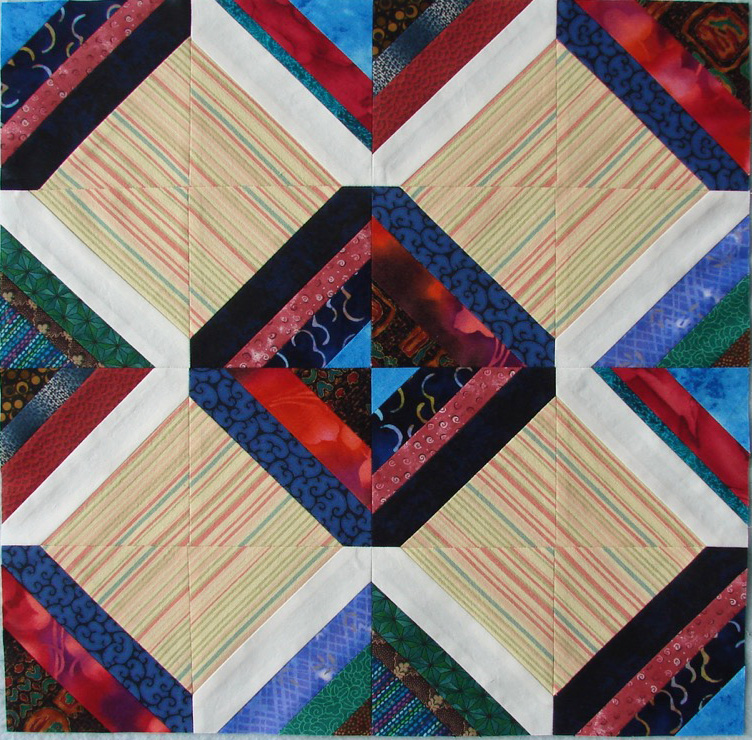
I  made four blocks and arranged them to create a secondary design like this:spools four blocks

Then added more scrap strips for the border, and the last of the stripe fabric to bind it. I left the spools unquilted so they would stand out a bit from the background. And that is this week’s excitement here in Deary, Idaho. (Can you find the square that I cut a little off?)spools finished

 February 6, 2016  Posted by at 8:08 pm Challenges Comments Off on Project Quilting Week 3 Challenge quilt
Feb 012016
 

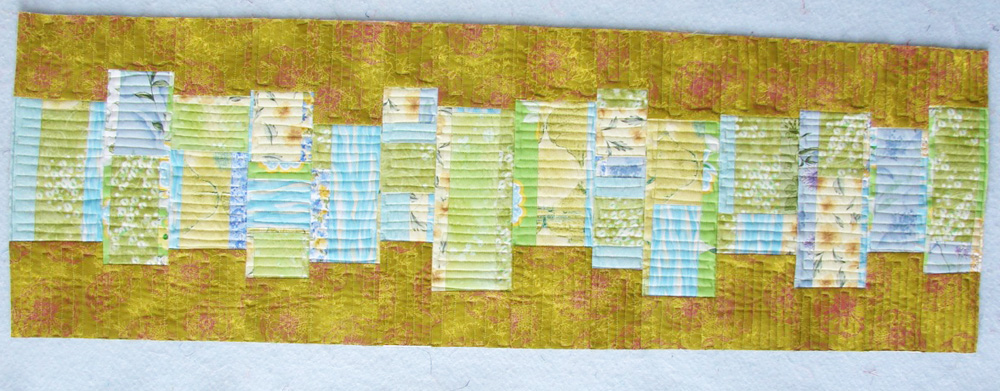
This tablerunner has been waiting for the binding for over a year. It didn’t take me long to finish it, but without the Finish-Along I would have ignored it for a few more years. tablerunner

I made it from scraps left from making cloth napkins for myself. Two years ago my sisters volunteered my house for a family get-together. They both came without husbands so it wasn’t quite as full a house as it could have been, but with my parents here also I had to scrounge a couple mattresses to put on the floor in my sewing room for my sisters.

I forget who had the idea, but we decided to try a napkin-making party. My mom had sent a box of fabrics she’d salvaged from some vintage blouses that had belonged to my sister’s roommate in college, plus some other fabrics, and we made her napkins from those. (My sister cut, I sewed.) I had pictured a group sewing bee but ended up being the only one sewing, working on my own pieced napkins. My other sister decided what she really wanted was fabric squares to dress up the tops of canning jars, so we cut up a bunch for her.

Anyway, mine started with a charm square pack I’d bought online from another quilter, plus a bunch of spring-inspired fabrics from my stash. The leftovers make up the central part of this table-runner. I think they were already pieced, being trimmings when I cut the napkins to the desired size. Or maybe I sewed up all the scrap first, my memory is already fading. Basically it is a stacked coins (shown above on edge, try tilting your head if you can’t see it) with the “coins” presewn scraps.

The binding is straight-cut and sewn on one side at a time, on the back first and folded over to the front and straight-stitched along the edge. The ends were done last and the end of the binding folded over for a finished corner.

And that’s my finish for this week. (List of proposed finishes HERE. This is number 14 on the list.)


 February 1, 2016  Posted by at 9:52 am Finish-Along Comments Off on FAL Q1 Finish #3
Jan 222016
 

I’ve finished the first two quilts. Of course, the two easiest ones, but ya gotta start somewhere. They are numbers 4 and 17 on my proposed finishes list.

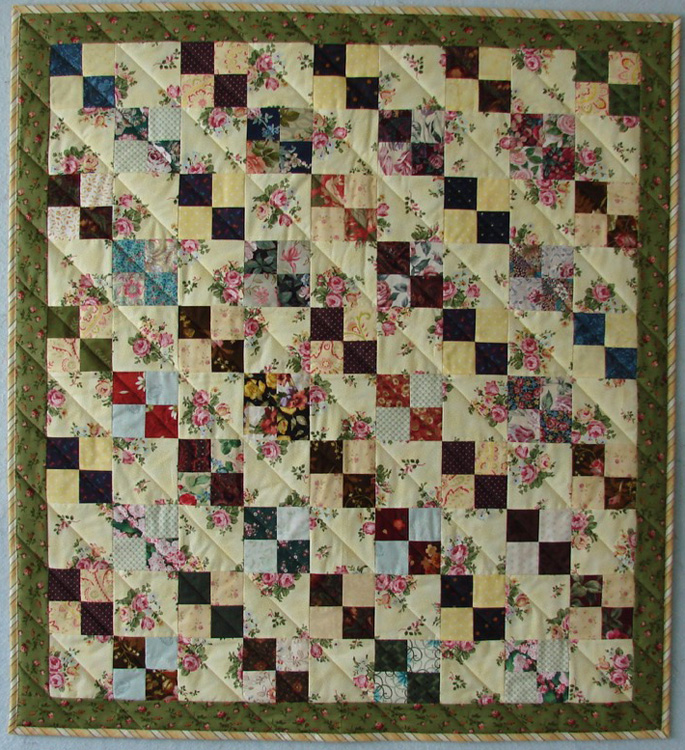
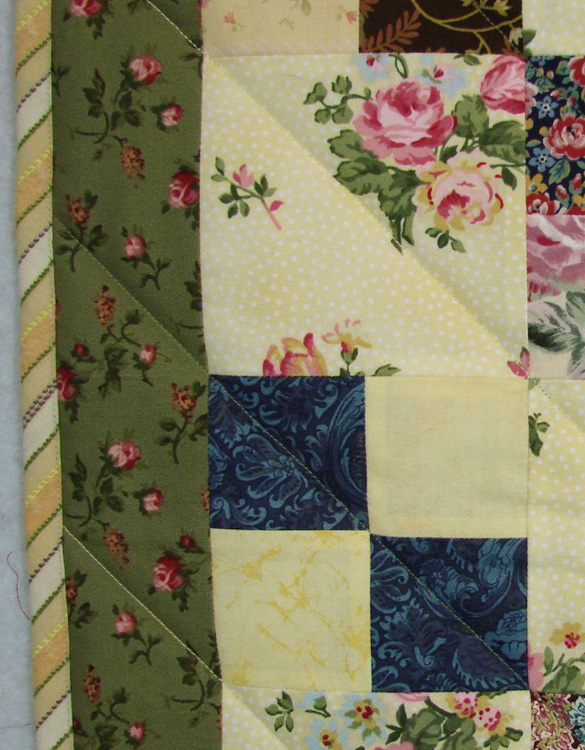
First up, 4-patches with yellow alternate blocks, lap size. I made the 4-patches as “betweeners” (also known as leaders and enders). I cut a lot of my scrap into 2 1/2 inch squares and keep them handy, then whenever I reach a point in my piecing where I would have to cut the thread, I sew two squares together instead. When I have a pile sewn up I iron the pairs and put them back by the machine, and make 4-patches whenever I am between other piecing. I’ve included a close-up to prove I really did get the binding on.yellow 4patch doneyellow 4patch edge

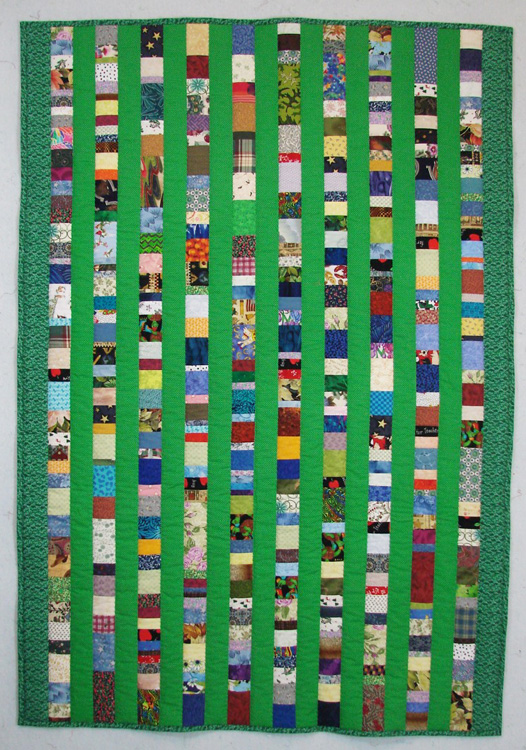
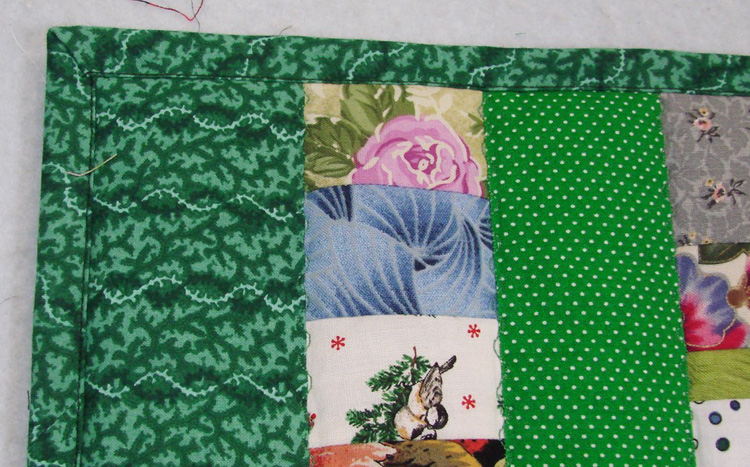
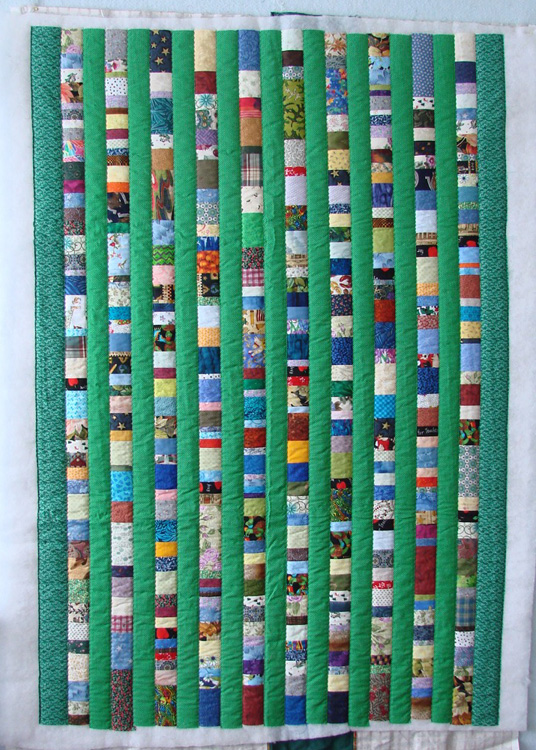
Second one is a stacked coins variation, in that some of the “coins” are rather tall. Scraps again, this time always 2 1/2 inches wide but various widths. The edges were uneven and I didn’t want to trim them all, so I sewed them onto adding machine tape to keep the rows straight. Some of the seam allowances ended up a bit scant on the sides, so I quilted with a small serpentine stitch down the vertical seams. It is crib-size. green stripesgreen stripe corner

Both of these will be donated somewhere, as soon as I have photos I’m happy with for my records.


 January 22, 2016  Posted by at 8:09 pm Finish-Along Comments Off on First Finishes FAL Q1
Jan 152016
 

Needing all the help and encouragement I can get, I’m going to join the Finish-Along again. This year it is hosted by a group of quilt bloggers and you can participate from whichever one you like. Here’s where I found the info.

And here’s my list of proposed finishes, all 17 of them (it will take a miracle to actually complete them all, but they are mostly small). Names are working names:

1. Confetti #4 – needs binding, sleeve, and label

Confetti #4

2. Corral – needs quilting.Corral

3. Cuddle quilt – needs quilting, this one is nap size cuddle quilt

4. Green stripes – needs binding and labelgreen stripes

5. improv piece, small. needs quiltingimprov color study 1

6. improv piece, needs quilting (which I am currently working on)Improv FGs

7. Lattice, small. An old UFO, I actually hand quilted this one! needs binding, sleeve, label.Lattice

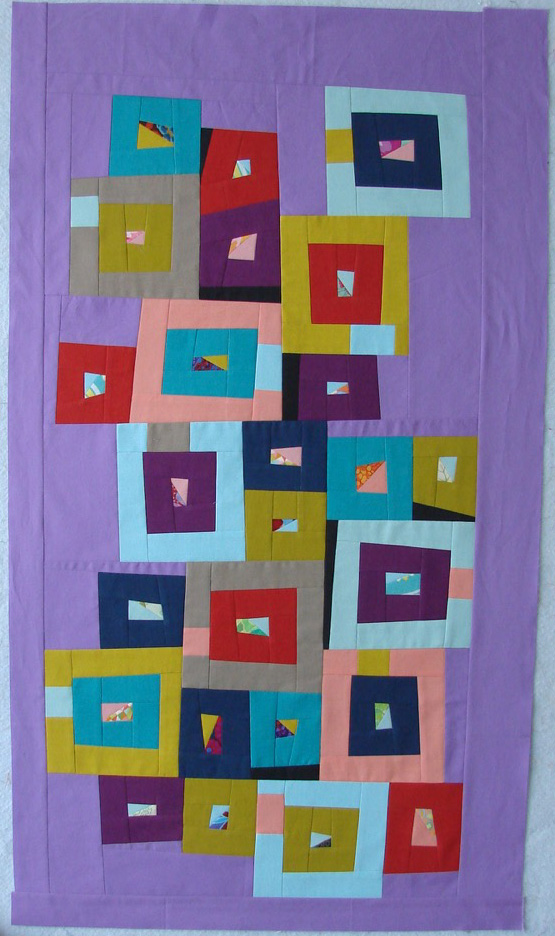
8. Boxes on purple, needs basting and quilting.purple boxes top

9. Purple mess, needs binding, sleeve, labelPurple mess

10. purple spirals, needs binding, sleeve, labelPurple Spirals

11. QAYG project – one block shown, this one is twin I think. needs assembly.QAYG block

12. Red Stripes, another QAYG project, this one with strips sewn onto backing and batting. Needs the other strips sewn. Will be twin.red stripes

13. Red-eyed ghosts (isn’t that what it looks like?) – needs binding, sleeve, labelRed-eyed Ghosts

14. table runner, needs bindingtable runner qd

15. Three Stars, needs border, then basting and quilting.three star banner 1

16. Whacking through the Jungle, needs binding, sleeve, label.Whacking

17. Yellow 4-patches – needs binding and label.yellow 4patch

 January 15, 2016  Posted by at 12:19 pm Finish-Along Comments Off on Project List for Q1 Finish Along
Jan 142016
 

I hope you are following Patchwork Posse’s 30 Days of Sewing Room Organizing direct from her because I have totally failed to keep up! I’m having better luck with The Quilt Show’s Let’s Get Organized series on their blog. They post an organizing tip weekly. I can maybe keep up with weekly, daily is a struggle. (Tip – sign up with The Quilt Show – basic membership is free – and you’ll get their newsletters which will let you know when the next organizing post is up – otherwise you’ll have to keep checking the blog and they post a lot.) This week is purging your stash. I decided the fabric in the cubes didn’t need a review just yet so I am focusing on the fabric still in bins.

Meanwhile, this post is intended to catch up on the 30 Days but I am already two days behind again! (The main page which was going to have all the links to posts is no longer there, I will post again if I can find it, or will make one here.) The photos below show my system (such as it is) for some of the areas covered so far.

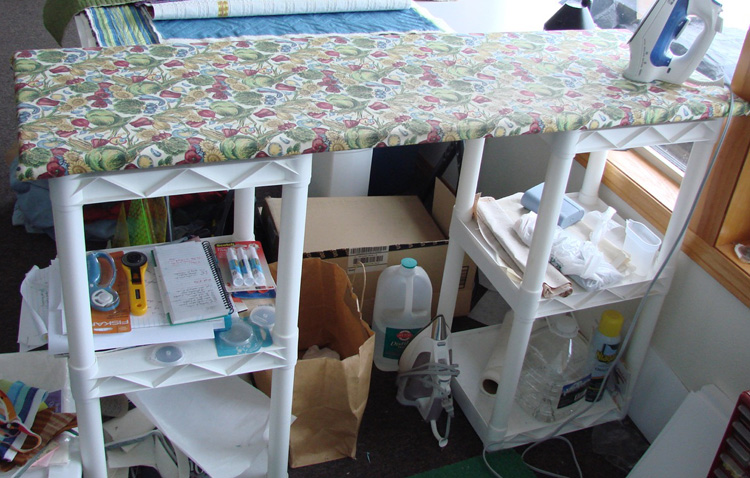
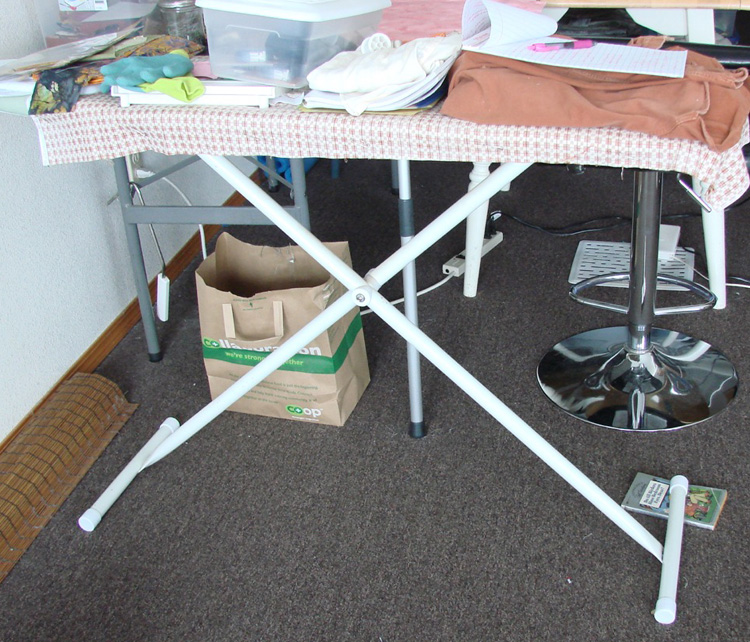
Here’s my ironing station – made with a scrap of plywood we had on hand. I wanted 18 inches deep but we had scrap that was 15 inches wide so what you see is 15 inches deep. And it is rugged – 3/4 inch plywood! If you buy plywood for this you only need 1/2 inch. See what you can scrounge. I added two layers of cotton batting and covered with a veggie print I enjoy looking at but was unlikely to use (and it was a big enough piece). While taking this photo it occured to me I need some baskets to organize the shelves underneath. I already had these two plastic shelves and they happened to be just the right height and just the right size to hold up my board. How often does that happen? The board rests on top, so I have to be careful not to lean against it or it shifts and I have to adjust it. But it is easy to move if I get to rearranging my sewing room again.

ironing board

This one (below) is my old ironing board, now serving as a shelf. I should clear it and put it away. The book under one foot is for stability, and the spotted cloth is pinned to the original cover to cover up worn out areas.old ironing board

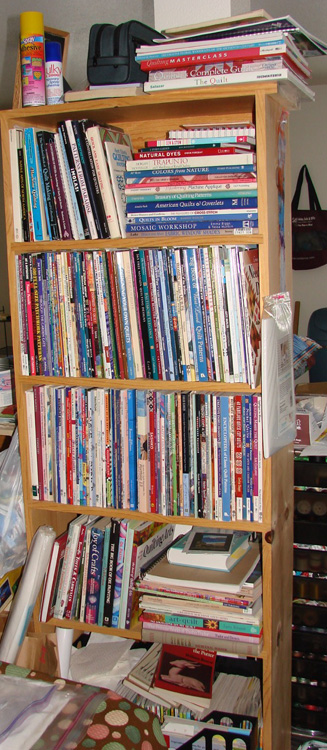
Here’s how I store my quilting books – totally unorganized and overflowing.

bookshelf

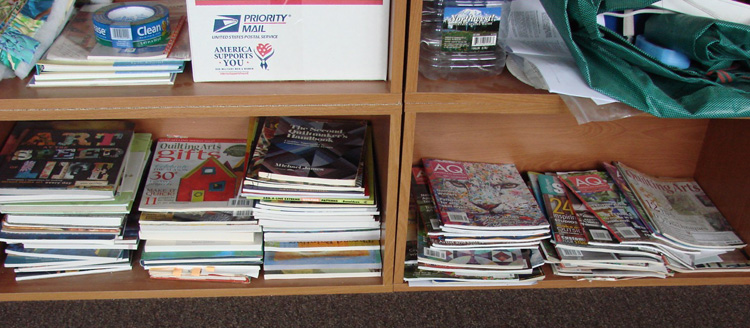
Here’s the book overflow (on the left) and magazine stash (on the right). Notice they are on the bottom shelf of these cubes, which are not strong enough for books and magazines any higher.

book overflow

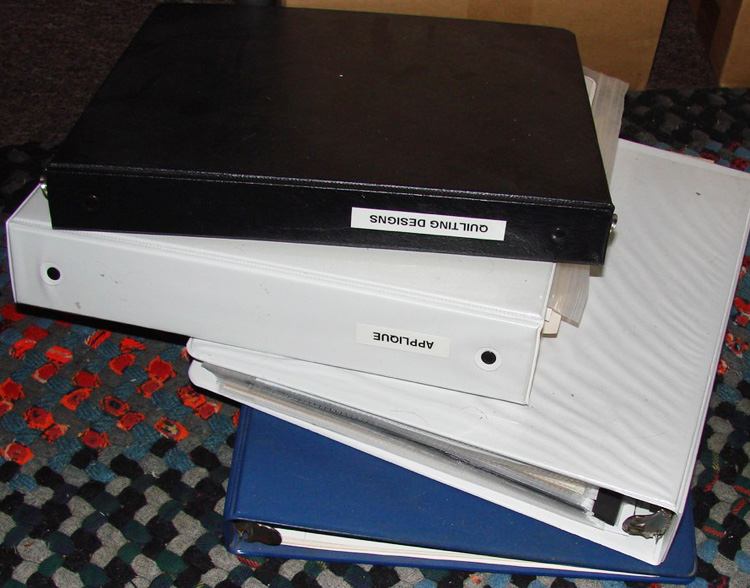
Eventually I go through the magazines and either load them into magazine boxes (on the bottom of the bookshelf for now), or tear out what I want to keep (most magazines get this treatment, and I recycle the leftover parts) and either file the articles and images or put them in binders. The binders are currently piled on my office floor.

binders

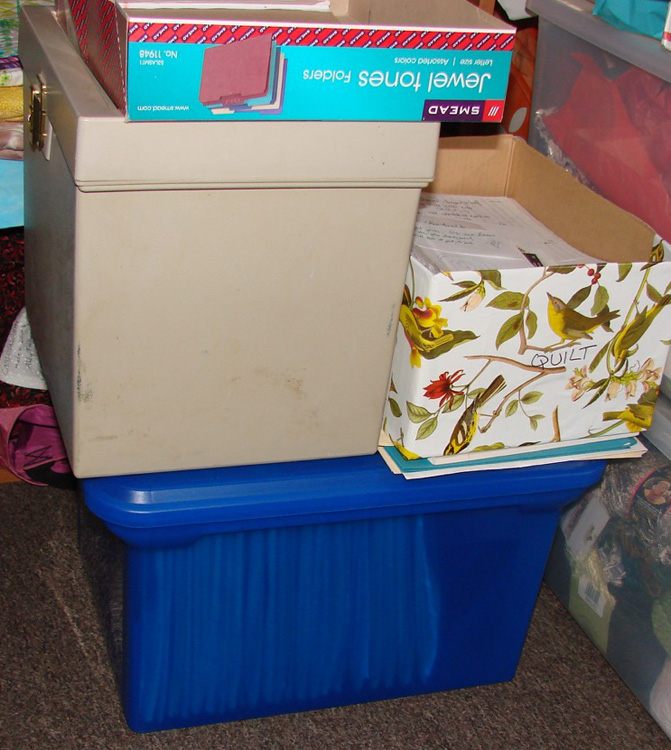
And the files are here – two file boxes and a box of unsorted papers. file boxes

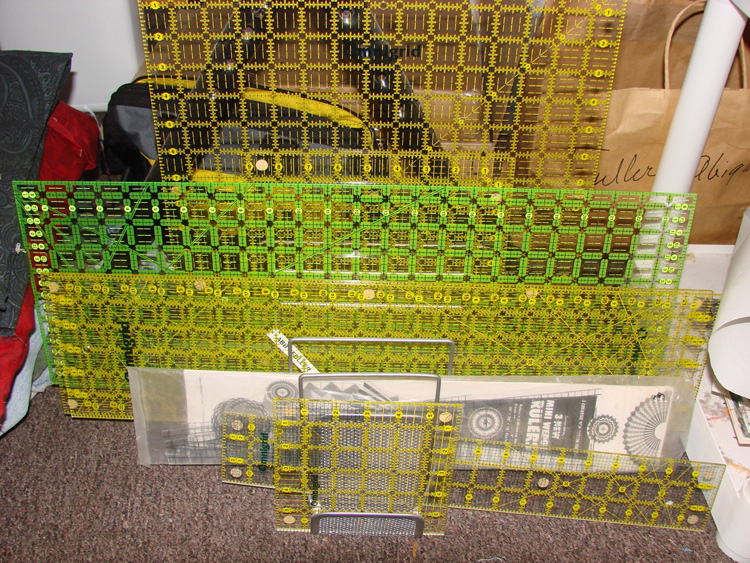
Rulers – The ones I use all the time are in this rack (bought at an office supply store), which resides under my cutting table. I haven’t figured out a better spot yet, but plan to do so as I keep bumping my toes on it here. I confess, I don’t actually use the wedge ruler often, it’s here because it’s a bit long for my other ruler storage.ruler rack

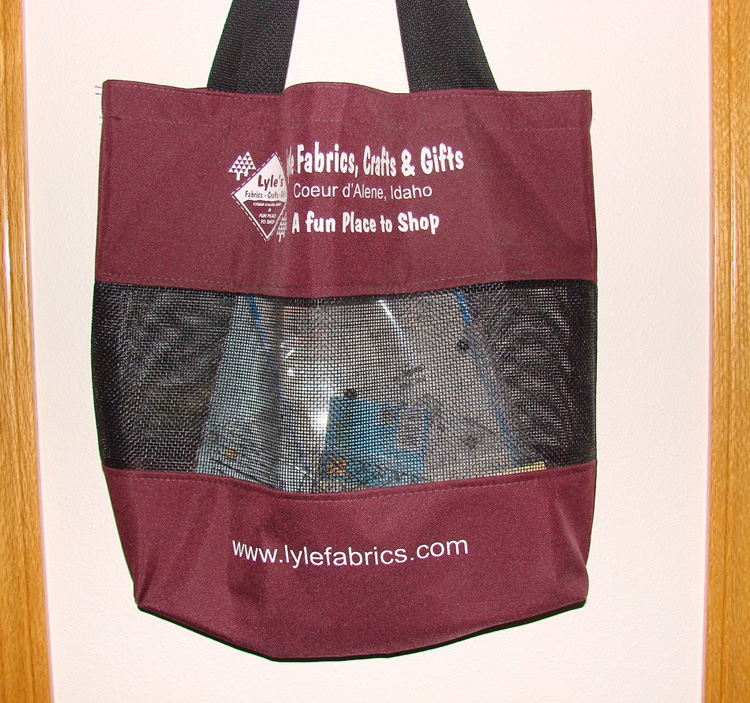
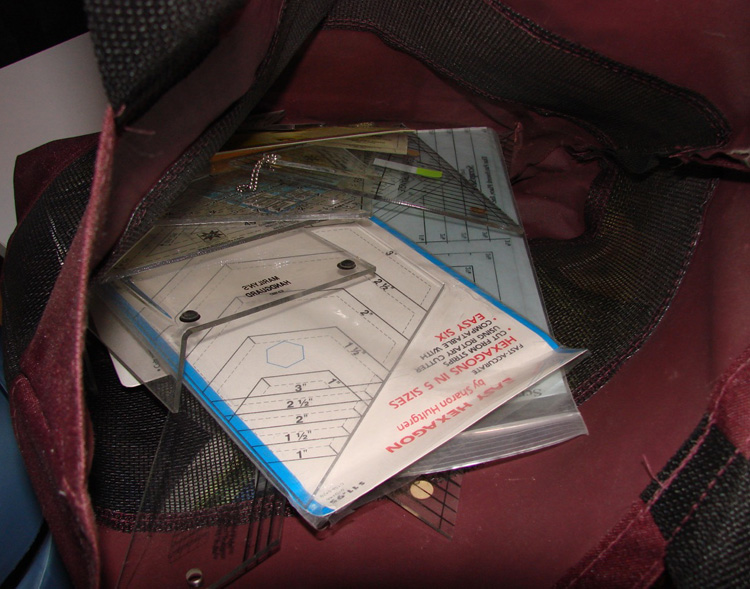
Here’s where I keep all the other rulers – in this bag hung on the wall. And when I took these photos I realized it hangs onto a picture hook by it’s teeth, I think a nail would work better.

ruler bag

Here’s the inside of the bag showing the sorts of rulers I stash here.ruler bag inside

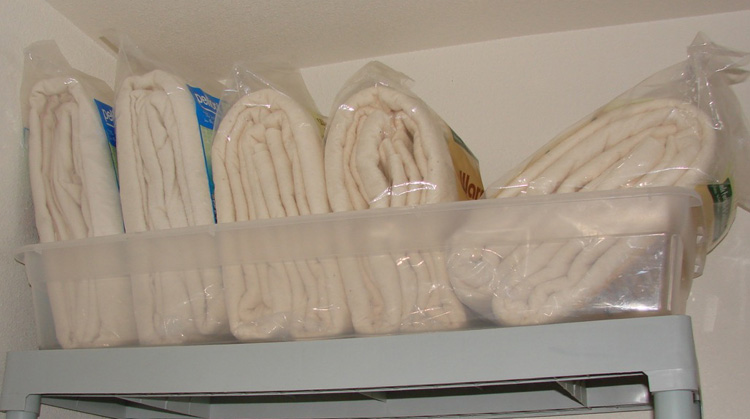
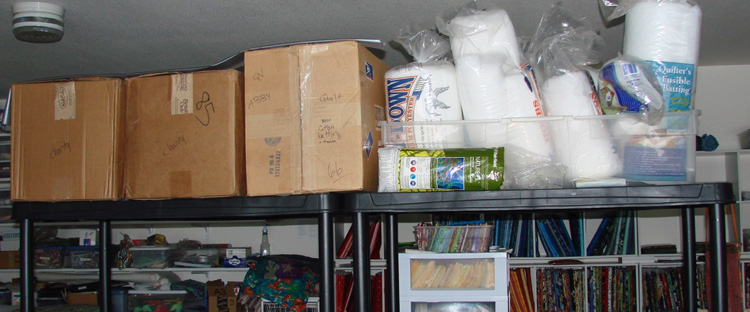
And here’s how I store my batting – up high, mostly. The cardboard boxes on the top of this shelf all hold more packaged batts.

batting 1

Here’s another top shelf with packaged batts. The plastic bin is just the right size for this shelf, and holds 6 queen size cotton batts.batting 2

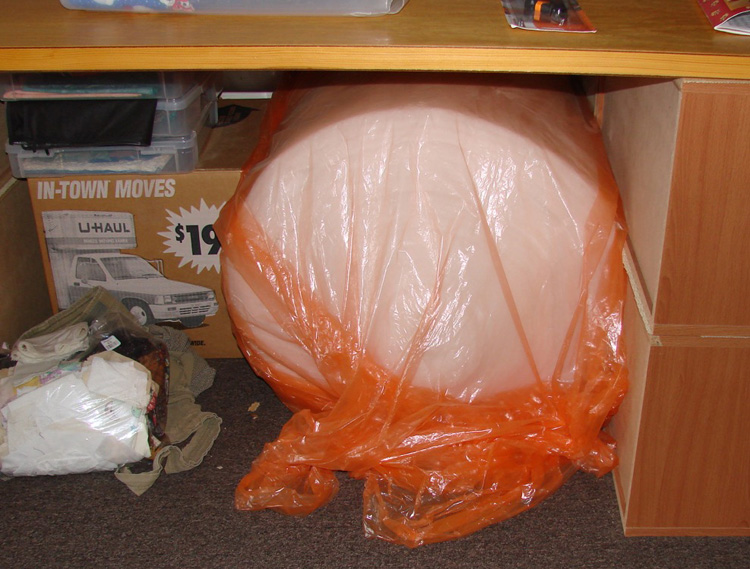
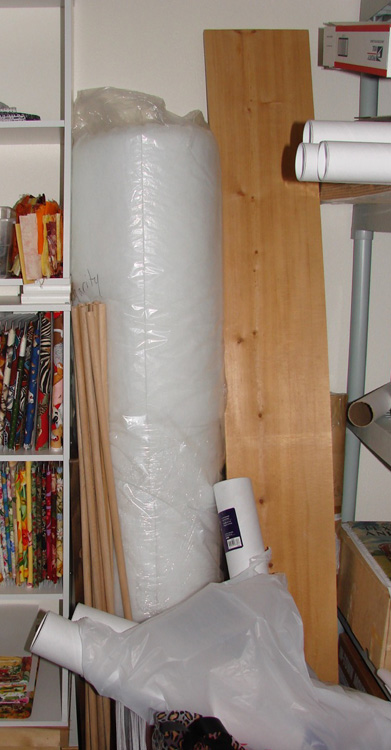
Here’s a big roll of cheap poly I bought for charity quilts. Not the handiest spot, I have to drag it out to cut off a piece, but it’s out of the way.batting 3

And there’s another (smaller) roll in the corner. I think I’m set for batting for awhile.batting 4

 January 14, 2016  Posted by at 12:34 pm Organizing and Decluttering Comments Off on 30 Days of Organizing update
Jan 092016
 

I wasn’t going to do it this year. I have a full plate already, thank you, I don’t need a Challenge every other week. But I opened the Project Quilting email from Kim at Persimmon Dreams, and the topic of the first challenge was “Confetti”. My immediate thought was “where did I put those scraps I was thinking of using for a confetti quilt?” So of course I dug them out and scrambled to finish my little quilt in 3 days.

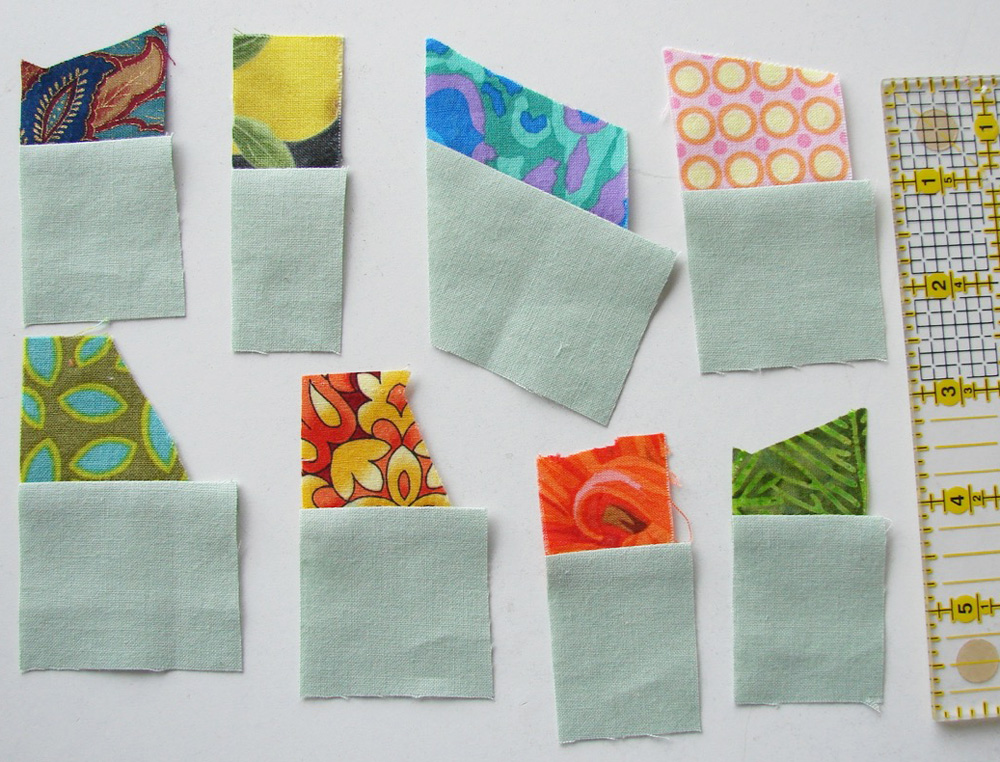
I used scraps I dug out of the waste basket after my sister left (I’d loaned her a machine while she was here), trimmings from her scrap project. They became my confetti bits and I chose a pale green background. I only had a half yard of the green which limited the potential size of the piece right off. The method is simple – sew all the bits to a strip (or two) of background fabric, then cut them apart and iron the seam. Here’s a few of the pieces at this point, with the edge of my 6 inch ruler for scale.conf4 step 1

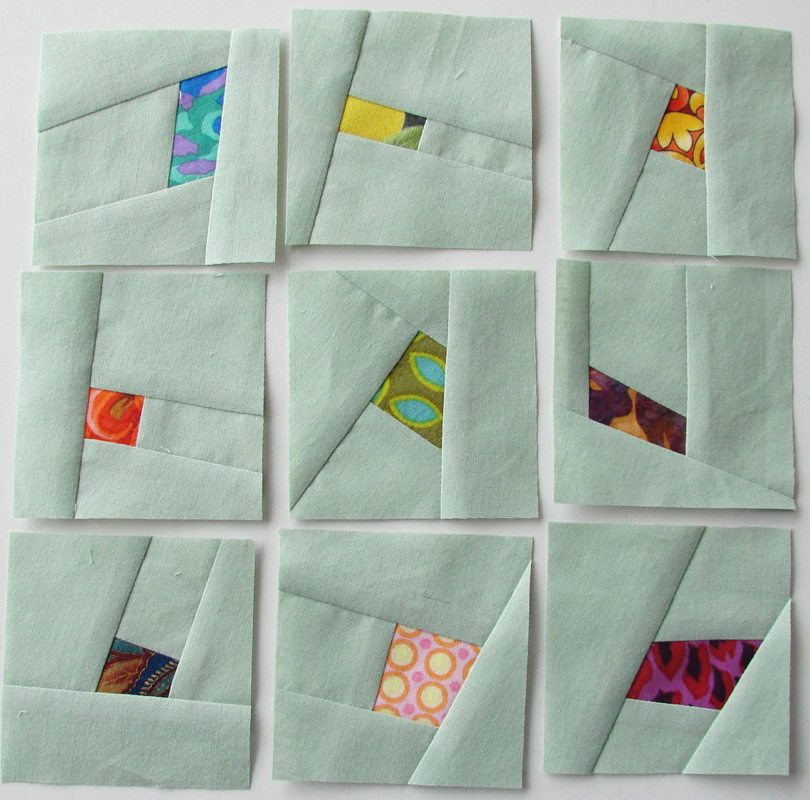
Repeat until you’ve covered all sides of the bit. In the past I’ve put my confetti quilts together at this point, trimming and adding as needed to get things to fit. This time I trimmed all the blocks to the same size, which made for much faster assembly. conf4 step 2conf4 step 3conf4 step 4

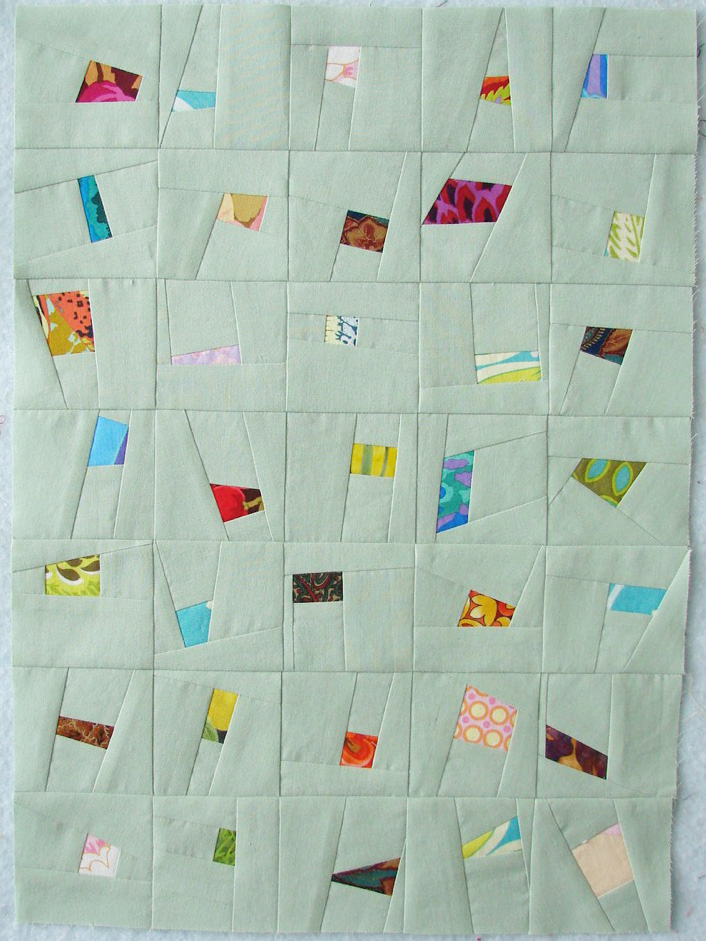
In the interests of speed I skipped a border and kept the quilting simple. confetti 4

It didn’t turn out quite the way I’d envisioned, but it is done. I’m calling it “Waste Basket #2” (Waste Basket #1 isn’t finished yet, and #3 is barely started) and it measures all of 12.5 X 17.5 inches. That was my excitement for this week, here in Deary, Idaho.

 January 9, 2016  Posted by at 7:25 pm Challenges Comments Off on Slight Distraction – Project Quilting Challenge 1