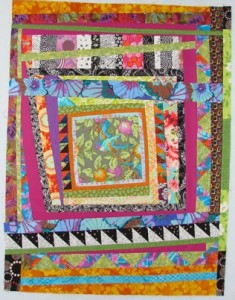
This one was started by my sister who organized the Improvi-Robin. When I got it I thought it looked pretty good already. Click here to see how it looked when I got it.
I studied it for awhile, and eventually decided it needed a little more black-and-white, and a bit less squareness. Stephanie had done a nice wonky block, but some later quilters had squared it up. It also wanted a few more HST units to go with the ones near the center.
Hunting through my black and white scraps hoping for some already-cut triangles, I found some already-sewn HST units! They were a bit bigger than I would have made, but I’m all for using up leftovers whenever I can. And the IR rules encourage using what we have, so I did.
First, I trimmed a little off the gold at the bottom, on an angle, and sewed the trimmings to the top. After ironing the strip I held up the piece and noticed the center tended to sag and bulge. Not badly – I hadn’t even noticed earlier when I ironed the whole piece (perhaps because I have a narrow ironing board). The bulge was within “it will quilt out” tolerances, but I mulled over possibilities for remediation while studying where the problem originated.
After much consideration, and laying of test strips over it, I decided against cutting through the center with the lovely bird. Second option was the lower magenta strip, which was a bit off on one seam where the other side had been sewn on too tight. By slicing through the magenta, ironing, and retrimming, I was able to mostly flatten the area.
I used the black and white HSTs, with strips on either side for easier piecing, for the insert. After deciding on the insert strip, I decided the upper part of the quilt needed some inserts as well, for balance.
First I went looking for a strip of black and white to go along the right side. A scrap on my cutting table jumped out at me – black with colors, which matched well with the colors already in the top. So I used that, although only above the slice. I found a black, white, and tan print to use below the slice, but on the other side to spread the black around. The resulting shift also added to the wonky factor.
The upper insert strip of bluish fabric I cut wide to catch the red in the flower centers. (I think those are flowers in the print, could be leaves of some sort.) And I added another bit of spring green for fun.
After sewing all that together I put it on the wall, took a picture, and stood back. Hmmm. Maybe more HSTs at the top? Oh, look at that, the bright green is sort of an inner border, on three sides. I think it needs some green on the right, for the fourth side. I grabbed some scrap strips and pieced up some green. To match the square shape I was seeing, I put the black, white and tan print at the ends.
And there I called it good, and sent it home.

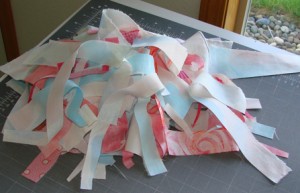
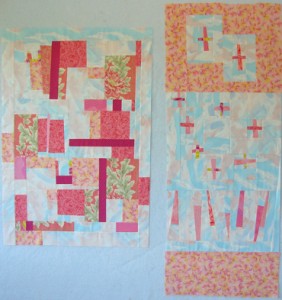
 so I set out to make another top to use those up. Then another to take care of the odds and ends still sitting on my cutting table. The quilt on the right in the pic below used the trimmings, the one on the left the other bits and bobs.

