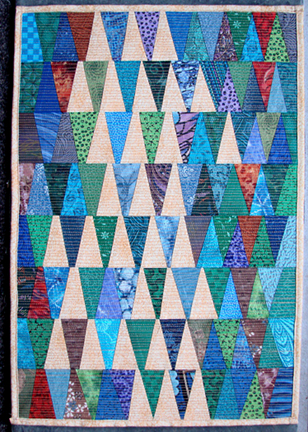
 The Challenge for this week was to be inspired by something at the grocery store (any grocery store). Well, the challenge is issued on Sunday and I do my weekly grocery shopping on Thursday, so I needed a Plan B right off. I decided to do a Post Office run on Monday and swing by the local small-town grocery and see if I could find inspiration.
Meanwhile, I visualized grocery store shelves and thought about a produce-shelf inspired quilt, but wasn’t sure where my stash of veggie-print fabrics was (I’m in the middle of a massive reorganization of my sewing space). Then I thought about Oreos. I’m not sure why, maybe something I read mentioned Oreos? I drafted an idea for an Oreo quilt based on the rows of Oreos in the package. My perfectionist streak decided I needed to buy a package so I could measure the cookies and get the proportions right.
Monday I made it to the store, and looked at the Oreos, and at a competing brand with a price-tag about half that of the Oreos, and decided I didn’t want to buy either one. I came hope with a bag from a nearby shelf that inspired the piece shown here.
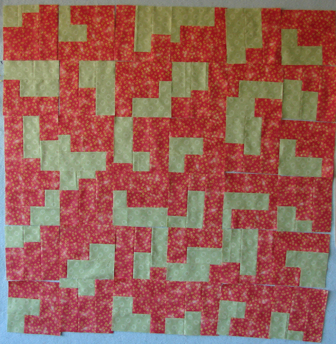
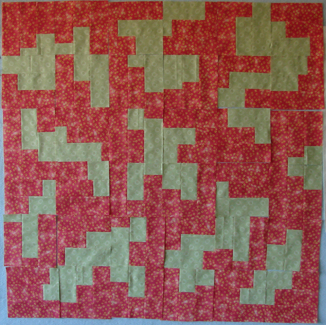
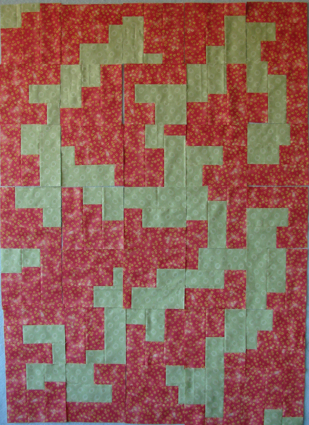
Can you tell what I bought? I neglected to take a photo of the item, so I apologize to anyone in a country that doesn’t sell these. First thing I did was to trace around several sample pieces on a piece of paper. Pretty soon I had my design – improv pieced sharp-angled triangles with most of the points cut off.
I used Wash-away applique sheets from C&T, which I’ve had for awhile but not tried. They are fusible on one side which makes them great for foundation piecing (and you don’t have to pull it off after!). I cut 2” strips the length of two sheets, for a total of 8 rows. Then I dug out a yellow that matched the junk-food item, and went rummaging through my not-so-organized scrap stash and pulled out blues, greens, a few browns and purples. I cut 1 1/2 inch strips from everything.
Here’s a shot of the second piece of fabric placed across the strip on an angle. 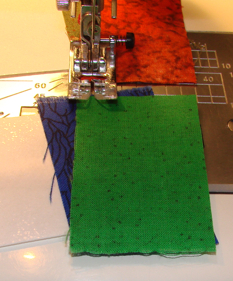
I used a cut-out shape to check my angle until I had a feel for it, then winged it from there. I alternated the direction of my starting angles so the strips would not all line up the same. Then I had to pay attention to make sure all my junk-food pieces pointed the same direction. (Not that they had to, but I wanted the look.)
Here’s a finished but untrimmed row: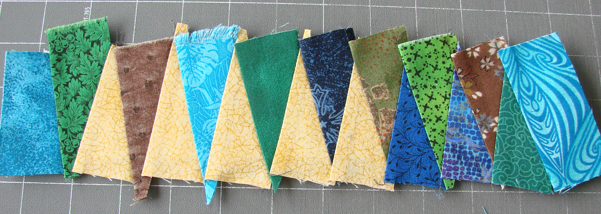
I trimmed them 1/4 inch from the “paper” and sewed the rows together with a normal 1/4 seam. Then used a LOT of steam to iron the seams over and get them somewhat flat. I used the yellow fabric on the back, and a scrap of cotton batting. I tried the spray-starch basting method someone linked to (sorry I didn’t keep track of the link), which meant more ironing. It held okay, and definitely helped flatten those lumpy seams. I did stitch around the edge of the piece to make sure it would hold before quilting.
Then my inner demon woke up and compelled me to quilt it in straight lines, 1/8 apart. Why on earth would I do that???? Well, the junk-food item has little ridges about that far apart, and I figured it would be easier to run the quilting straight across instead of do just the little yellow triangles, and give it an art-quilt look. Took me days to get that part done.
I took the quick and easy route for the binding, and wrapped the backing around to the front and stitched it down. Done!
“Ode to Junk Food” aka “Bugles”
11 1/4 by 16 3/8, created in the Idaho panhandle.
Now I’m not sure if I have an art quilt, or a placemat.
