Feb 082015
 

I made a travel pillow for my upcoming trip to Austin for QuiltCon.

pillow9

I’d been thinking about making one but left the thought in the back of my head without doing anything about it, until I saw the Project Quilting email with this week’s challenge – to finish something with orphan blocks or UFOs. Right up my alley! But with less than a week to  make something I thought, hmm, something small – oh – the travel pillow!

A quick google search found plenty of patterns and tutorials, and I downloaded a template from The Cottage Mama at www.thecottagehome.blogspot.com. A quick search of my UFO bins turned up a pile of leftover 4-patches – perfect. After playing with layout I decided to find a background fabric to use with the 4-patches to round out the shape needed. I choose a leaf-print brown from my fat-quarter stash. I figured brown was a good color for a travel pillow – it won’t show the dirt.

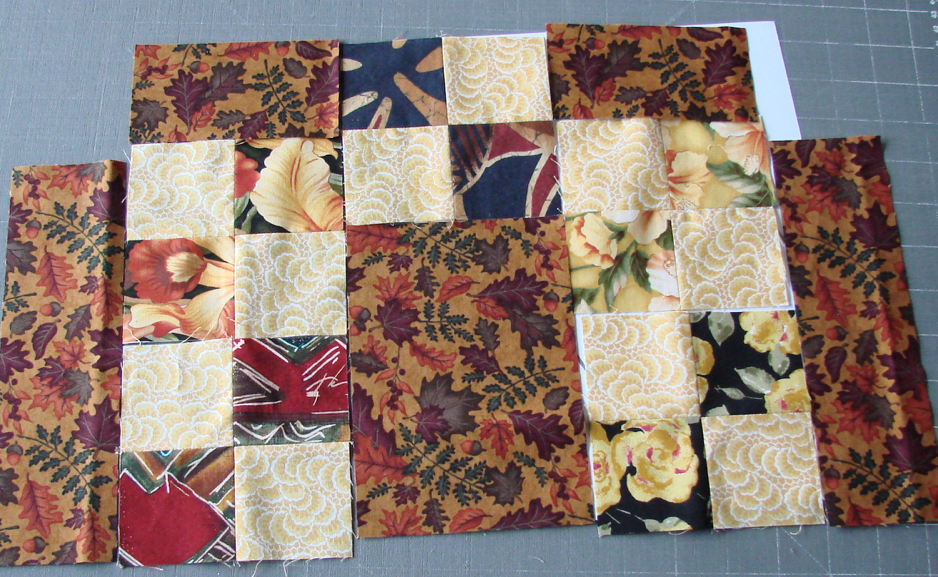
My 4-patches were 4-inch (finished), so I cut the following pieces from the FQ: 2 rectangles 4 1/2 by 6 1/2, 4 rectangles 2 1/2 by 4 1/2, and 4 strips 2 1/2 by 8 1/2. Here’s the layout for all the pieces, top shown but I also made a patchwork bottom (so I can use either side).

pillow2

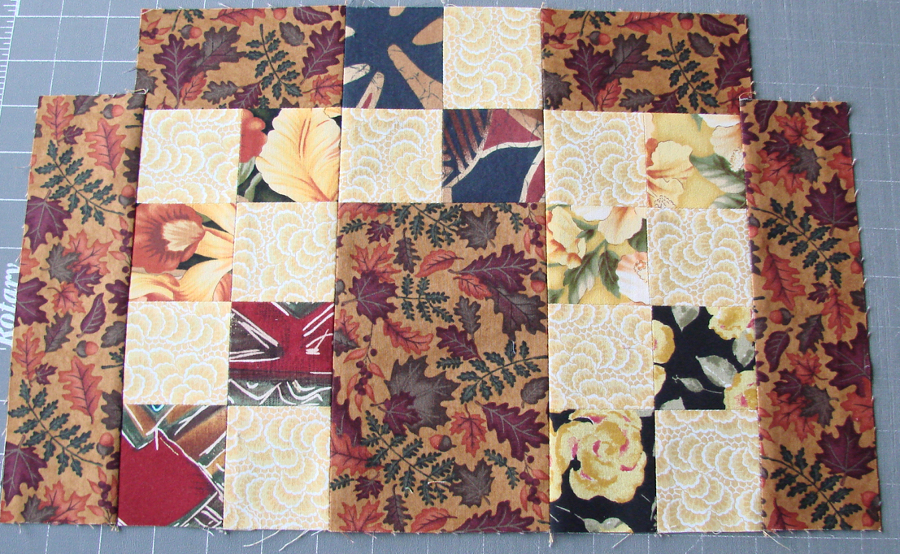
I sewed the pieces into columns first then sewed those together until I had this panel:

pillow3

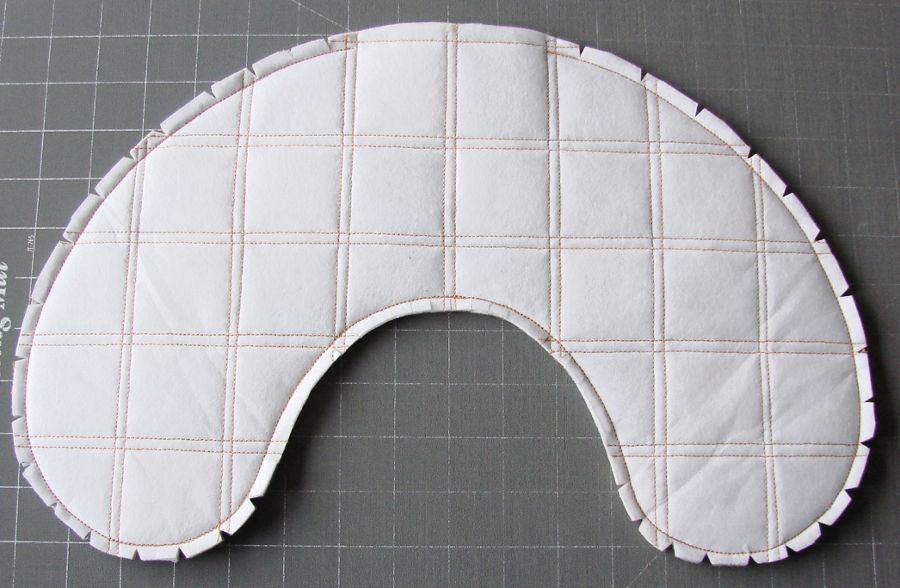
Next I layered with scrap cotton batting and light-weight interfacing on the bottom (pieces about 11×17 inches), and quilted the sandwiches. I kept it simple, about 1/8th of an inch to either side of the seams. I also worked fast – don’t look too close.

pillow4

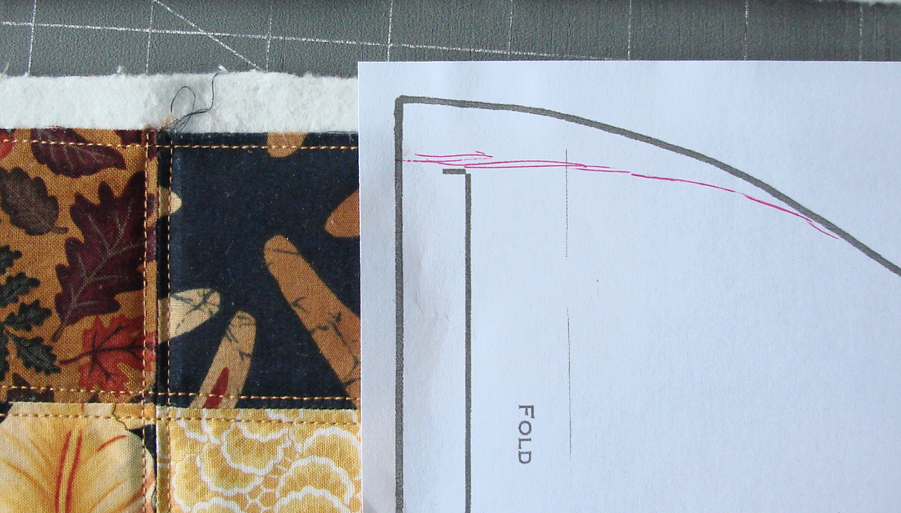
Once quilted I place the two sections face to face, pinned them after some fussy alinement, then pinned the cut-out pattern on top. I had to modify it slightly because my panels were a hair too narrow.

pillow5

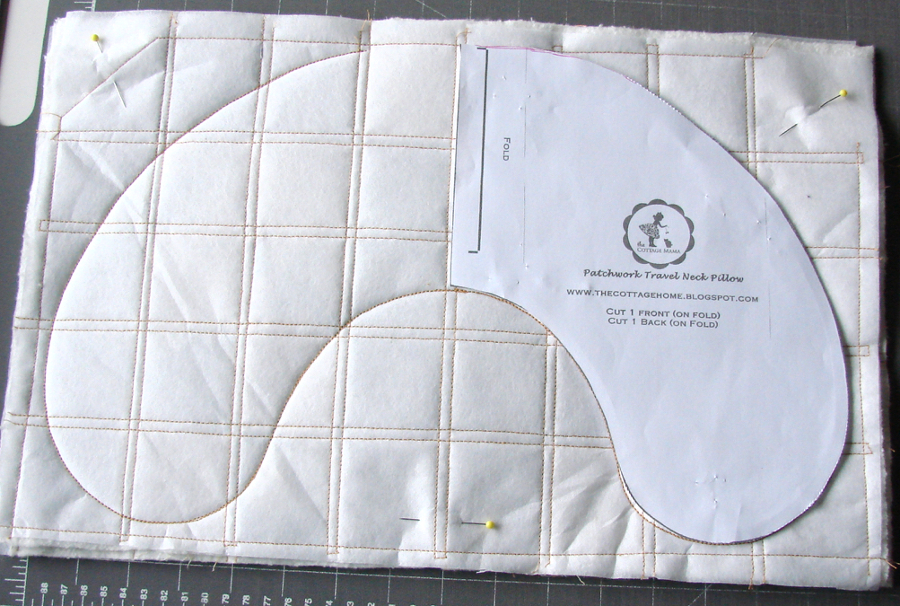
My pattern was for half the pillow, which I used as is, but if you do this you could trace it onto freezer paper and iron in place. I pinned it down, stitched around the edge leaving a couple inches along what becomes the back of the pillow. Then I unpinned and reset the pattern for the other side (yes, right on my sewing machine bed with the needle down) and stitched that, stopping about 2 inches from the end of the pattern. After unpinning, I stitched the seam again.

pillow6

I cut out the pillow about 1/4 inch or so from the seam, then notched the seam allowance.

pillow7

I wasn’t sure how well this thing would turn given the several layers in the seam, but it was fine. My only problem was the approximately 4 inch opening was not quite enough to fit my hand inside, but it turned okay anyway. The seam, once pushed into place with my fingers, was fine. If this were going to be a knife-edge finish on a quilt, I’m sure I’d be swearing at it, but for a pillow it worked.

pillow8

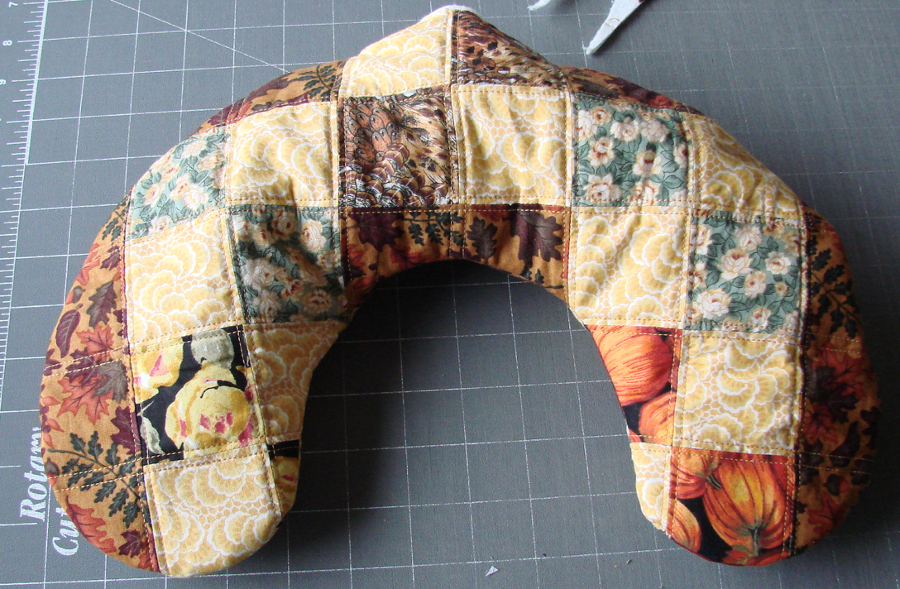
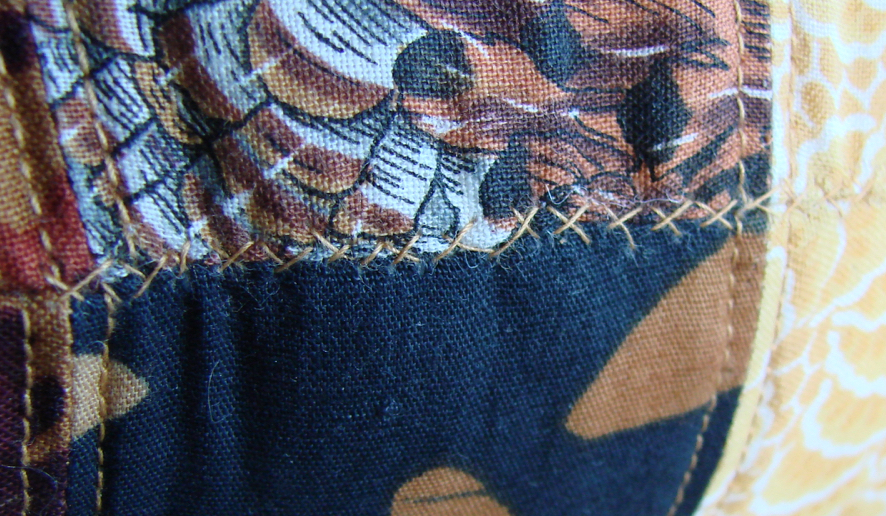
I stuffed it with leftover poly batting (I have years of trimmings saved up) and stitched the opening closed by hand. I had folded in the edges and ironed them down earlier to make this easier but it still isn’t my best example of hand workmanship.

pillow10

It’ll do – and – TAH DA – it is DONE!

 February 8, 2015  Posted by at 9:13 am Uncategorized Comments Off on I made a travel pillow
Jan 292015
 

Looking for a stash-buster challenge? What about a UFO finishing challenge? How about BOTH at the same time! Well, look no further, Quilter’s Club of America has a joint challenge starting Feb 1st, there’s still time to join. You’ll need to sign up with the club if you aren’t already a member but it’s free. (They’d love to have you buy the premium membership but you don’t need it to join the challenge.)

Read more about it here: The Great Stash-Down.

 January 29, 2015  Posted by at 10:00 am Uncategorized No Responses »
Oct 142014
 

My sister, Stephanie Serrano of VenusdeHilo.com nominated me for the Around the World Blog Hop. I’m not sure how many times this hop has been around the world, but it just hopped from Hawaii to Idaho.

The first question I’m supposed to answer is “what am I working on?” The answer is – my garden! Ha ha, no quilting done at all this month. So, maybe you’d like to see what I am SUPPOSED to be working on. Oh yeah, and I did make something last month, a quick mini you can read about here. The post about it was written kinda quick too, hopefully someday soon I can write up a longer one.

I have two WIPs I need to finish for QuiltCon, plus a couple xmas gifts, and a challenge quilt for QuiltCon that isn’t even started yet.

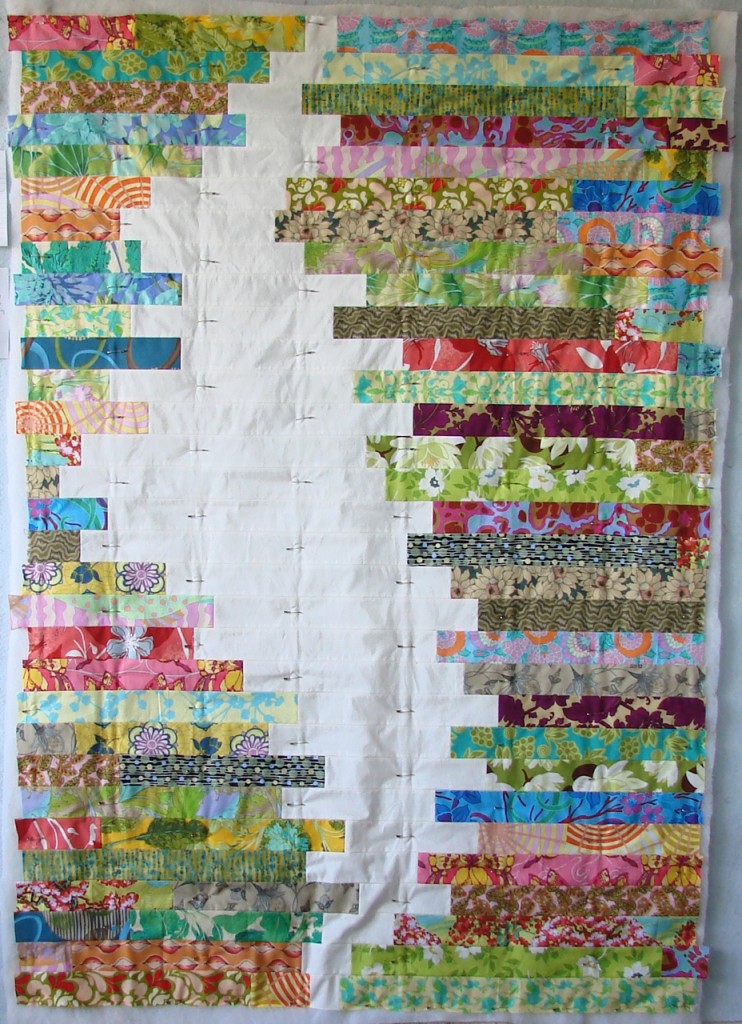
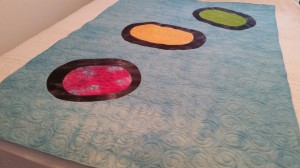
First up is Twister, which is basted and ready to quilt. I almost started on it tonight until I remembered I needed to write this post. (Guess I can blame my sister if I don’t get it finished, heh heh.) I was inspired to play with a variation of Stacked Coins – what if I put the “background” in the middle and made it the focus? (Sorry for the crappy photo, I was in a hurry.)

Next is Eyelash (working title, I need something better), which I had Marcia of  Marcia’s Crafty Sewing and Quilting (www.craftysewing.com) quilt for me (and she took this photo). Being all quilted means – in theory – that it won’t take long for me to finish it. I need to add some bias-strip applique, and the binding, sleeve, label. The inspiration was an image I “saw” as I woke up one morning. I thought it would make a neat quilt idea and sketched it out before I forgot. It evolved from there.

Eyelash quilt quilted

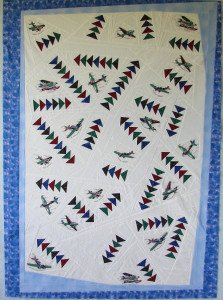
This airplane quilt, which I started quilting then set it aside earlier this summer, is for my Dad. It’s been a UFO for about 15 years, so I thought maybe I should try and finish it before he dies (he’s 80 now but should be good for a few more years, having had a triple bypass a few months ago).Dad's quilt top
And somewhere are pieces intended to become a table runner for my mom. Plus the one I haven’t started yet but have all the fabric.

So that’s what I should be working on. I can’t believe it’s almost mid-October and I have done nothing on any of them. The QuiltCon entries are due by the end of November!

How my work differs from others and why I create what I do sort of tie in together. I started out as a traditional quilter, as nearly all quilters were back then. It gave me a solid foundation in the mechanics (and math) of figuring out how to put a quilt together. With rare exception, I’ve always done my own designs, others patterns are boring and were scarce when I learned quiltmaking. But it took me awhile to branch out and start working improvisationally. The airplane quilt was one of my first attempts, and reached the point where I didn’t know how to pull it together and put it in a bin. I must have learned something in the years since, as my only problem once I pulled it out again was running out of fabric. That’s why the border is kinda different.

I like to think I’m an eclectic quilter – I try anything that looks like fun and usually give it my own twist. Traditional, improvisational, scrappy, Art, Modern, or anything in between, it’s all fair game in my studio. Although making a Modern quilt has been a challenge for me, and I’m not sure I’ve pulled it off yet, as the part of Modern quilting I like best is “no rules.” That’s great, except if you have no rules, who decides what is Modern and what isn’t? I’ve read over lists of characteristics and try to fit within them, but the quilts tell me what they want and I keep straying outside the lines.

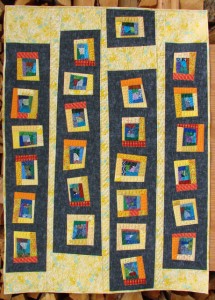
Like with this one, which I finished back in June. What do you think, is this Modern, or Art? Or something else? latest quilt

What’s most important to me is to have fun. And finish some UFOs. The best projects are the ones where I can have fun with my UFOs, even if the end result is not what I started out to make.

And now I’m going to spin the globe and send you to Jan Quigley over at Molly’s Meanderings, who will post on the 20th (right Jan?). She’s a crafty Aussie who likes to quilt, check out her blog here.

 October 14, 2014  Posted by at 7:36 am Uncategorized No Responses »
Sep 302014
 

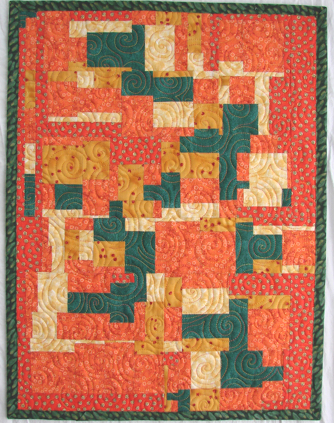
Here it is, my mini for Project Quilting’s September challenge. When I read about the challenge for this month I thought “perfect, I can use up the scraps on my cutting table and finish this in no time.” (Hmmm – note to self – define “no time.”)

I finished it yesterday and am writing this blog post in time to get it linked up just under the wire. In fact, I will need to come back later and write a bit more about how I made this one, because I took a pile of process pics that I don’t have time to edit tonight. All I’m going to say now is it started with some scrap strips leftover from another project (not yet done). I sewed, I cut, I sewed, I cut, I played on the design wall. Then sewed some more.

It is quilted in simple spirals all over, with a variegated thread (Superior Rainbows) that doesn’t really show except on the green portions. The binding was a leftover bit in my “scrap bindings” box.

It finished 15 1/4 inches wide and 20 inches long. I named it “Sprawl.”

 September 30, 2014  Posted by at 7:47 pm Uncategorized No Responses »
May 062014
 

OMG, how did it get to be May already? I never did get a post up for a finish for April. Not that it mattered, since I didn’t finish anything in April. But I am making 80th birthday gifts for my folks and I need to get them finished this month. One I plan to send out to be quilted, so the other one is my intended finish for May.

I wrote about it here for NewFO, since it was my only new start last month. A table-runner for my mom, to go with the napkins I made her for her birthday last Fall. Small should finish up fast, right? Well, it might if I knew what I was going to do with it. I’m figuring out the design as I go along, which sometimes works fine and sometimes not so fine.

Spring is here, and that means lots of time spent preparing and planting my garden. And lots of time in the garden means not much time for sewing. That will have to change if I am going to get these gifts done on time!

I posted this image last time but I’ll put it here again so it will come up for the linky thing.

 May 6, 2014  Posted by at 8:12 pm Uncategorized No Responses »
Apr 142014
 

As many women do, I decided to make a quilt when my son was little. If I remember right (always an iffy proposition) he was five at the time. I’ve liked quilts since I was equally little, being fascinated by the vintage quilts my grandmother had on her beds. Exactly why I thought making a quilt might be a good idea I don’t know. I think I had this vague idea that I could make money selling quilts and quit my day job. Ha ha ha! I’m still trying to figure that one out, although the day job is long gone.

While I hadn’t made a quilt before, I had made a patchwork potholder for my mom in 6th grade, as a sample to go with a term paper I wrote about quilting. This was back in 1968 (don’t you dare do the math), and there weren’t many quilt books out there (none I could find) so my research was done at the New York State Historical Society, which happened to be in the town we lived in at the time. For the potholder I did a star, possibly an Ohio Star, and I can’t remember if I had a block pattern to follow. No step-by-step instructions, I had to figure it out, and I used scraps my mom had. I have no photos of this early masterpiece (or of my first real quilt, for that matter).

I also made a patchwork blanket for one of my model horses, from sample bits my mom gave me. No batting so technically it isn’t a quilt. I still have it around here somewhere, but the horse is long gone.

So I had a little bit of piecing experience when I set out to make a quilt, and a treadle sewing machine my dad had given me for my 16th birthday. I might have made the model horse blanket on it. (It’s not like I had any interest in sewing clothes or home decor.) I needed the treadle because we lived off the grid and our itty bitty solar power system couldn’t handle a sewing machine or iron. I sewed at home, then took the pieces to my mom’s house to iron them. The work got done in stages.

For a pattern I went shopping in my mom’s craft book collection, and found a Quilt-in-a-Day book by Eleanor Burns, complete with cardstock template pieces to cut out. The book was for a sampler quilt, but I chose one block (a pinwheel variation) to use for my first quilting venture. And yes, I cut out the templates, layered fabric, pinned the template in place, and struggled to cut through four layers of fabric with my mom’s old sewing scissors (read: dull). (I discovered rotary cutters soon after that first quilt.)

Once I had all the pieces cut, I learned real fast how to fudge a seam! My memory has faded over the years, so I don’t know how I managed to get it all put together, but I did. Then I had to figure out how to quilt it. First I basted the layers with straight pins and tried to sew a simple quilting line on my machine. Didn’t work. The pins didn’t hold and everything moved around.

After ripping out those stitches I resigned myself to hand quilting. I may have rebasted it, or I may have struggled with the straight pins, I’ve forgotten those details. Maybe I’ve blocked it out. All I remember was doing the bare minimum to hold it together, and my stitches almost qualified as Big Stitch. And somewhere along the line I lost a needle.

Eventually I finished it and gave it to my son, who loved it dearly. About 8 months later, he called me in to his room soon after bedtime, and said, “Mom, there’s something sharp in my quilt, it pricked me.” He showed me where it was, and I felt around and worked it out, thinking one of the straight pins had ended up inside. Nope, it was the missing needle. Sure made me feel like Mom of the Year for that one!

What I don’t understand, looking back, is why that wasn’t my last quilt as well as my first. I guess I’m a slow learner, because I’m still making quilts 25 years later. Although I’ve stopped leaving needles in them.


This post is my entry in the Blog it to Win it Contest sponsored by Interweave. If I win I want the following prize package:

Enhance Your Quilting with Digital Surface Design Techniques: Creating Brushes in Photoshop Elements DVD by Margaret Applin

Digital Imagery in Fiber Art: Using Textured Backgrounds for a Painterly Effect DVD

Digital Collage for Quilt Design From Start to Finish DVD by Diane Rusin Doran

Digital Surface Design: Simple Techniques for Hand-dyed Fabric Effects and More with Diane Rusin Doran DVD

2013 Studios Collection CD


 April 14, 2014  Posted by at 4:40 pm Uncategorized 1 Response »
Jan 262014
 

[read Part one here] [read Part two here]

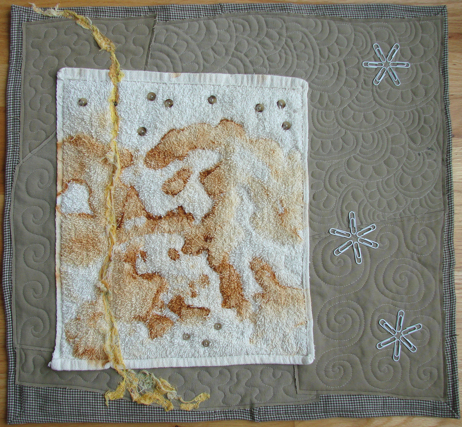
Finished! This little beauty ended up about 20.5 inches by 22.5 inches.

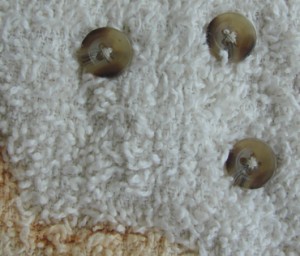
After quilting the piece I played around with embellishment ideas. First was the buttons I had cut off the shirt, those went on the empty areas of the washcloth because they would have blended in with the tan background.

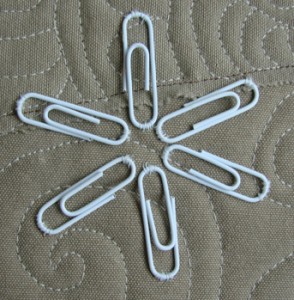
Next up was pieces from the old jigsaw puzzle. I pulled out the white ones and arranged some in a circle. A little fiddling about and I thought “that looks a little like a snowflake, except it’s 8 pointed.” So I reduced them to 6 points and stepped back. Hmmm. They didn’t stand out much against the tan background. Oh, they aren’t really white, are they? Maybe the paperclips would be better. So I ditched the puzzle pieces in favor of paperclip snowflakes (the clips are white, I picked them out of a batch of colored paperclips).

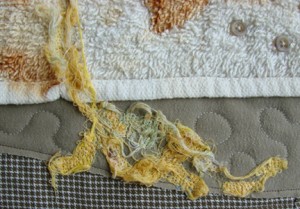
Once I had snow on my mind I looked at that rusty cloth and thought “don’t eat yellow snow.” Which reminded me of a story I heard back in high-school when I was on the cross-country ski team. (Don’t be impressed, it wasn’t much of a team.) Seems at a recent race, one skier had gained advantage over a competitor by scooping up a handful of yellow snow and eating it front of the competitor, who immediately got sick. But it wasn’t what it looked like – a friend had poured orange soda on the snow a few minutes earlier.

With yellow snow on my mind, I added the yellow “stream,” made with loose threads cut off washed fabric (you know, the part that gets all tangled up in the washer and dryer). The stream also covered up a thread defect in the washcloth.

So that’s my little art piece, all upcycled material except the thread used to sew it. Titled, as you might have guessed already –

Don’t Eat Yellow Snow

 January 26, 2014  Posted by at 1:35 pm Uncategorized No Responses »
Jan 112014
 

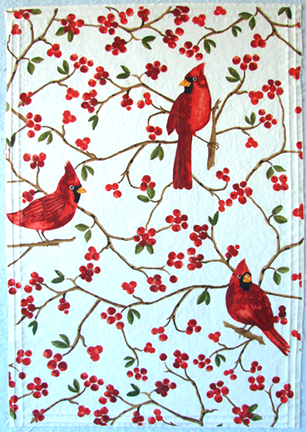
For Christmas my mom gave me a lovely cardinal tea towel (or, as I’ve always called them, dish towel). I thought it was too nice to use. The towels I use get faded, worn, and stained. This one deserved better. My sister had done a tea-towel challenge last year over at 15minutesofplay  and it looked like fun, so using this towel in a quilt was on my mind when I ran across a new challenge.

Here I show the towel after I opened the hem – you’ll notice the bird on the edge has no tail (poor thing). (It’s not bluish at the bottom, that’s poor lighting on my design wall thanks to my husband stacking firewood so it blocks the bottom third of the window.)

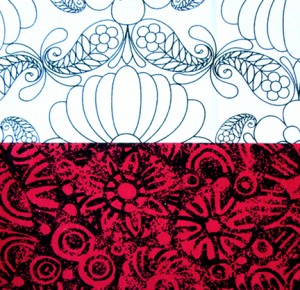
About the same time I decided to do the challenge, I watched a Craftsy class by Joe Cunningham on Pattern-free quilt making. For the second class project I thought I’d use black and white, but when I went “shopping” in my stash, I found this red with black print and it jumped out at me. And I had an idea – why not combine the two projects? Add my tea-towel to Joe’s process and see what I come up with. Here are my two fabrics:

(More on the quilt next month – although you can get a sneak preview in my post for the Finish-along, coming soon.)

 January 11, 2014  Posted by at 7:43 pm Uncategorized 2 Responses »
Aug 282013
 

Just got a notice from my host that they are switching to new servers. This may involve my having to change nameservers or something, in which case this site may temporarily be unavailable. Don’t panic, we’ll be back. If you find a blank page where Quiltiverse used to be, we weren’t hijacked by aliens. Go finish a UFO and we’ll be here when you’re done.

 August 28, 2013  Posted by at 1:48 pm Uncategorized No Responses »