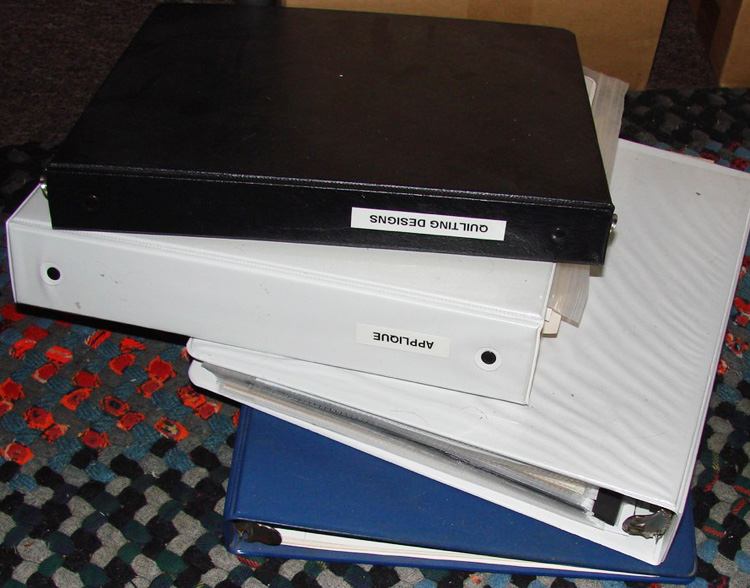
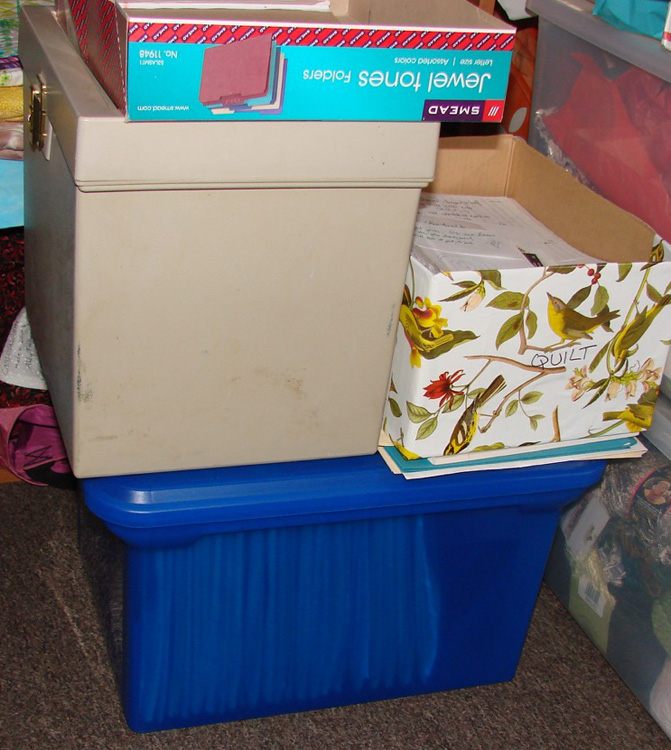
Every winter I take another stab at organizing my sewing room. And every winter I manage to make more of a mess without ever finishing the job. The room has reached critical mass – I’m having trouble working in it. So when I saw that Patchwork Posse was blogging 30 Days of Sewing Room Organizing, I decided it might be a good idea to follow along. Here are some photos of my room as it was yesterday:
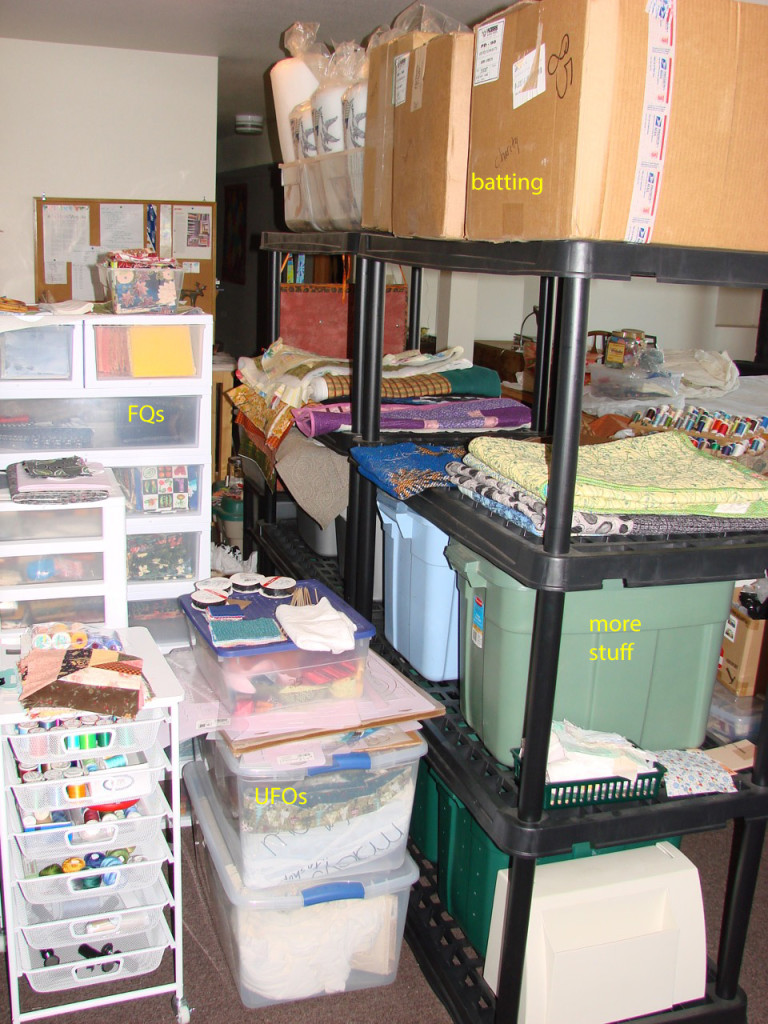
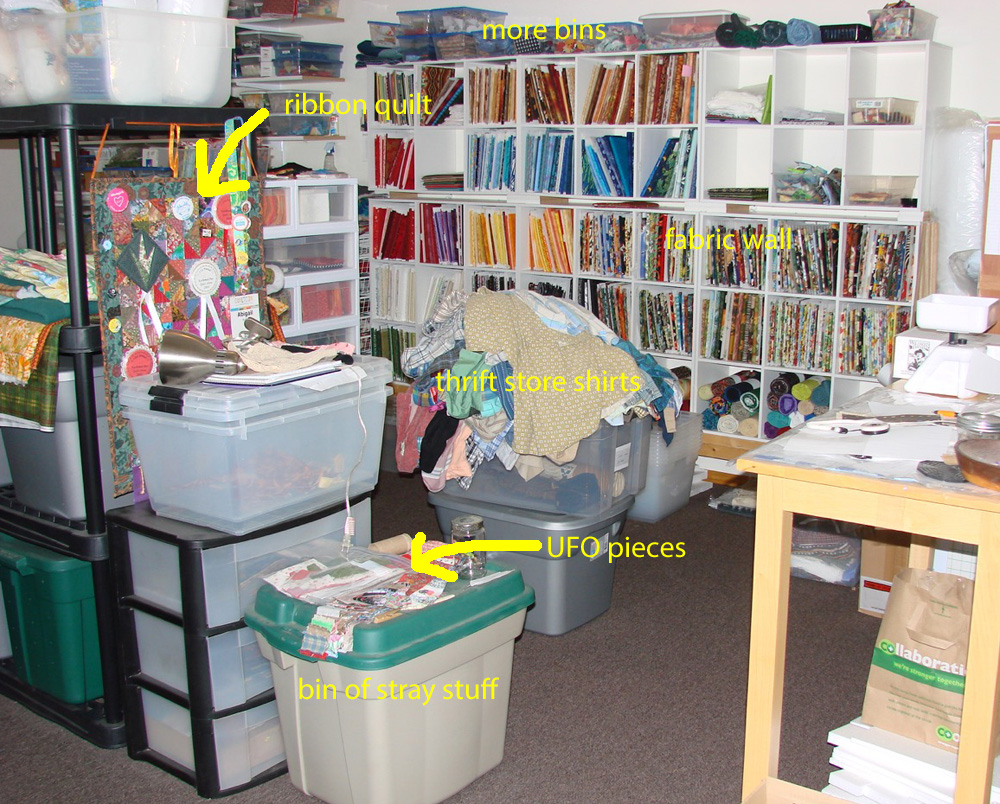 View as you walk in the door and look to the right. I’ve labeled a few things. The fabric wall looks pretty well organized, but it isn’t all my fabric. I fear I won’t have enough cubes once I dig out the rest.
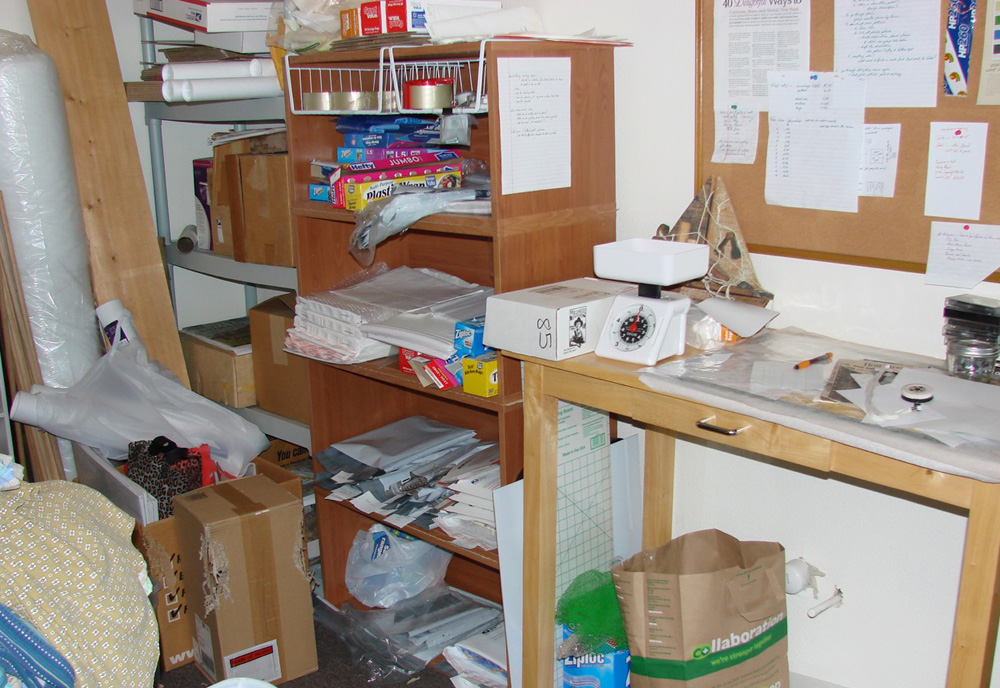 The area barely seen on the right of the first photo – I call it my Etsy area. It’s for packaging and shipping but also collects odds and ends.
 Now if you look straight ahead as you enter you see this mess. The vacuum cleaner usually resides in the guest room but until a week ago my sister and her hubby were living in it (the room, not the vacuum). The cube shelves hold up the sliding closet doors I removed from my office, serving as an extra table.
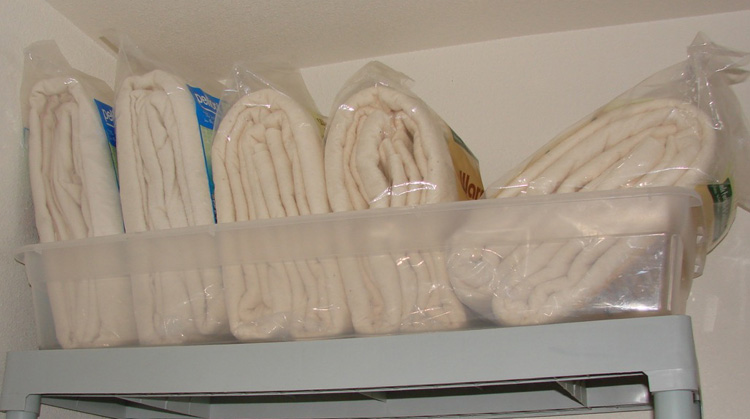
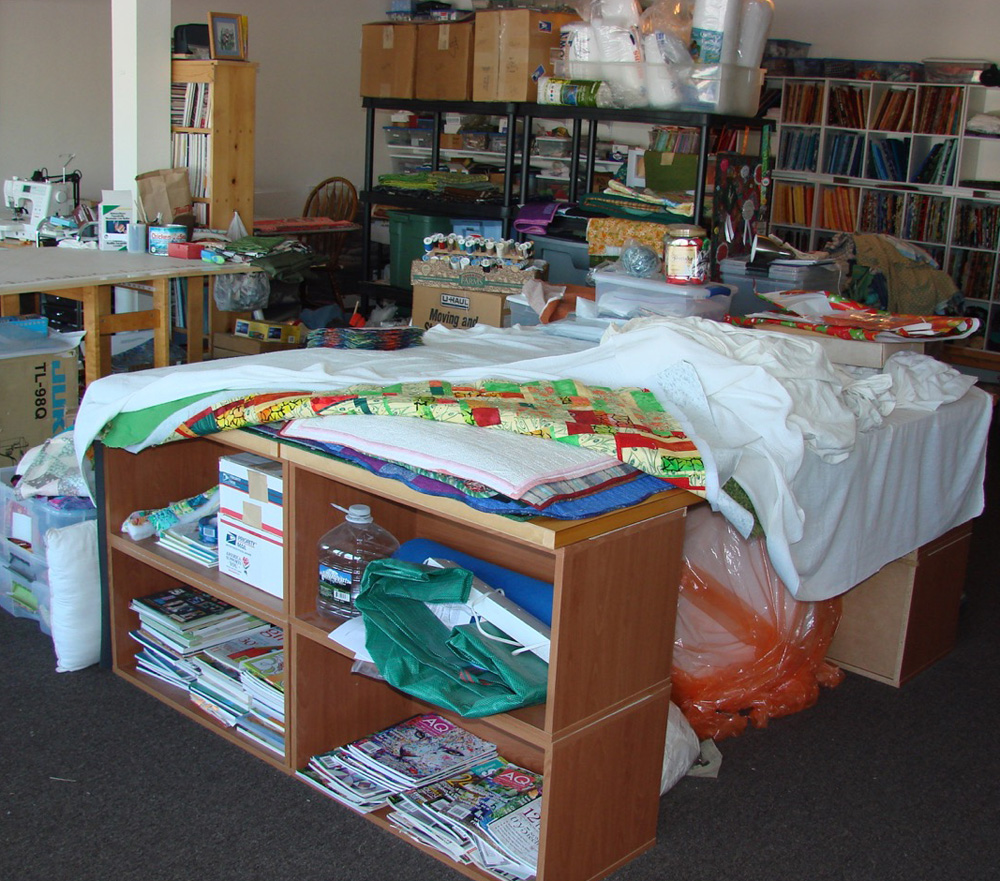 Swing to the right as you enter, and now you are at the other end of my makeshift work table (currently serving as quilt storage). I’ve folded up a corner of the protective sheet so you can see the pile underneath. That colorful one on top is not quilted yet. The room’s windows are over your left shoulder at this point.
 Walking along the left side of the room, the quilt storage table is on the right edge of this picture. This space is full of bins of fabric earmarked for charity quilts, stray boxes, and a few UFOs. The work table on the left actually gets used.
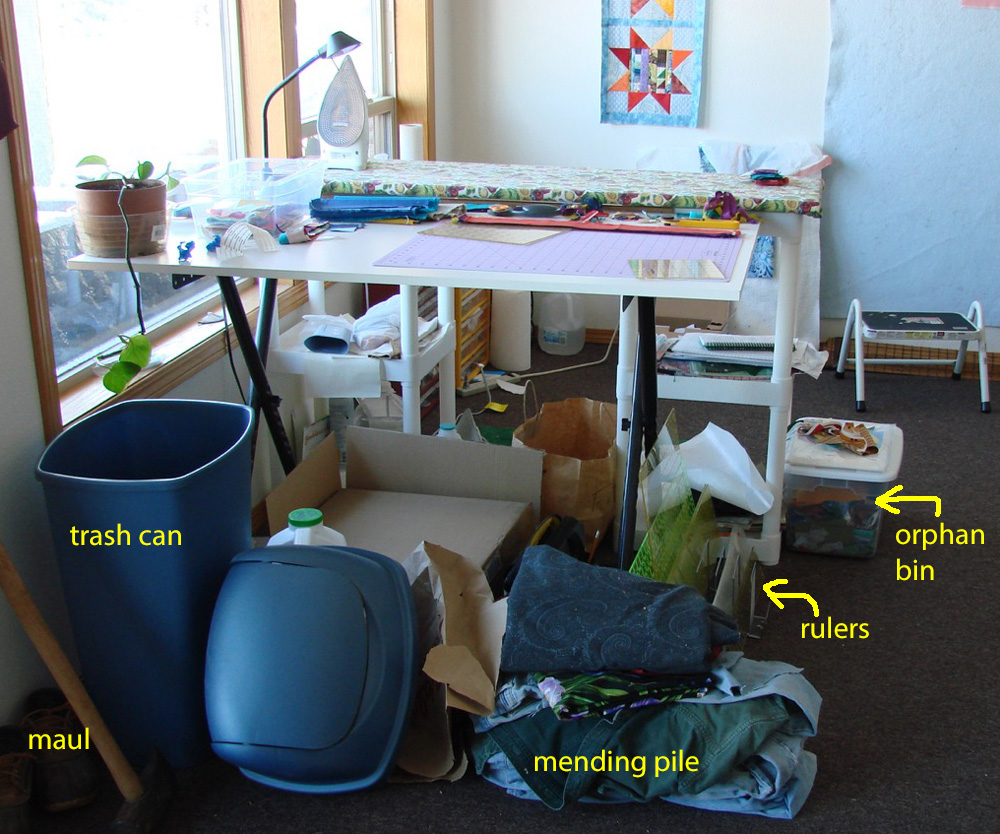 Looking over to your left is my smaller cutting table, and ironing board. And a few things on the floor. The trashcan is useful when I remember to put a plastic trash bag in it. The mending is my spouse’s clothes, I suppose I should make him happy and patch them ( and get them out of my room!). The maul is for splitting wood. It’s leaning against the wall next to the door to the outside, where the woodpile is. There’s a little woodstove in the corner I didn’t show (hard left as you enter the room) and I heat the whole downstairs with it.
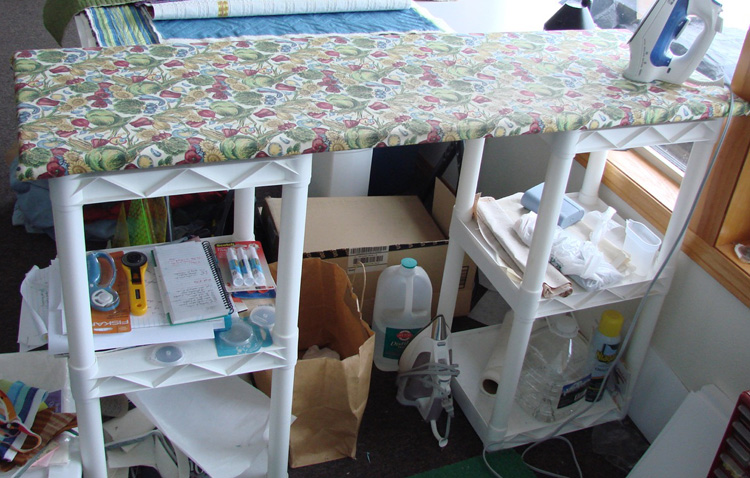
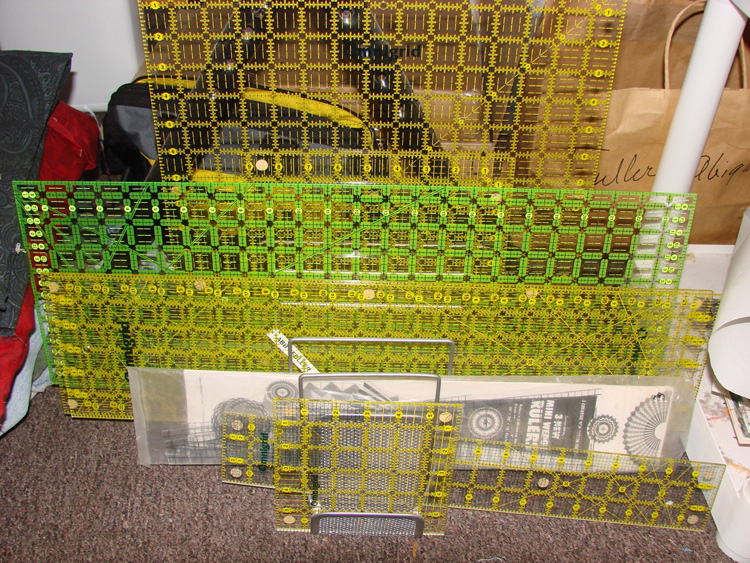
My rulers are on the floor because I used to have a bigger cutting mat on this table and there wasn’t room for the rulers on the table. Still isn’t when I’m ironing yardage. The ironing board is a DIY version – cotton batting with a fabric cover over plywood. I’ve rested it on the two plastic shelves and it’s just the right height.
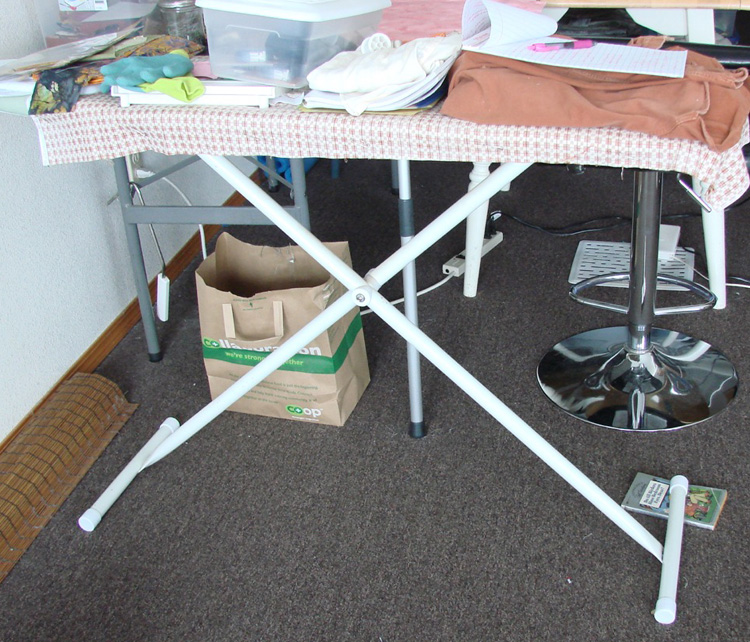
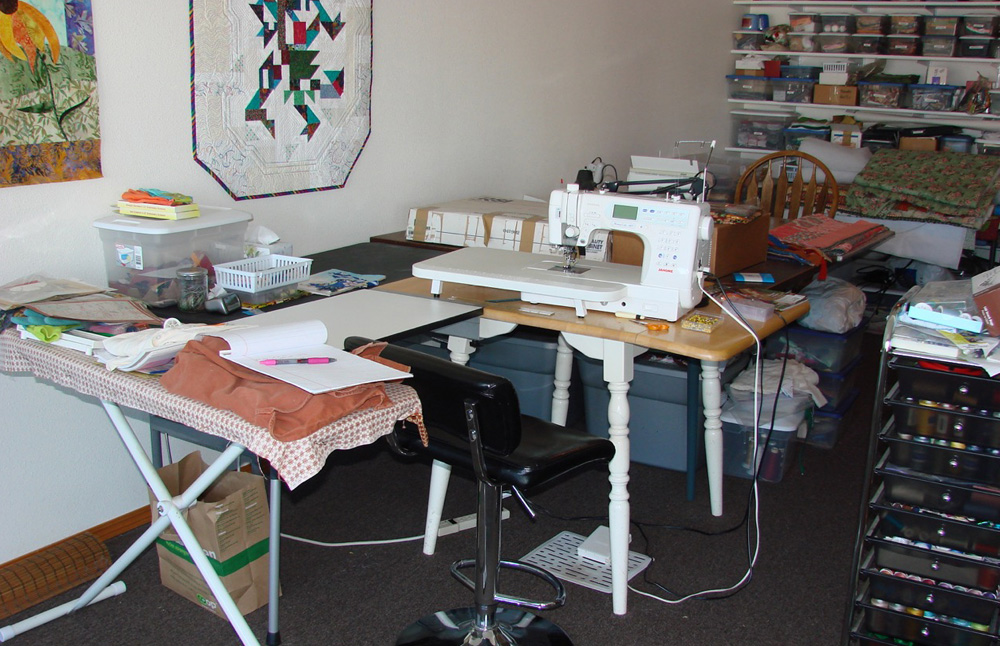 Here’s my store-bought ironing board, which serves as a handy shelf. I think I put it there to help hold a quilt I was quilting, but replaced it with the white extension shelf to the left of my chair. And now can’t put it away because where will I put the stuff on it? Not shown is the paperback book under one leg to keep the thing steady.
I actually do my sewing in this spot, which is why it is somewhat clear. The boxes on the table behind the machine were put there when clearing the guest room, I guess they could go back now. If you look in the back, there’s another chair, and another sewing machine.
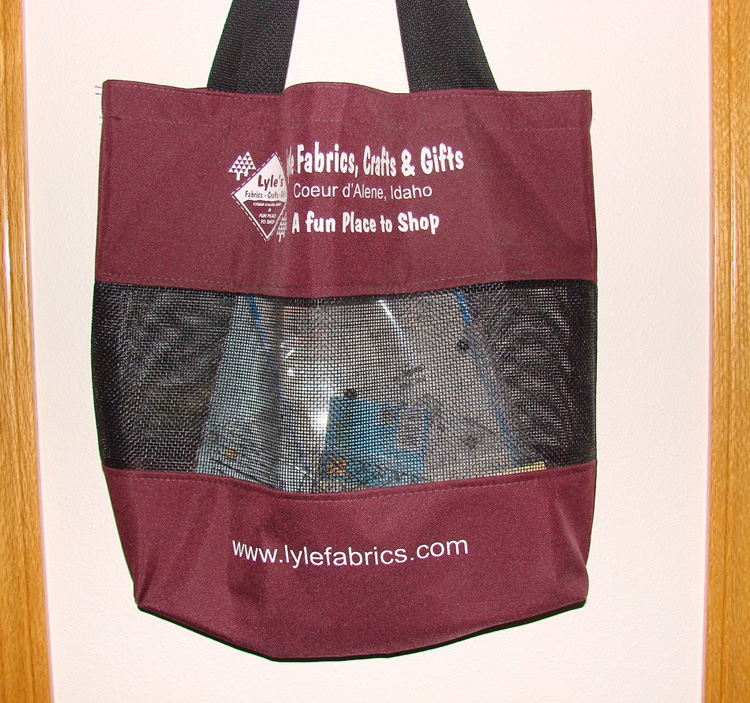
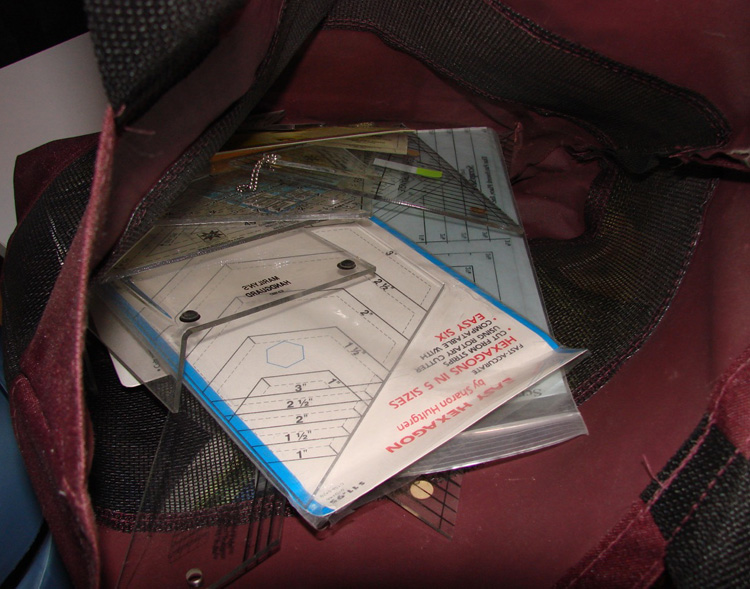
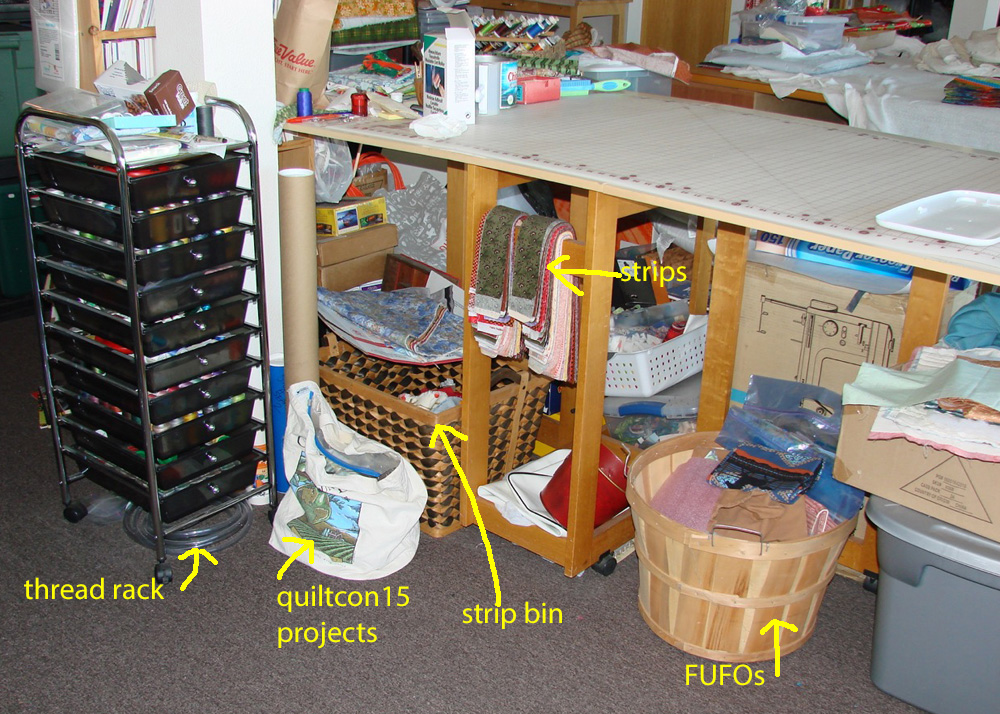 Now we’re standing at the wobbly ironing board looking back at my big cutting table. The tote bag sits where I set it when I arrived back from QuiltCon15 last February. Maybe one of these days I’ll unpack it and do something with the half-done projects. The strip bin collects stray strips when I cut fabric – usually edge trimmings. FUFOs is my sister’s term for Future UFOs. Isn’t that optimistic? We’ll just call them future projects. Although some are beyond the raw fabric stage.
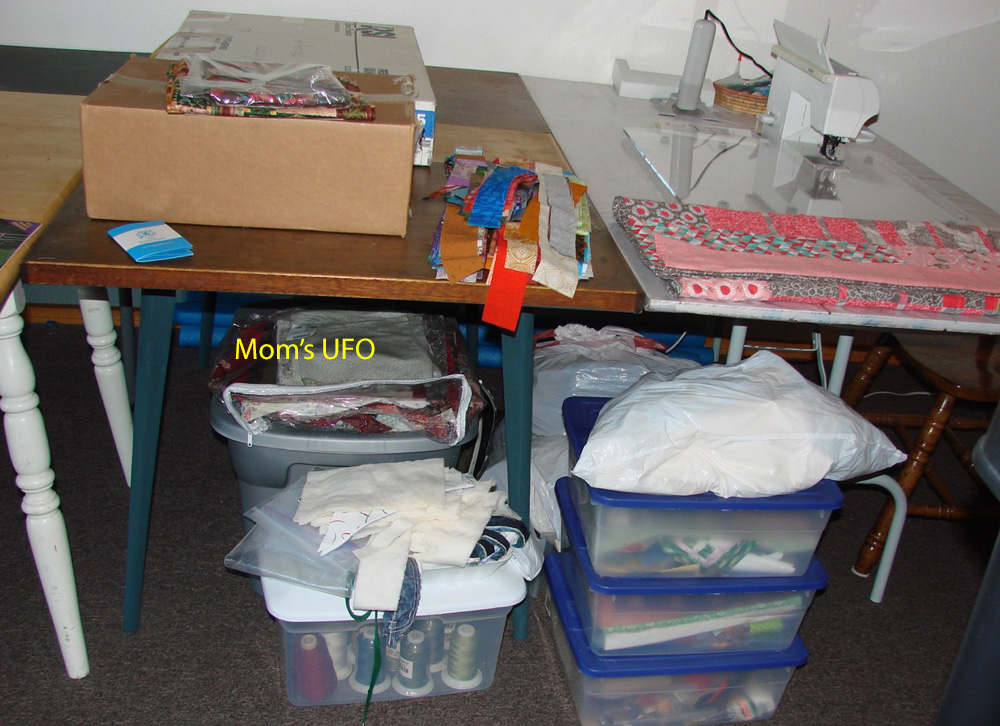 Here’s the middle of the sewing room. The boxes can go back in the guest room now (they contain some family artwork). There’s a pile of strips leftover from a recent project. Various bins, and yes, my Mom sent me a pile of blocks she made. Thanks Mom, like I didn’t have any UFOs myself! That pink and gray is a finished quilt – you’re looking at the back of my Riley Blake Challenge quilt. Pout – not even a finalist. And not accepted to QuiltCon either. Now what do I do with it?
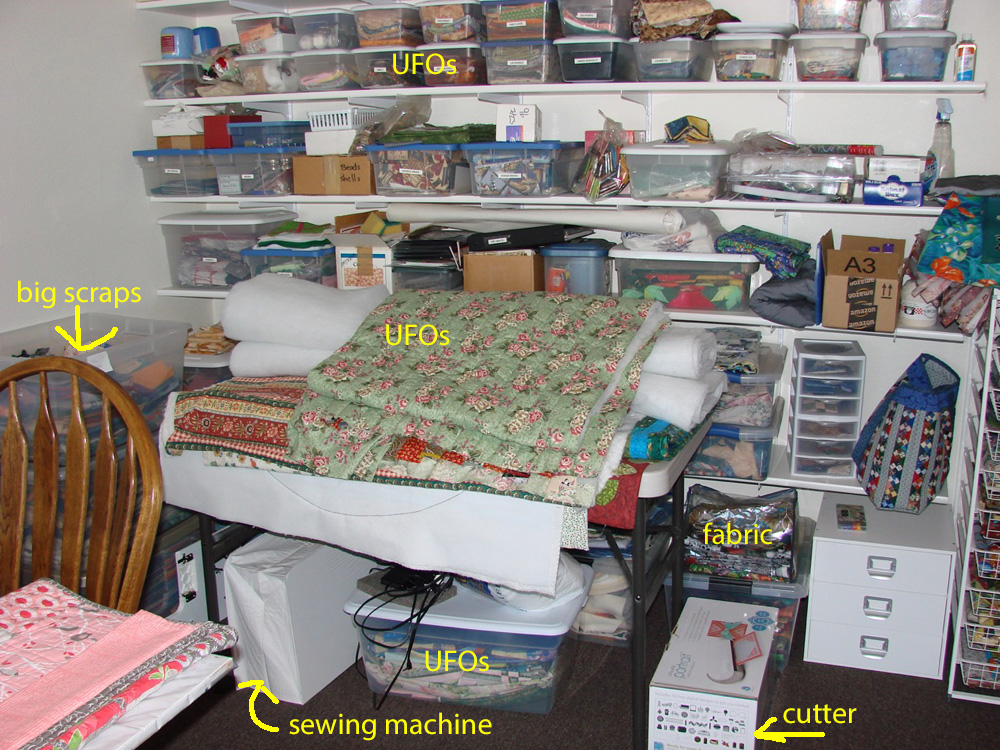
I guess you could call this the UFO corner. Not that they are all here, but a lot of them are. Along with another sewing machine, some fabric, and even some finished quilts. There’s a folding table somewhere under the pile. It was pushed up against the other tables (where the chair is) and from the other side I lost track of how many tables I had pushed together. I spent weeks wondering where our third folding table was (the other is in my office), even asked our son if he had borrowed it. He thought I’d find it in my sewing room – ha ha – he was right! Buried under a pile of quilts.
And there’s my fancy electric fabric cutter – still in the box. There’s a challenge for myself – actually use the thing this winter!
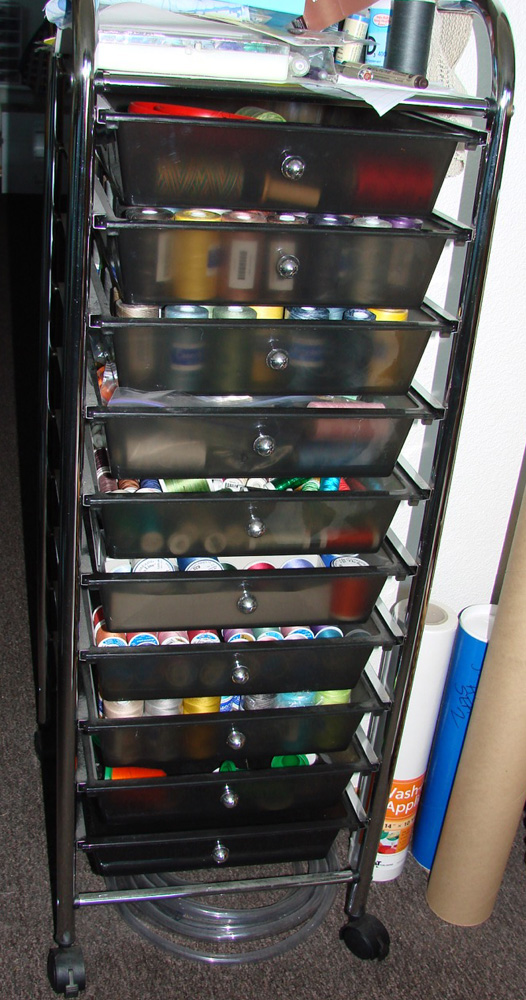
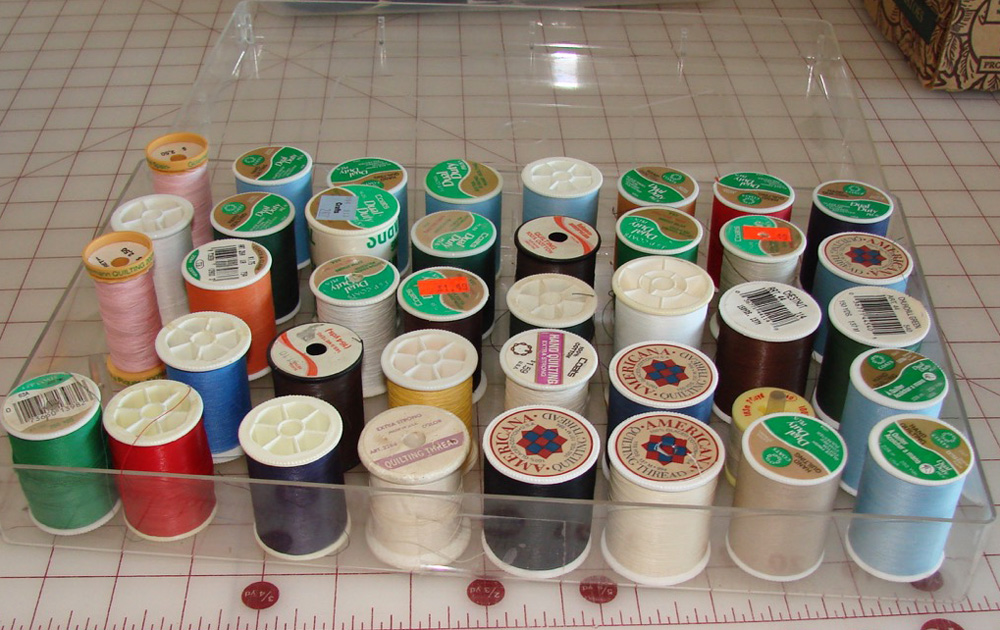
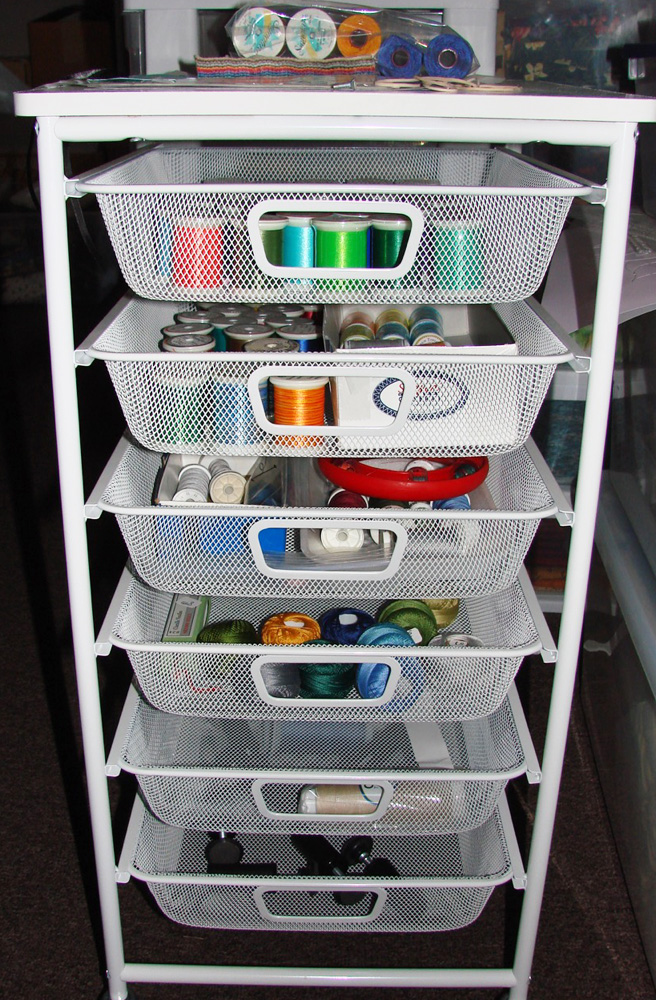
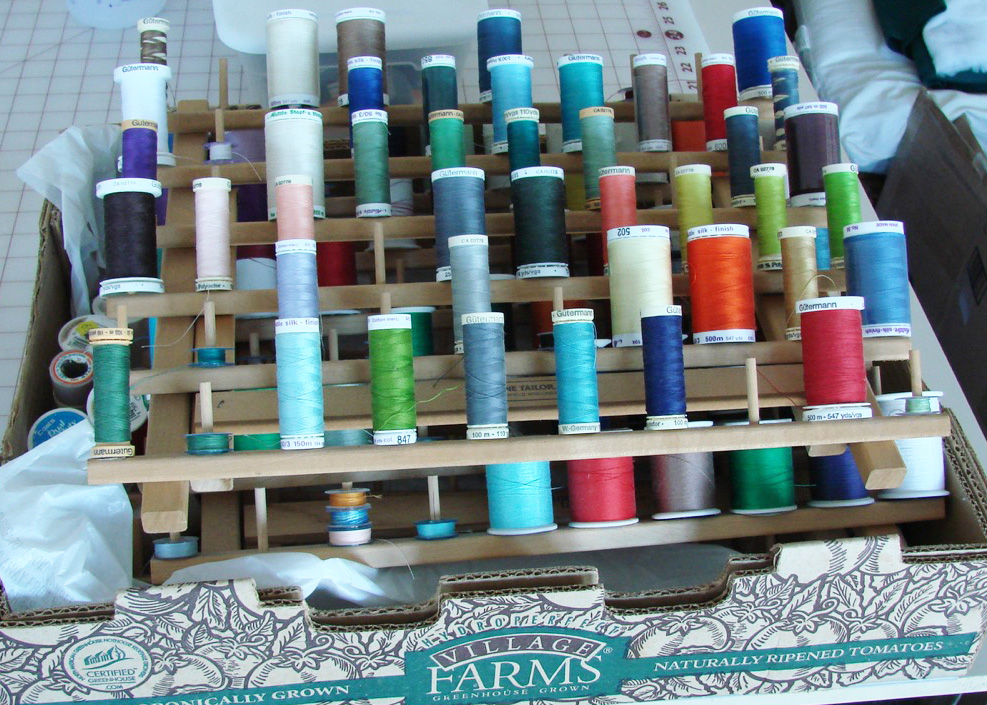
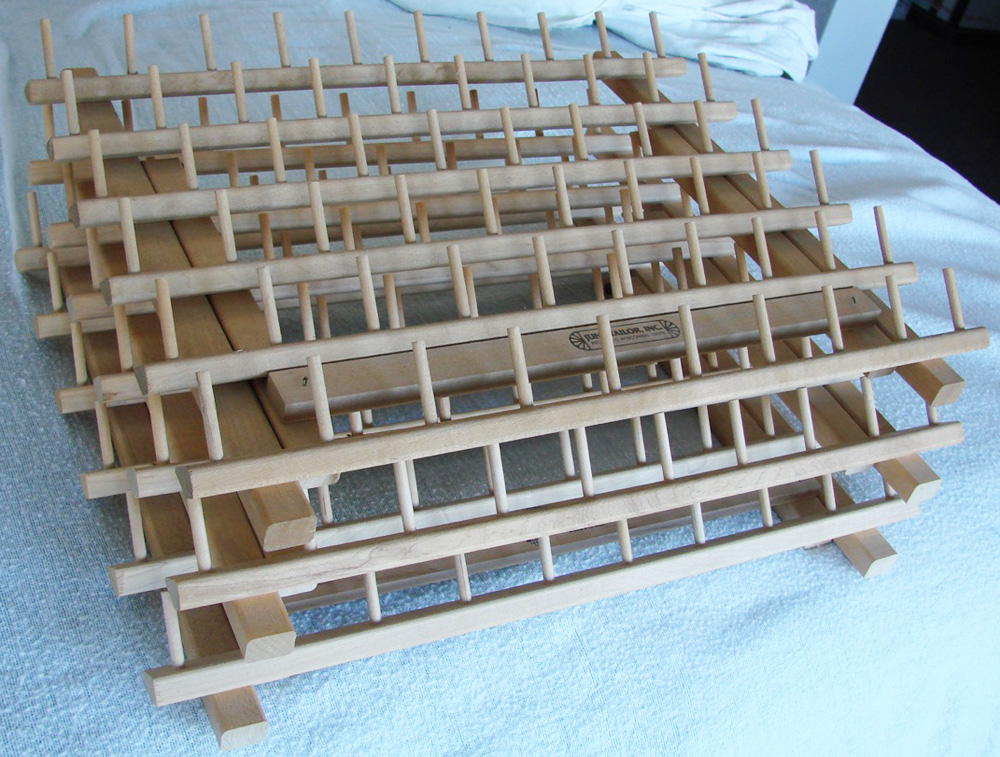
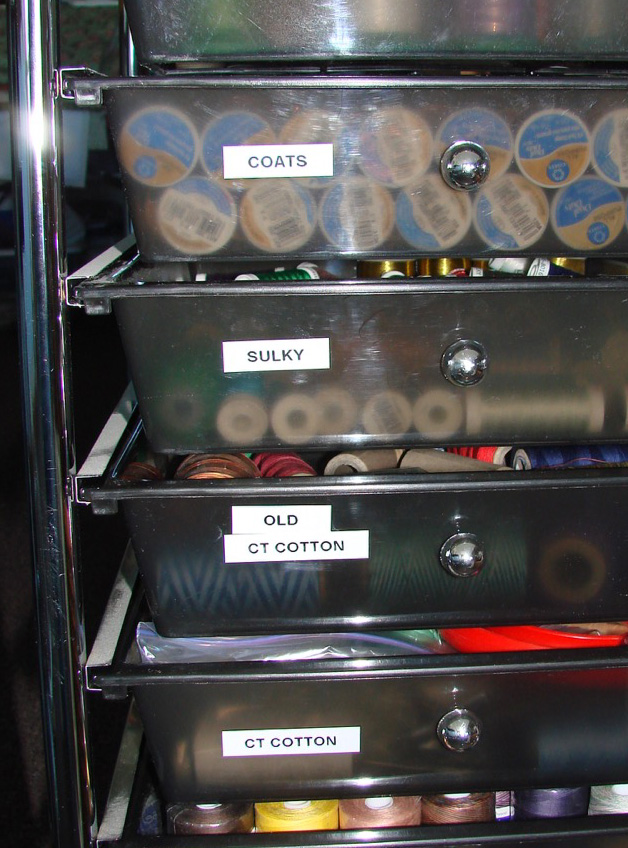
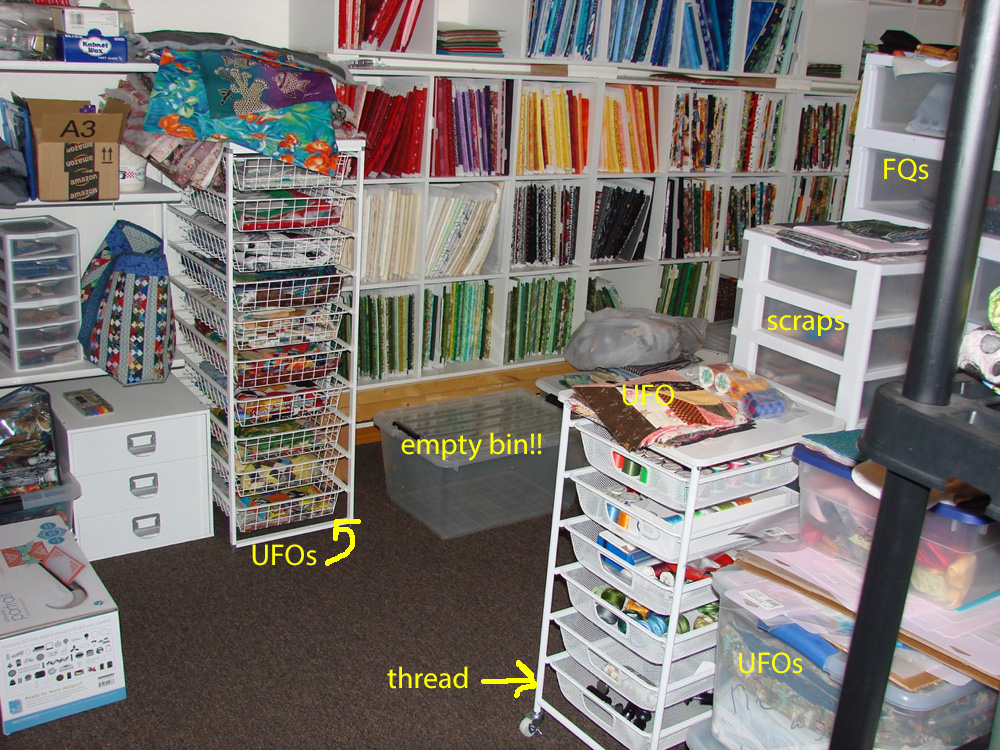 Looking to the right from the last shot (the fabric cubes are on the wall opposite the windows), this almost looks organized. There’s a drawer rack full of tops waiting for quilting (or in some cases a border), the fabric cubes, a [gasp] empty bin, a thread rack, my scrap system drawers (half empty, while several bins of scraps lurk here and there), and a corner of my fat quarter drawers.
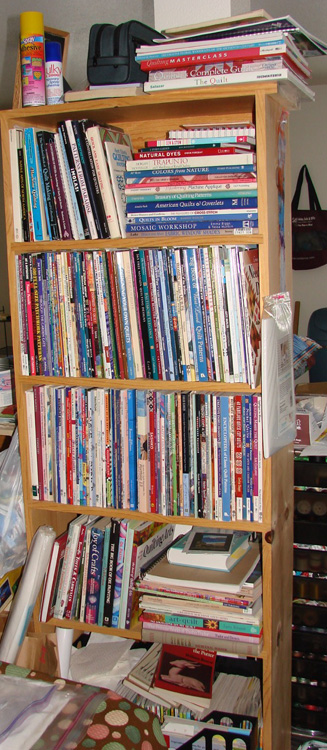
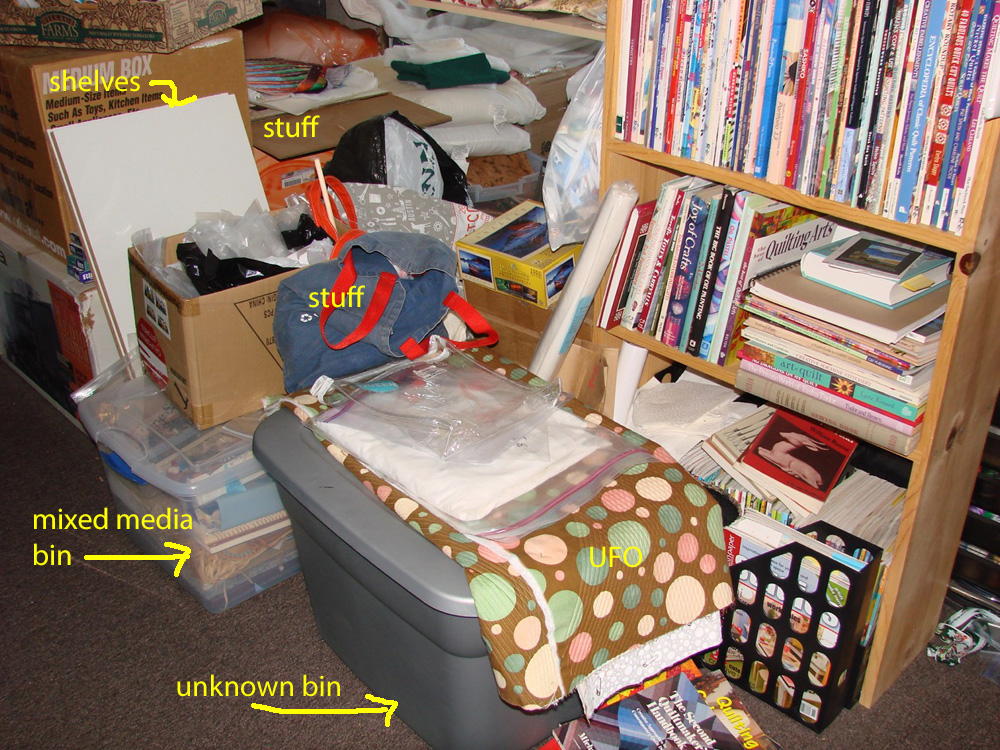 Oh, don’t turn around now! Go back to admiring my stash cubes! This space is the back side of the filled space between work tables. You can also see my over-flowing bookshelf here. The two white shelves make a small work surface when placed on top of four big bins stacked two high. Except I no longer have the floor space to set it up.
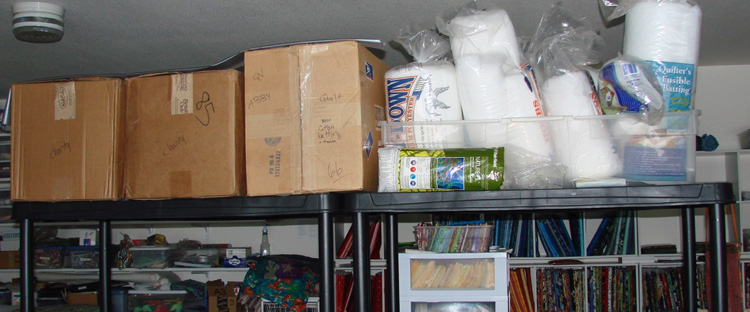
 And in the middle of it all is this plastic shelf unit, which usually holds a dozen Rubbermaid bins. I cleared four of them to give me a little space to sort out quilts, but I didn’t get very far. The stack on this end are finished, the rest not.
So there you have it, the “before” pics. My sister vacuumed in here while she was in residence and said it was a labyrinth! I wanted to use the name, Labyrinth Studio, but it’s already in use. Maybe I’ll just refer to is as my labyrinth in stead of my studio or sewing room or playroom.

