Abby

I've been quilting since the late 1980s - long enough ago that I can't remember the exact year. I'm fond of starting new projects and not so good at finishing them. Last time I counted my UFOs I had 85, before I found a couple more bins I'd forgotten about. My life's goal is to finish them all, one way or another.

Jan 042016
 

We interrupt our regularly scheduled broadcasting to bring you this special announcement. [Am I dating myself here??]

I intended to post every day about my progress following along with the 30 Days of Sewing Room Organizing, but today was one of those days eaten up by running errands and other life chores. No organizing got done. But I did accomplish ONE important task today: mailed my QuiltCon entries. Yep, you read that right – plural! I was totally gobsmacked to get not one but two quilts accepted this year! (Too bad I won’t be there to see them, sigh.)

And I remembered I haven’t posted any photos of them! Quilts pics are more interesting than my messy studio any day, right?

First up is Treetops, made for the Triangle Design Challenge. It is about crib size. I like smaller quilts, I can finish them faster.Treetops full

And I made a little one (did I mention I like to work small?), carefully planned to stay within the “small quilt” size of under 36 inches. I call it Sprinkles.Sprinkles full

There ya go, a preview of QuiltCon 2016.


 January 4, 2016  Posted by at 8:02 pm QuiltCon Comments Off on My QuiltCon entries
Jan 032016
 

Day 1 of Patchwork Posse’s 30 Days of Sewing Room Organizing is thread storage. Easy enough, I already have my thread in drawers. But it occurred to me that my system could stand a fresh sorting-out. So I did.

threaddrawers1

Main thread drawer system. I dusted and rearranged the drawers, putting the heavy ones on the bottom. This rack is sold for holding papers for crafting, and it isn’t really rugged enough for thread, but I’ve used it for 4-5 years now and it hasn’t fallen apart yet [knock on wood]. The coil of plastic tubing underneath is waiting to be cut up to make bobbin clips.


threaddrawers2

I bought this particular drawer set because the drawers are the perfect height to hold my favorite thread, Essentials cotton from Connecting Thread. I buy more whenever it’s on sale, but after sorting my threads I think I may have enough for awhile – there are two more drawers this full.


threadbaggies

This drawer shows how I keep the bobbins with the thread they were wound from – at least for this thread. Snack baggies! Only catch is, these are Pfaff bobbins and I now have a Janome. So far I’ve used other threads in it, but I may have to start writing on the baggies to keep the bobbins straight.


threadbox

Also in one of the drawers was this box of hand quilting thread. I haven’t touched any of them in about 15 years, but I might take it up again one of these days. But secure in this thread box they didn’t need to be in the drawers so I stashed them on my shelves. That freed up a drawer that I put at the top of the set and use for a catch-all. It holds a few odd spools that don’t fit the system, plus a drop spot for whatever I’m currently using.


threaddrawers3

I bought this drawer set from Michaels when on sale, and ended up putting thread in it. Maybe someday I can reduce the thread stash and use these drawers for something else. Like more tops waiting for quilting.


threaddrawers4

These drawers don’t hold as many spools as the plastic ones. This thread I bought at a Ricky Tims Seminar about three years ago – and haven’t used yet. Surely I’ve got a project somewhere I can try them on!


threadracks

My old thread system is represented here – June Taylor wood racks. I like these (easy to see the thread) but found it hard to keep the bobbins with the threads. With taller pegs the bobbins could sit under the spools, but it didn’t work well on these racks. All these threads went into drawers.


threadracks empty

I emptied the racks (which will be put back to use someday), and got rid of the ratty old box they’d been sitting in.


drawers labelled

Then, in a final fit of organizing energy, I dug out my label-maker and labeled the plastic drawers.

Good thing both sets are on wheels – I still need to find a permanent home for them both in my studio.

 January 3, 2016  Posted by at 10:01 am Organizing and Decluttering Comments Off on Studio Organizing day 1
Jan 022016
 

   Every winter I take another stab at organizing my sewing room. And every winter I manage to make more of a mess without ever finishing the job. The room has reached critical mass – I’m having trouble working in it. So when I saw that Patchwork Posse was blogging 30 Days of Sewing Room Organizing, I decided it might be a good idea to follow along. Here are some photos of my room as it was yesterday:

room1 copy
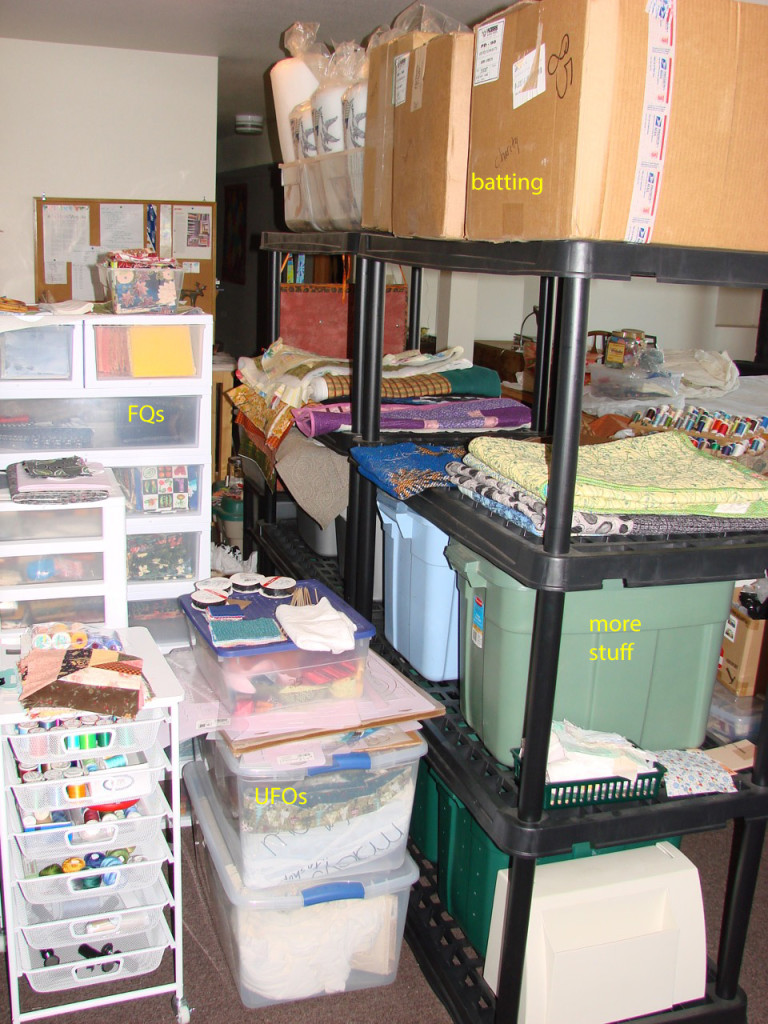
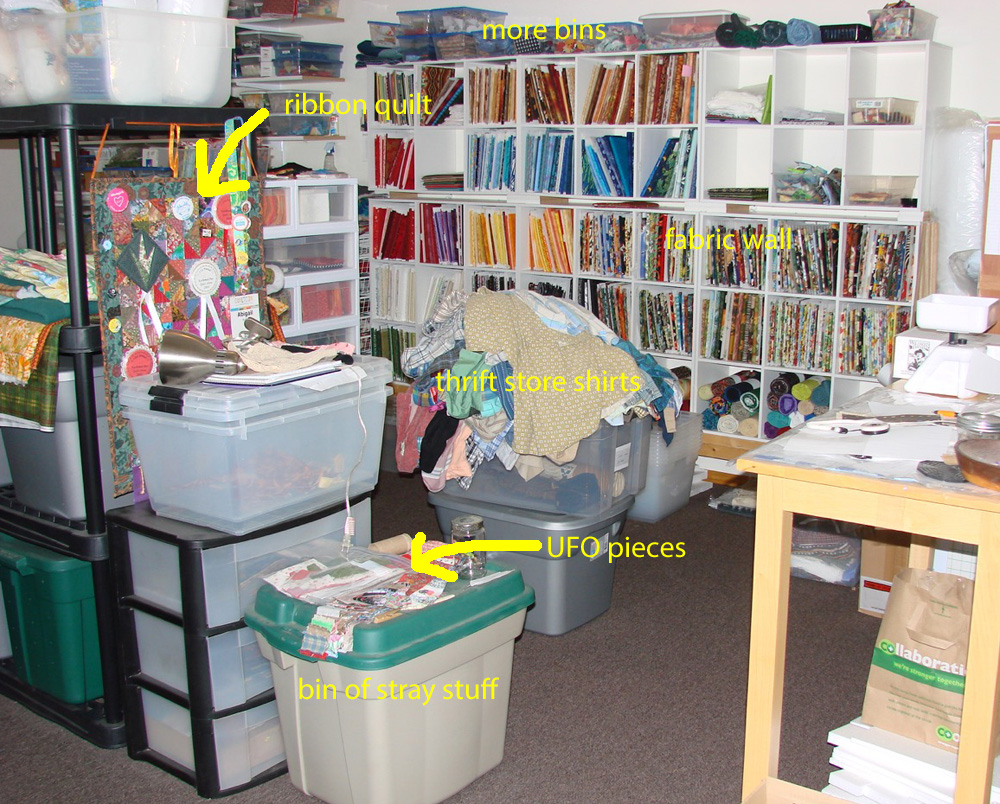
View as you walk in the door and look to the right. I’ve labeled a few things. The fabric wall looks pretty well organized, but it isn’t all my fabric. I fear I won’t have enough cubes once I dig out the rest.

room3
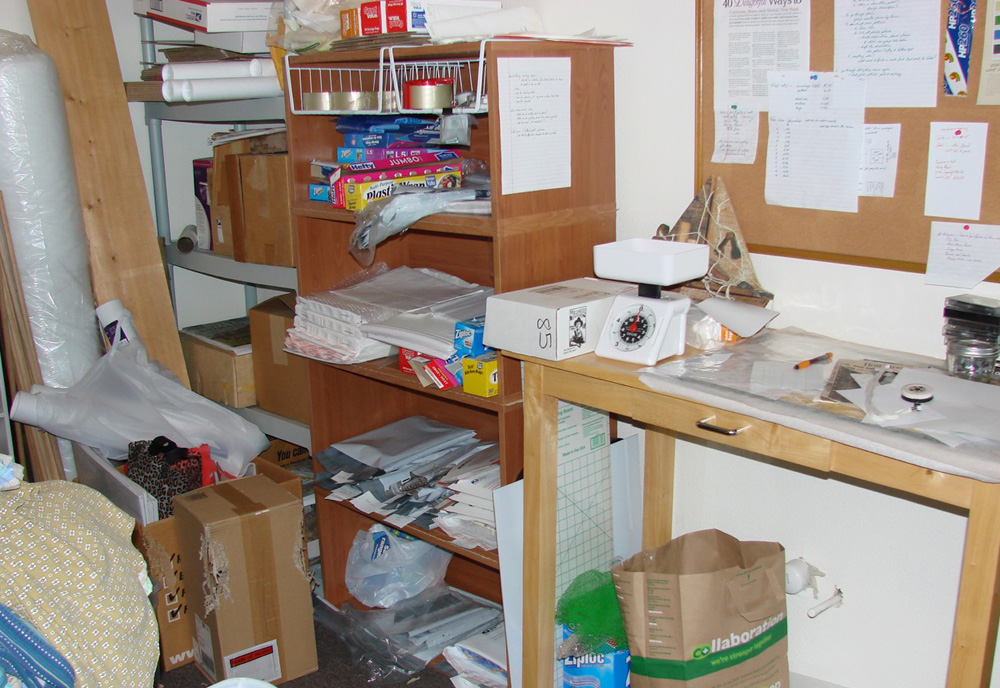
The area barely seen on the right of the first photo – I call it my Etsy area. It’s for packaging and shipping but also collects odds and ends.

room2 copy  
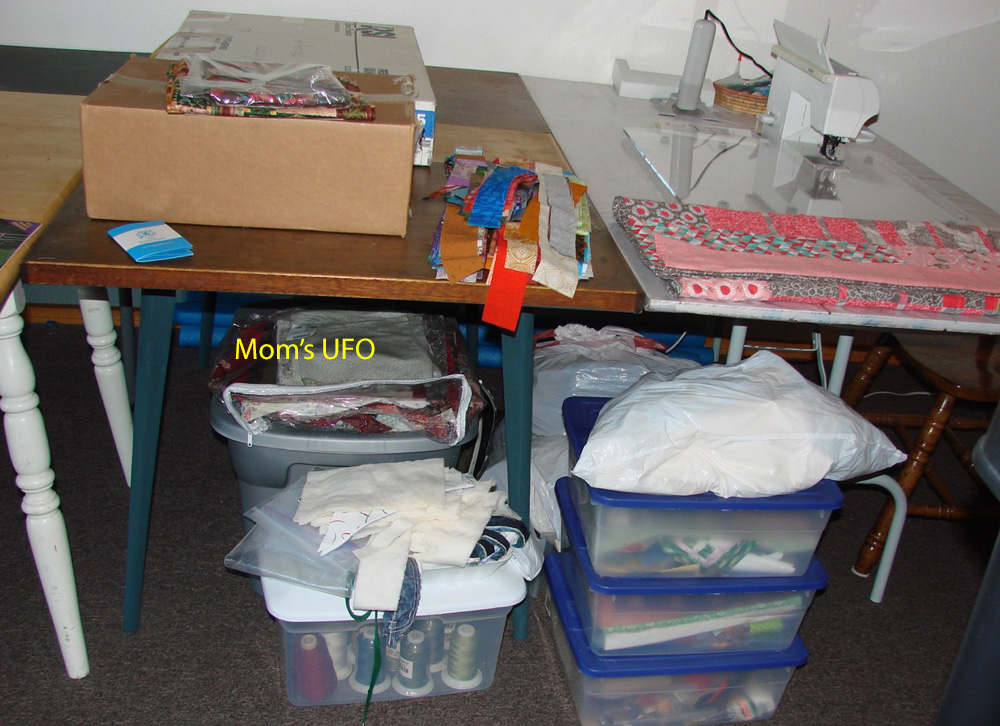
Now if you look straight ahead as you enter you see this mess. The vacuum cleaner usually resides in the guest room but until a week ago my sister and her hubby were living in it (the room, not the vacuum). The cube shelves hold up the sliding closet doors I removed from my office, serving as an extra table.room4Swing to the right as you enter, and now you are at the other end of my makeshift work table (currently serving as quilt storage). I’ve folded up a corner of the protective sheet so you can see the pile underneath. That colorful one on top is not quilted yet. The room’s windows are over your left shoulder at this point.

room5 copyWalking along the left side of the room, the quilt storage table is on the right edge of this picture. This space is full of bins of fabric earmarked for charity quilts, stray boxes, and a few UFOs. The work table on the left actually gets used.

room6 copy
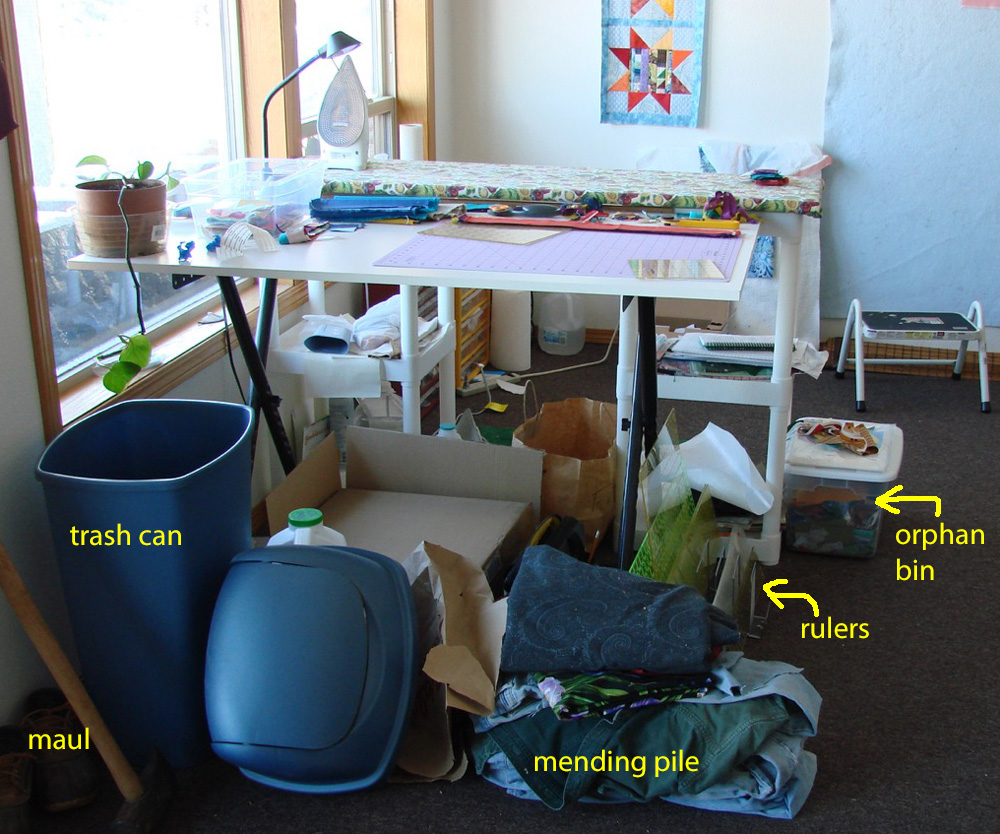
Looking over to your left is my smaller cutting table, and ironing board. And a few things on the floor. The trashcan is useful when I remember to put a plastic trash bag in it. The mending is my spouse’s clothes, I suppose I should make him happy and patch them ( and get them out of my room!). The maul is for splitting wood. It’s leaning against the wall next to the door to the outside, where the woodpile is. There’s a little woodstove in the corner I didn’t show (hard left as you enter the room) and I heat the whole downstairs with it.

My rulers are on the floor because I used to have a bigger cutting mat on this table and there wasn’t room for the rulers on the table. Still isn’t when I’m ironing yardage. The ironing board is a DIY version – cotton batting with a fabric cover over plywood. I’ve rested it on the two plastic shelves and it’s just the right height.

room7Here’s my store-bought ironing board, which serves as a handy shelf. I think I put it there to help hold a quilt I was quilting, but replaced it with the white extension shelf to the left of my chair. And now can’t put it away because where will I put the stuff on it? Not shown is the paperback book under one leg to keep the thing steady.

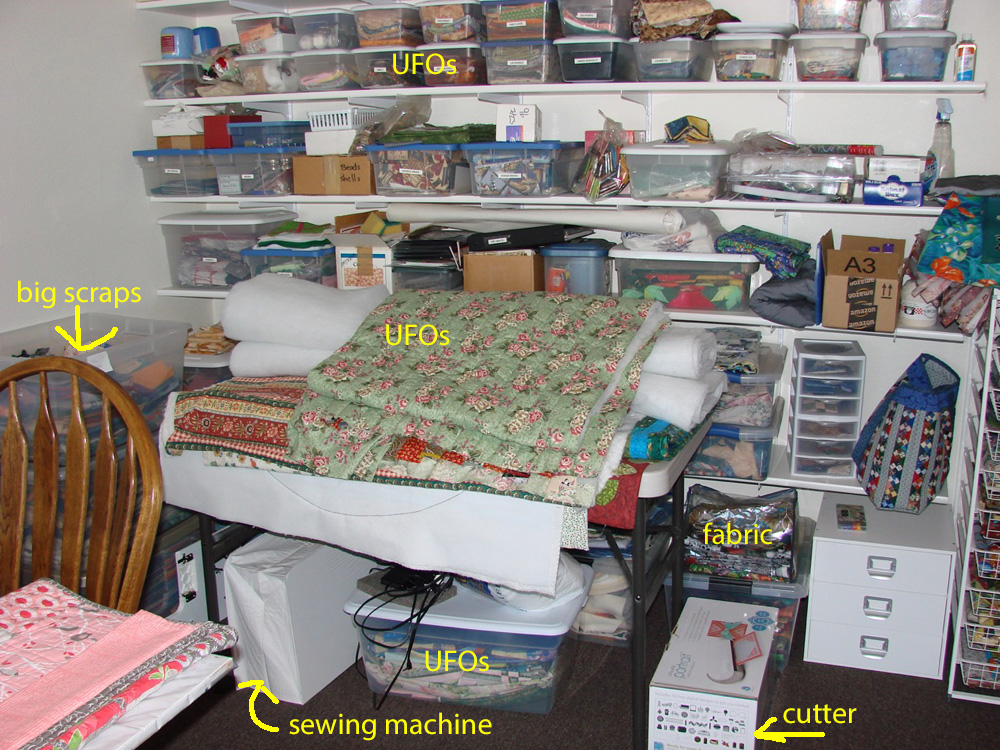
I actually do my sewing in this spot, which is why it is somewhat clear. The boxes on the table behind the machine were put there when clearing the guest room, I guess they could go back now. If you look in the back, there’s another chair, and another sewing machine.

room8 copy
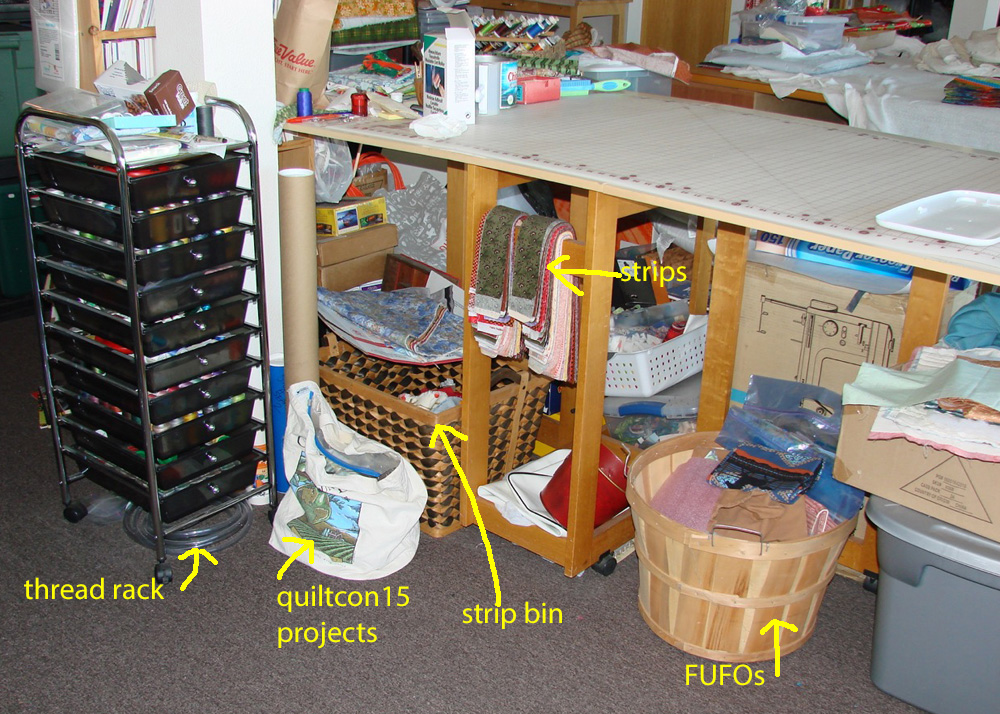
Now we’re standing at the wobbly ironing board looking back at my big cutting table. The tote bag sits where I set it when I arrived back from QuiltCon15 last February. Maybe one of these days I’ll unpack it and do something with the half-done projects. The strip bin collects stray strips when I cut fabric – usually edge trimmings. FUFOs is my sister’s term for Future UFOs. Isn’t that optimistic? We’ll just call them future projects. Although some are beyond the raw fabric stage.

room9 copy
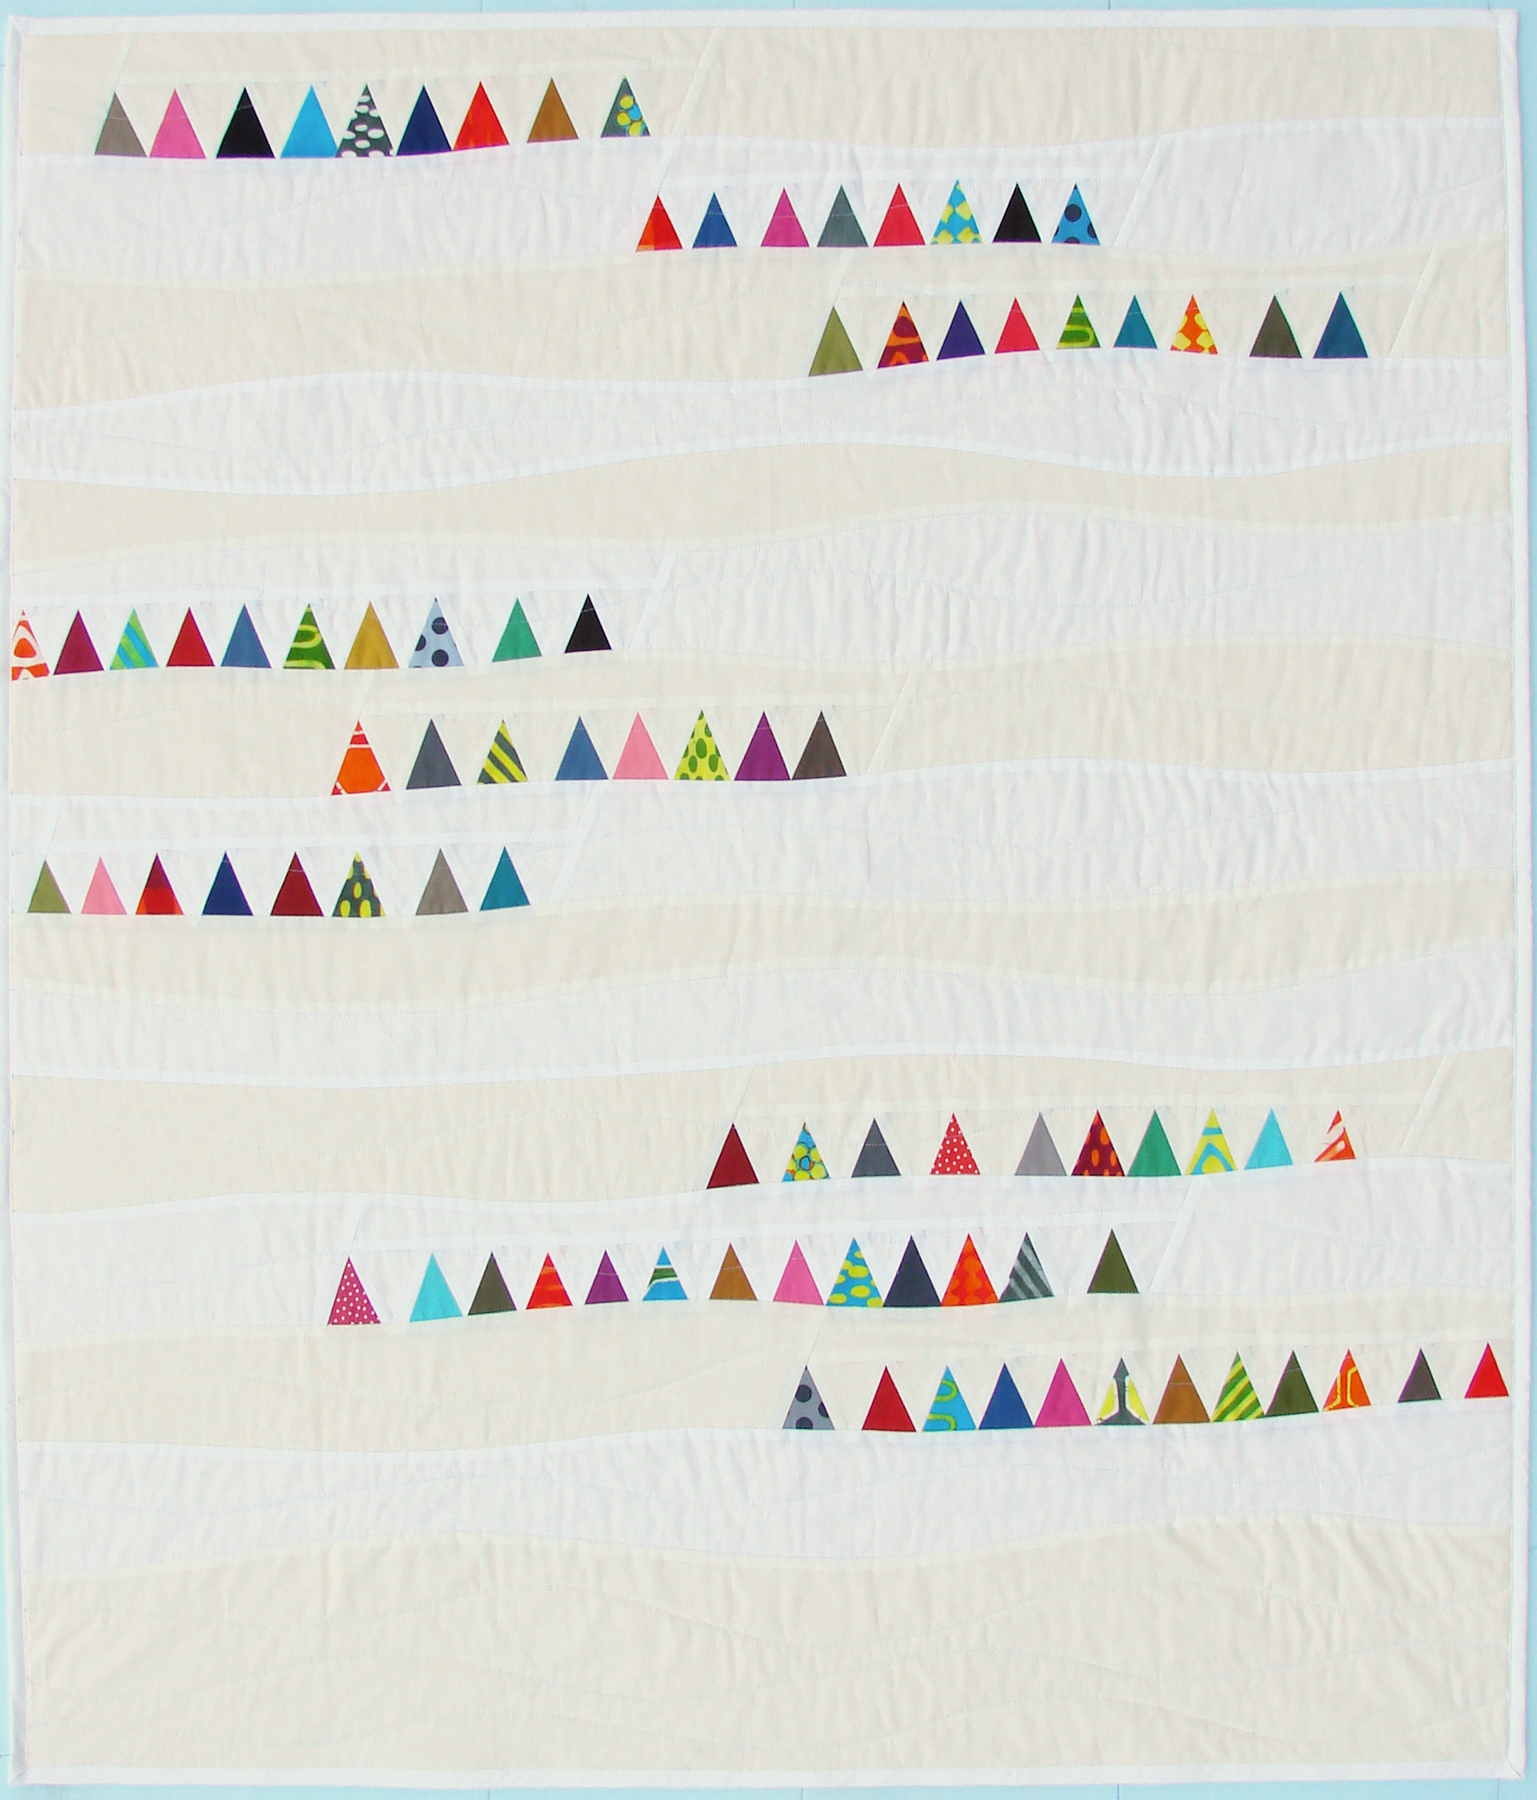
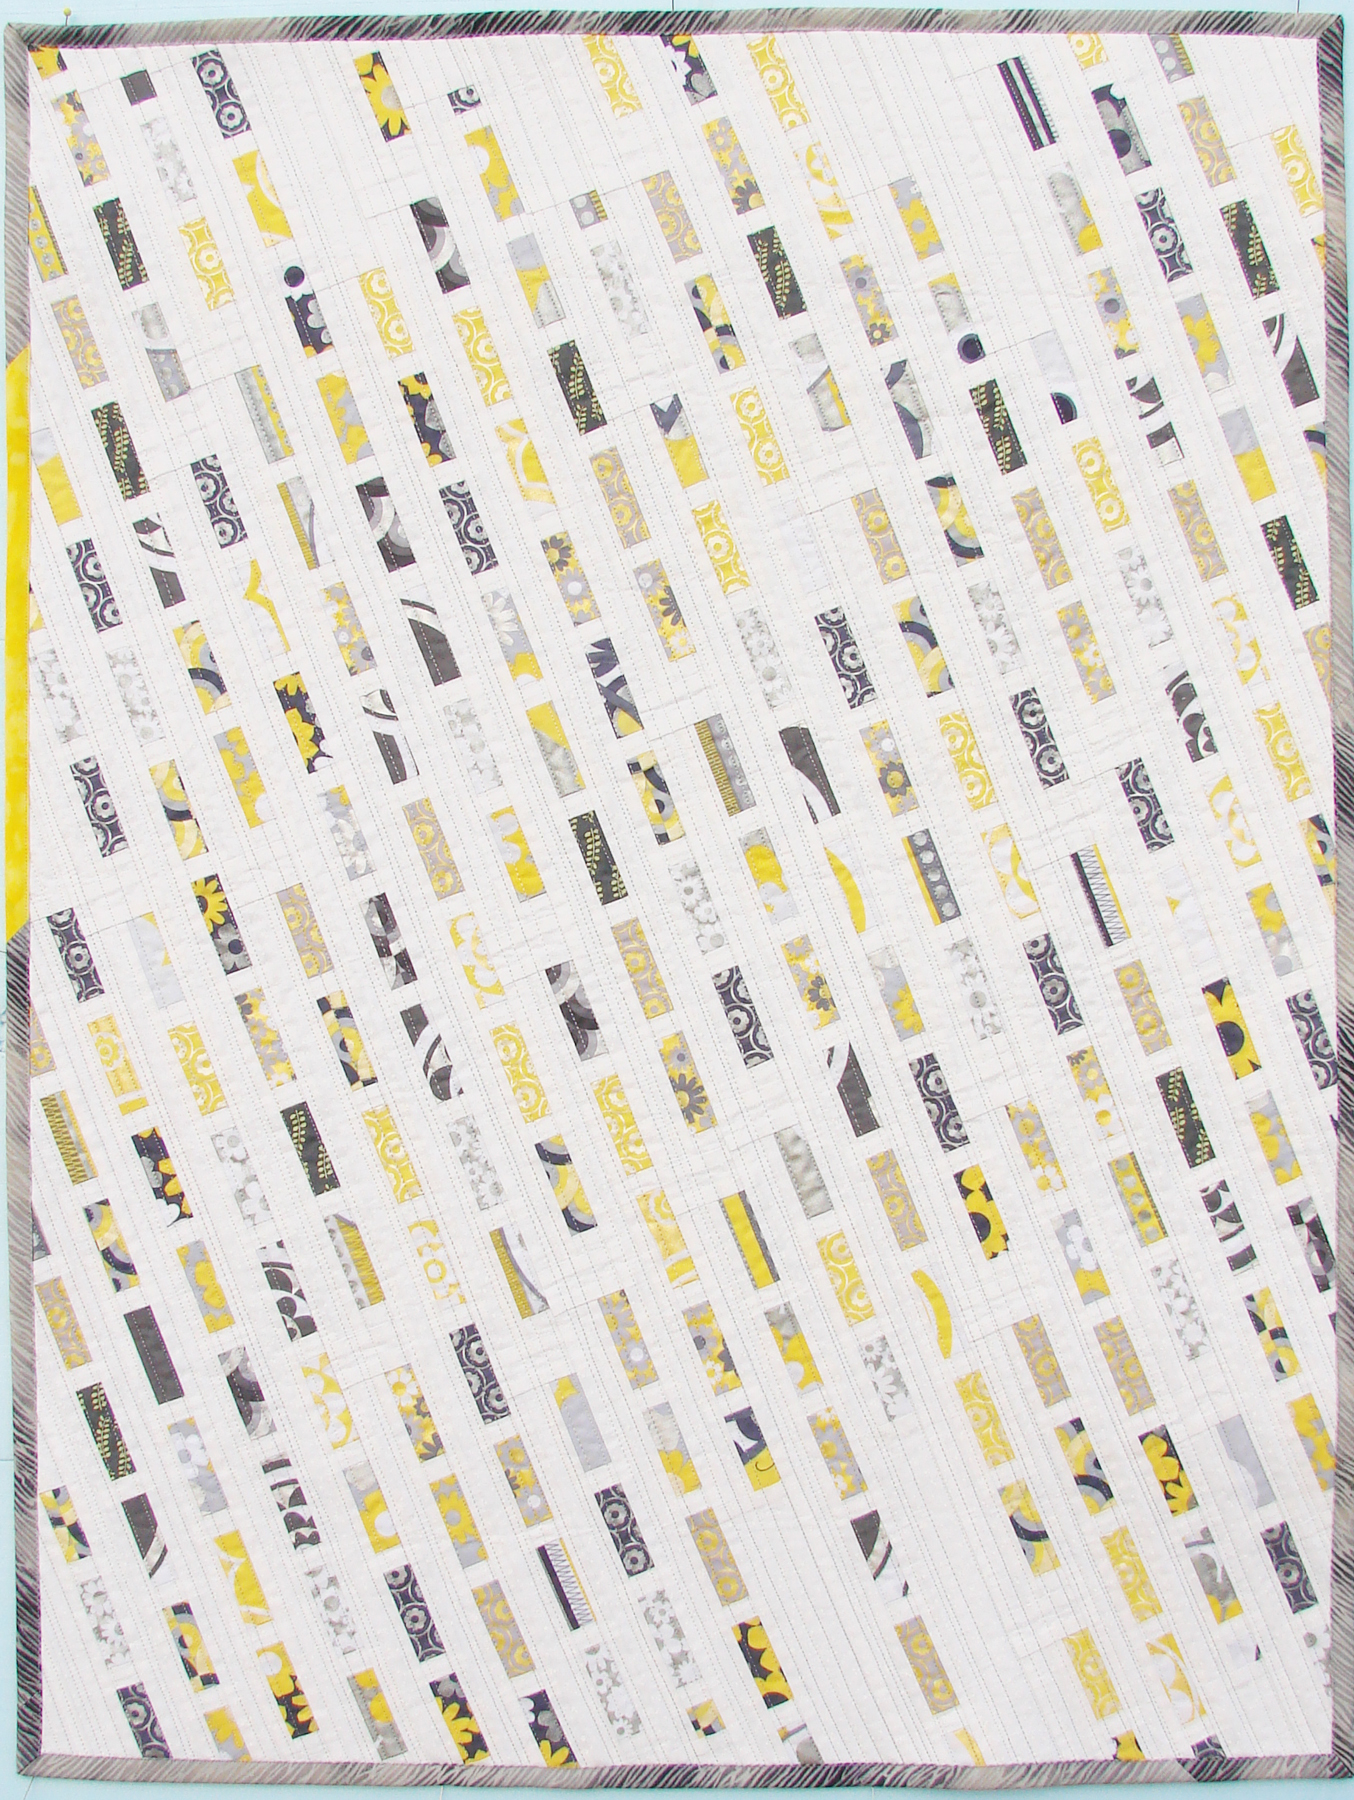
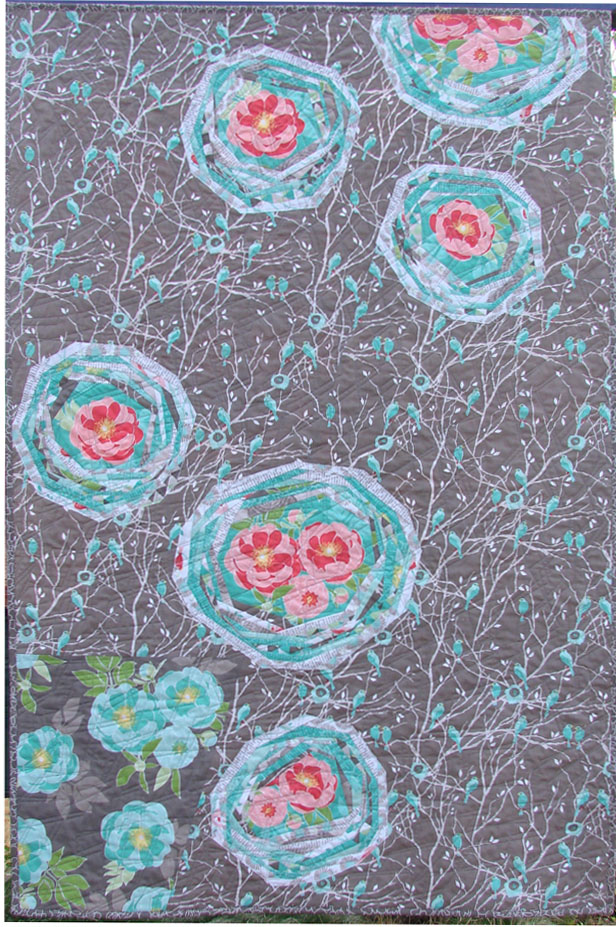
Here’s the middle of the sewing room. The boxes can go back in the guest room now (they contain some family artwork). There’s a pile of strips leftover from a recent project. Various bins, and yes, my Mom sent me a pile of blocks she made. Thanks Mom, like I didn’t have any UFOs myself! That pink and gray is a finished quilt – you’re looking at the back of my Riley Blake Challenge quilt. Pout – not even a finalist. And not accepted to QuiltCon either. Now what do I do with it?

room10 copy

I guess you could call this the UFO corner. Not that they are all here, but a lot of them are. Along with another sewing machine, some fabric, and even some finished quilts. There’s a folding table somewhere under the pile. It was pushed up against the other tables (where the chair is) and from the other side I lost track of how many tables I had pushed together. I spent weeks wondering where our third folding table was (the other is in my office), even asked our son if he had borrowed it. He thought I’d find it in my sewing room – ha ha – he was right! Buried under a pile of quilts.

And there’s my fancy electric fabric cutter – still in the box. There’s a challenge for myself – actually use the thing this winter!

room11 copy
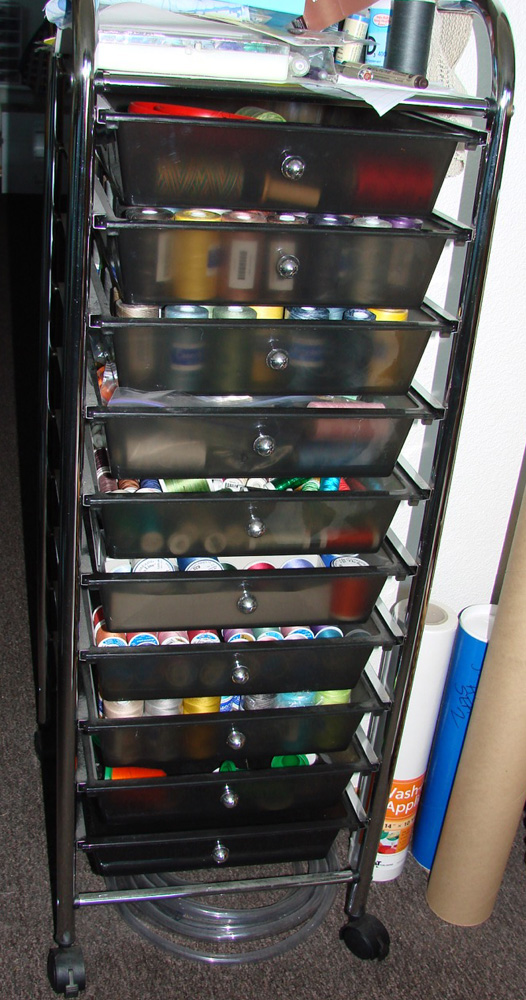
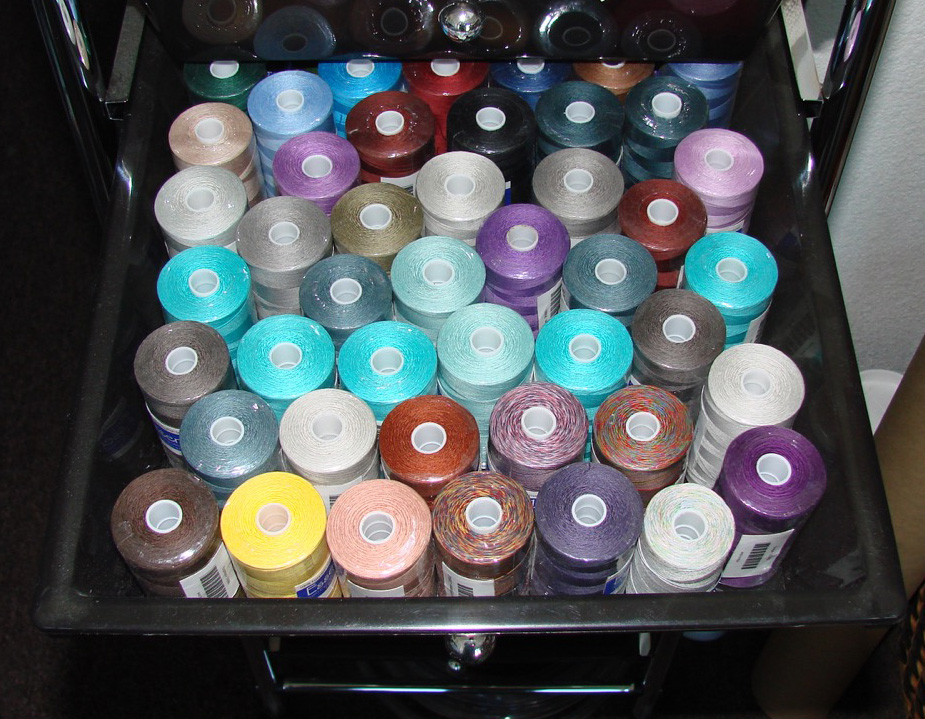
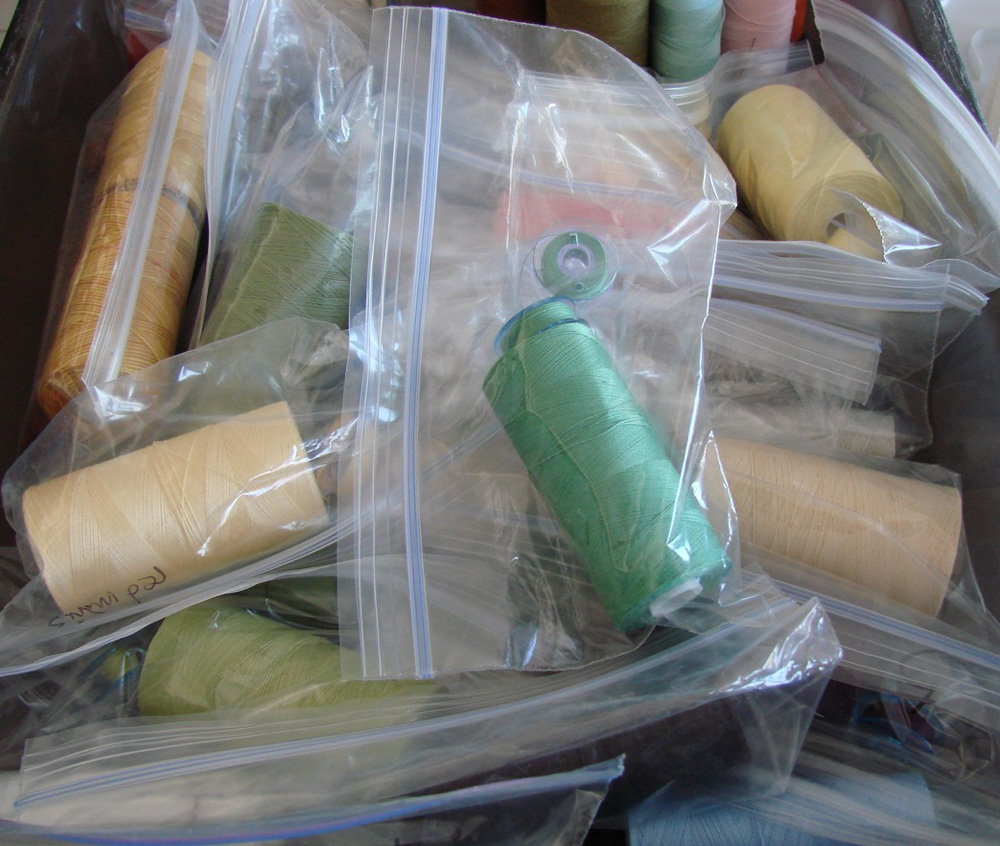
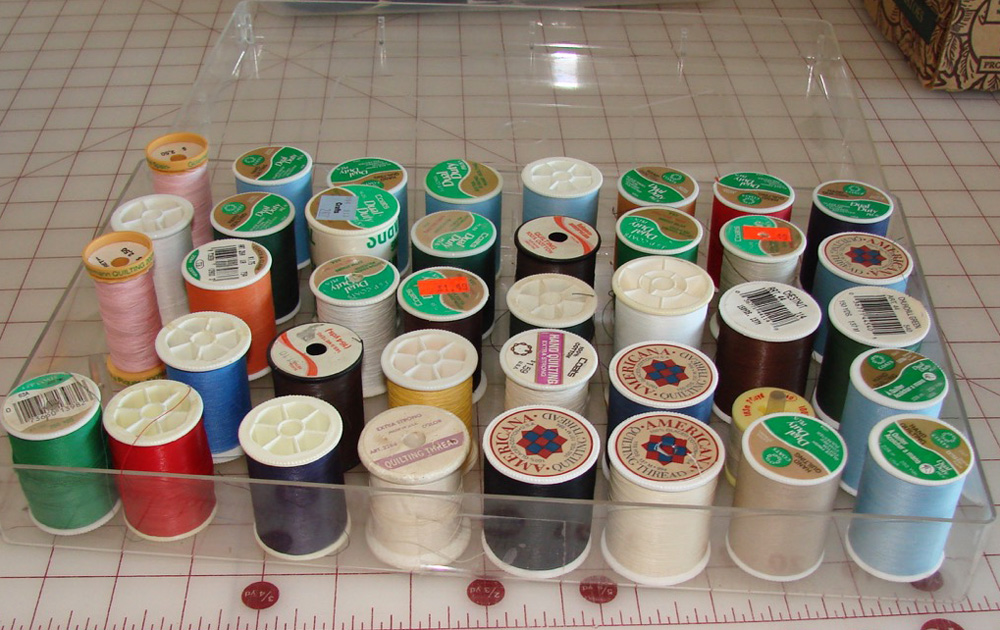
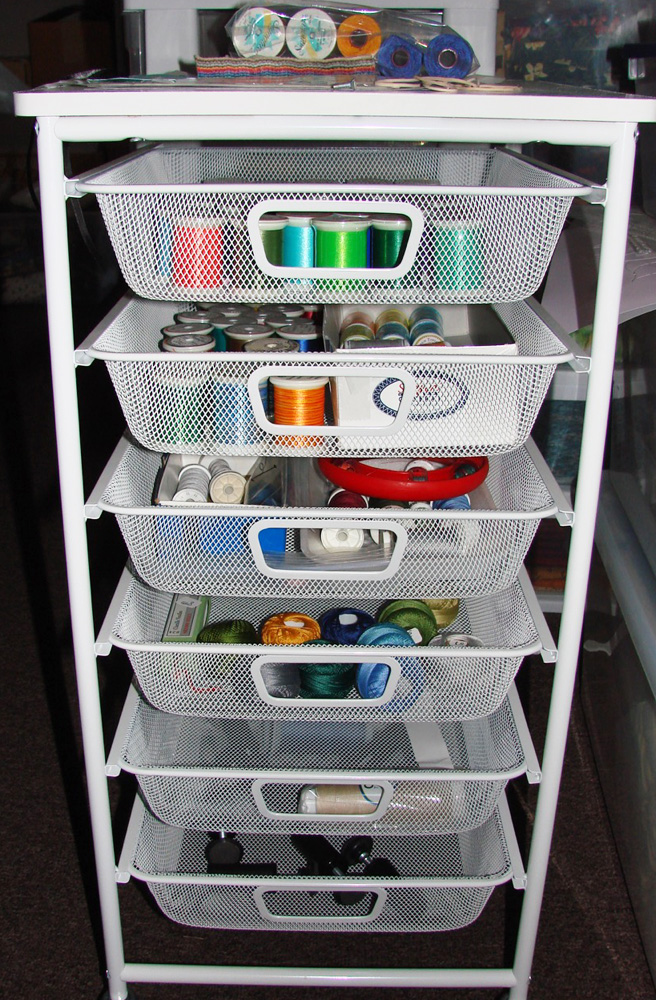
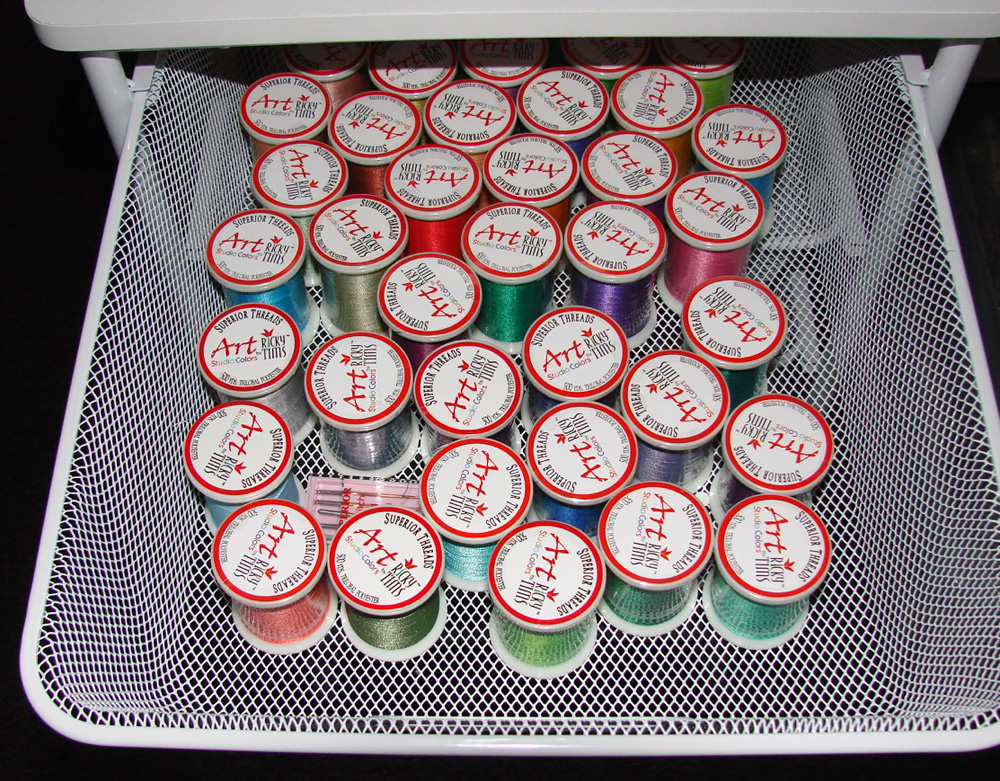
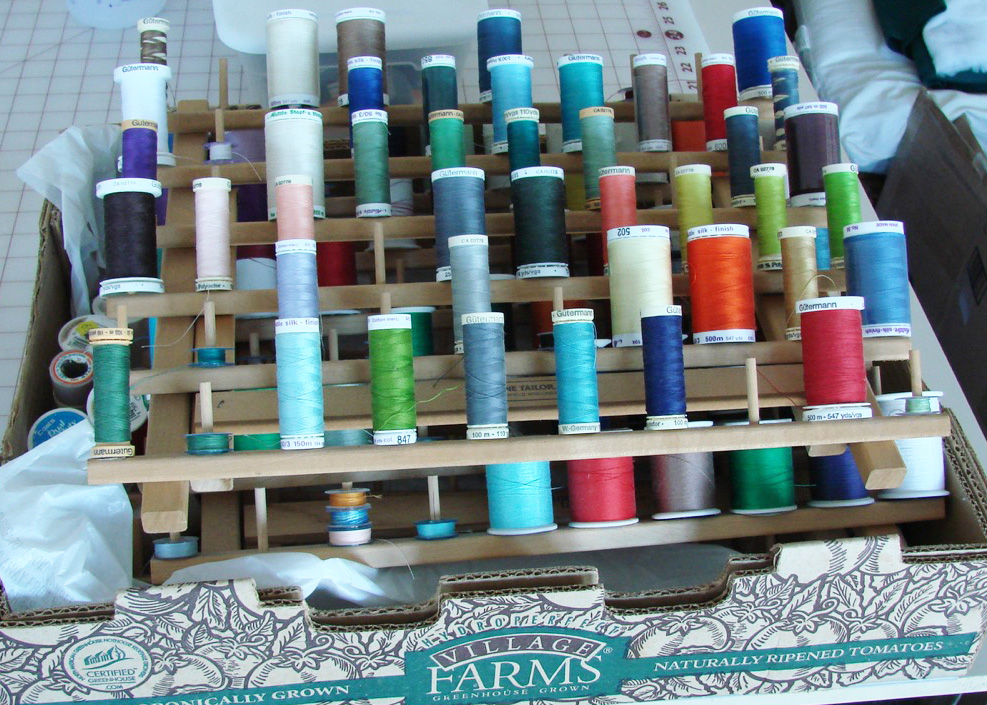
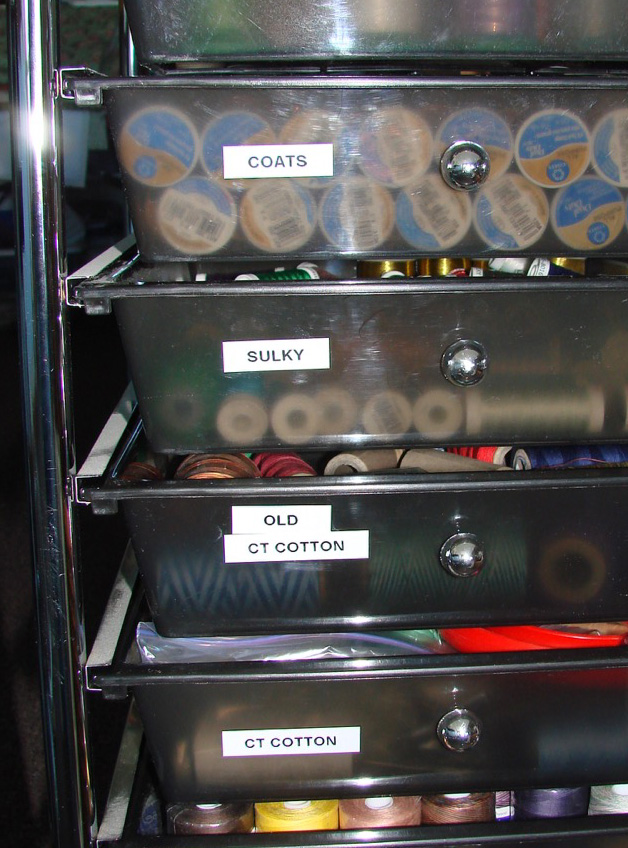
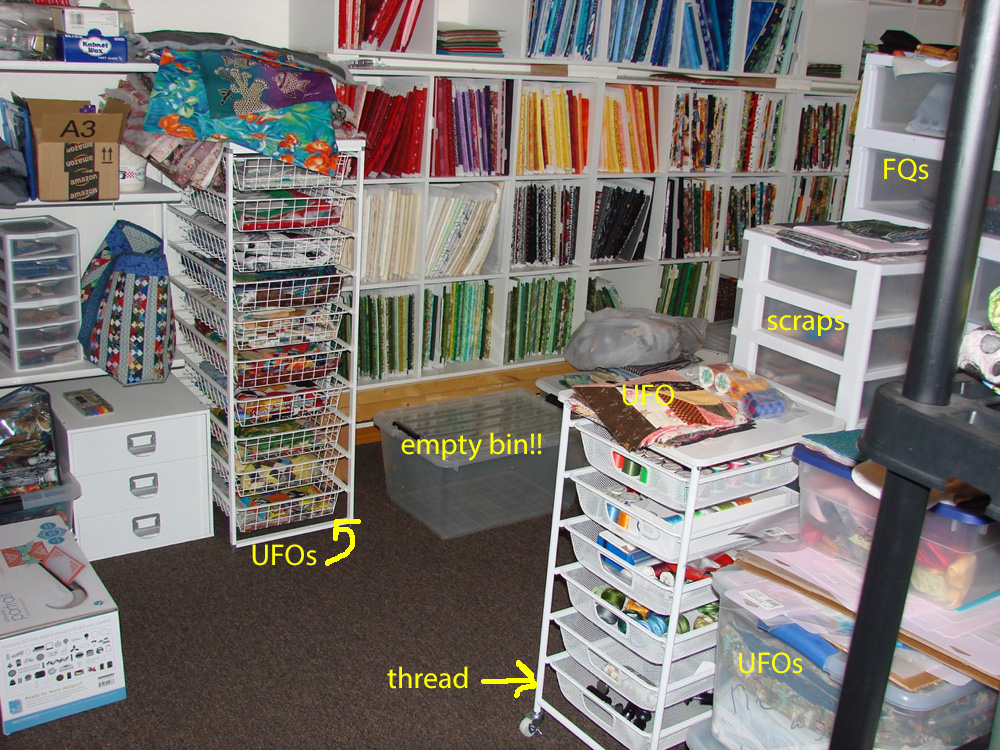
Looking to the right from the last shot (the fabric cubes are on the wall opposite the windows), this almost looks organized. There’s a drawer rack full of tops waiting for quilting (or in some cases a border), the fabric cubes, a [gasp] empty bin, a thread rack, my scrap system drawers (half empty, while several bins of scraps lurk here and there), and a corner of my fat quarter drawers.

room12 copy
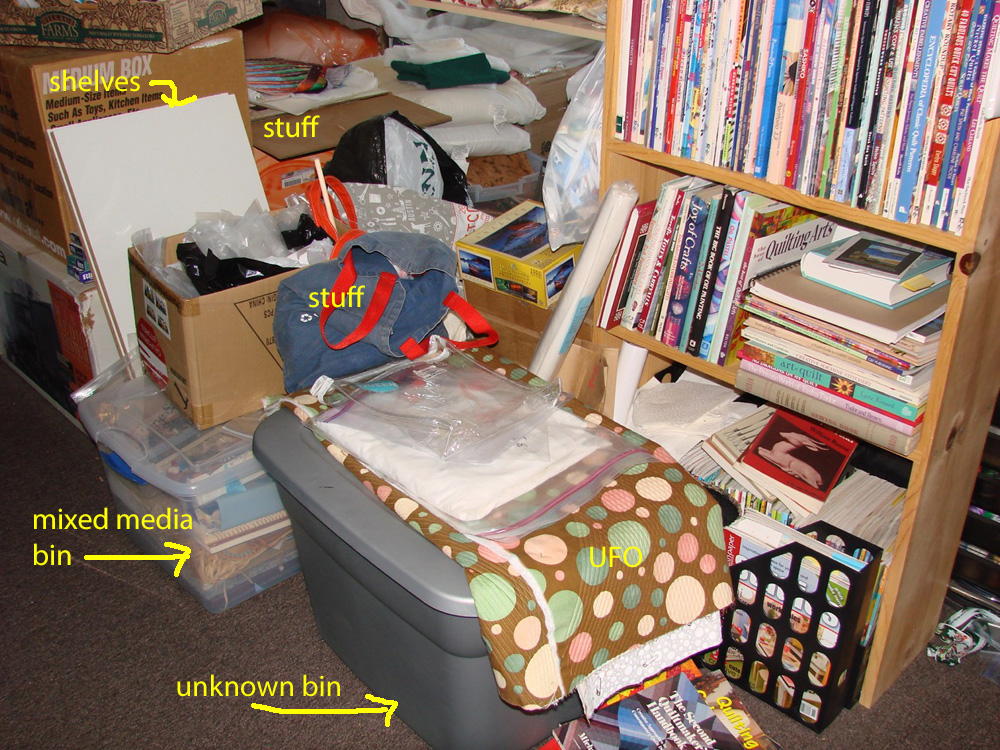
Oh, don’t turn around now! Go back to admiring my stash cubes! This space is the back side of the filled space between work tables. You can also see my over-flowing bookshelf here. The two white shelves make a small work surface when placed on top of four big bins stacked two high. Except I no longer have the floor space to set it up.

room13And in the middle of it all is this plastic shelf unit, which usually holds a dozen Rubbermaid bins. I cleared four of them to give me a little space to sort out quilts, but I didn’t get very far. The stack on this end are finished, the rest not.

So there you have it, the “before” pics. My sister vacuumed in here while she was in residence and said it was a labyrinth! I wanted to use the name, Labyrinth Studio, but it’s already in use. Maybe I’ll just refer to is as my labyrinth in stead of my studio or sewing room or playroom.

 January 2, 2016  Posted by at 8:46 pm Organizing and Decluttering Comments Off on Organizing my sewing room
Jul 312015
 

When I first saw the email announcing the Riley Blake Fabric Challenge, I said to myself, “nope, not doing that.” Then I read an excited email from my sister saying, “hurry up and sign up, we can do a joint project.” So I did, and we came up with a plan while we were at QuiltCon (which I haven’t written about yet, oops). Then a week after we got home again she emailed me and said, “sorry, I can’t do the Challenge thing after all, too much else on my plate.” Or something to that effect. I could have dropped out too, but by then ideas were racing through my head. Once I have an idea I have a hard time not diving in and starting it. (Finishing is another story, hence the fleet of UFOs flying around here.) After too much time spent comparison shopping online, I bought a Fat Quarter bundle of every fabric in The Cottage Garden line. My sister had bought a yard each of three prints at QuiltCon and shared them with me. Those plus the six 8th yard pieces Riley Blake sent out provided the material for the quilt I made: front, back,  binding, sleeve and label.

After all those ideas I’d had, and when I ironed the fabric (after washing, which I always do) I had another – wouldn’t it be fun to make nests with the red/pink flowers inside instead of eggs? I cut out the flowers in rough ovals, cut a whole bunch of random width strips, and made nests sort of log cabin style. I kept sewing strips on until I started to run out.

DSC08956

I pieced a background to use the blue flowers, also using a yard of birds in the trees print, cut and pieced to provide the shape I wanted. The nests, after several days of playing with arrangements, were appliqued on with a narrow zigzag stitch. For the back I used the rest of the prints, mostly pinks, which I had played with to try a Ricky Tims Convergence style quilt. I wasn’t pleased with the outcome so using it on the back was perfect. I made it big enough with the last of the FQs, saving out one for the sleeve. I’d had free-motion quilting in mind as I pieced it but by the time I had it layered and basted I’d decided to do something easy with the walking foot. The walking foot and I are old friends, but I hadn’t done any free-motion work in months and knew I was rusty. The tangled branches in the background fabric inspired my improvisational intertwined zigzag quilting.

The quilting part took twice as long as I had scheduled, but I got ‘er done before the deadline. Then mis-sewed the sleeve and had to rip out the seam. I nearly ran out of thread for the binding, but didn’t, and IT IS DONE! YAY! No new UFO here.

Nesting

You can see all the entries here. Mine is number 206 or so.

 July 31, 2015  Posted by at 12:14 pm Challenges Comments Off on My Riley Blake Challenge entry is done
Feb 082015
 

I made a travel pillow for my upcoming trip to Austin for QuiltCon.

pillow9

I’d been thinking about making one but left the thought in the back of my head without doing anything about it, until I saw the Project Quilting email with this week’s challenge – to finish something with orphan blocks or UFOs. Right up my alley! But with less than a week to  make something I thought, hmm, something small – oh – the travel pillow!

A quick google search found plenty of patterns and tutorials, and I downloaded a template from The Cottage Mama at www.thecottagehome.blogspot.com. A quick search of my UFO bins turned up a pile of leftover 4-patches – perfect. After playing with layout I decided to find a background fabric to use with the 4-patches to round out the shape needed. I choose a leaf-print brown from my fat-quarter stash. I figured brown was a good color for a travel pillow – it won’t show the dirt.

My 4-patches were 4-inch (finished), so I cut the following pieces from the FQ: 2 rectangles 4 1/2 by 6 1/2, 4 rectangles 2 1/2 by 4 1/2, and 4 strips 2 1/2 by 8 1/2. Here’s the layout for all the pieces, top shown but I also made a patchwork bottom (so I can use either side).

pillow2

I sewed the pieces into columns first then sewed those together until I had this panel:

pillow3

Next I layered with scrap cotton batting and light-weight interfacing on the bottom (pieces about 11×17 inches), and quilted the sandwiches. I kept it simple, about 1/8th of an inch to either side of the seams. I also worked fast – don’t look too close.

pillow4

Once quilted I place the two sections face to face, pinned them after some fussy alinement, then pinned the cut-out pattern on top. I had to modify it slightly because my panels were a hair too narrow.

pillow5

My pattern was for half the pillow, which I used as is, but if you do this you could trace it onto freezer paper and iron in place. I pinned it down, stitched around the edge leaving a couple inches along what becomes the back of the pillow. Then I unpinned and reset the pattern for the other side (yes, right on my sewing machine bed with the needle down) and stitched that, stopping about 2 inches from the end of the pattern. After unpinning, I stitched the seam again.

pillow6

I cut out the pillow about 1/4 inch or so from the seam, then notched the seam allowance.

pillow7

I wasn’t sure how well this thing would turn given the several layers in the seam, but it was fine. My only problem was the approximately 4 inch opening was not quite enough to fit my hand inside, but it turned okay anyway. The seam, once pushed into place with my fingers, was fine. If this were going to be a knife-edge finish on a quilt, I’m sure I’d be swearing at it, but for a pillow it worked.

pillow8

I stuffed it with leftover poly batting (I have years of trimmings saved up) and stitched the opening closed by hand. I had folded in the edges and ironed them down earlier to make this easier but it still isn’t my best example of hand workmanship.

pillow10

It’ll do – and – TAH DA – it is DONE!

 February 8, 2015  Posted by at 9:13 am Uncategorized Comments Off on I made a travel pillow
Jan 292015
 

Looking for a stash-buster challenge? What about a UFO finishing challenge? How about BOTH at the same time! Well, look no further, Quilter’s Club of America has a joint challenge starting Feb 1st, there’s still time to join. You’ll need to sign up with the club if you aren’t already a member but it’s free. (They’d love to have you buy the premium membership but you don’t need it to join the challenge.)

Read more about it here: The Great Stash-Down.

 January 29, 2015  Posted by at 10:00 am Uncategorized No Responses »
Oct 142014
 

My sister, Stephanie Serrano of VenusdeHilo.com nominated me for the Around the World Blog Hop. I’m not sure how many times this hop has been around the world, but it just hopped from Hawaii to Idaho.

The first question I’m supposed to answer is “what am I working on?” The answer is – my garden! Ha ha, no quilting done at all this month. So, maybe you’d like to see what I am SUPPOSED to be working on. Oh yeah, and I did make something last month, a quick mini you can read about here. The post about it was written kinda quick too, hopefully someday soon I can write up a longer one.

I have two WIPs I need to finish for QuiltCon, plus a couple xmas gifts, and a challenge quilt for QuiltCon that isn’t even started yet.

First up is Twister, which is basted and ready to quilt. I almost started on it tonight until I remembered I needed to write this post. (Guess I can blame my sister if I don’t get it finished, heh heh.) I was inspired to play with a variation of Stacked Coins – what if I put the “background” in the middle and made it the focus? (Sorry for the crappy photo, I was in a hurry.)

Next is Eyelash (working title, I need something better), which I had Marcia of  Marcia’s Crafty Sewing and Quilting (www.craftysewing.com) quilt for me (and she took this photo). Being all quilted means – in theory – that it won’t take long for me to finish it. I need to add some bias-strip applique, and the binding, sleeve, label. The inspiration was an image I “saw” as I woke up one morning. I thought it would make a neat quilt idea and sketched it out before I forgot. It evolved from there.

Eyelash quilt quilted

This airplane quilt, which I started quilting then set it aside earlier this summer, is for my Dad. It’s been a UFO for about 15 years, so I thought maybe I should try and finish it before he dies (he’s 80 now but should be good for a few more years, having had a triple bypass a few months ago).Dad's quilt top
And somewhere are pieces intended to become a table runner for my mom. Plus the one I haven’t started yet but have all the fabric.

So that’s what I should be working on. I can’t believe it’s almost mid-October and I have done nothing on any of them. The QuiltCon entries are due by the end of November!

How my work differs from others and why I create what I do sort of tie in together. I started out as a traditional quilter, as nearly all quilters were back then. It gave me a solid foundation in the mechanics (and math) of figuring out how to put a quilt together. With rare exception, I’ve always done my own designs, others patterns are boring and were scarce when I learned quiltmaking. But it took me awhile to branch out and start working improvisationally. The airplane quilt was one of my first attempts, and reached the point where I didn’t know how to pull it together and put it in a bin. I must have learned something in the years since, as my only problem once I pulled it out again was running out of fabric. That’s why the border is kinda different.

I like to think I’m an eclectic quilter – I try anything that looks like fun and usually give it my own twist. Traditional, improvisational, scrappy, Art, Modern, or anything in between, it’s all fair game in my studio. Although making a Modern quilt has been a challenge for me, and I’m not sure I’ve pulled it off yet, as the part of Modern quilting I like best is “no rules.” That’s great, except if you have no rules, who decides what is Modern and what isn’t? I’ve read over lists of characteristics and try to fit within them, but the quilts tell me what they want and I keep straying outside the lines.

Like with this one, which I finished back in June. What do you think, is this Modern, or Art? Or something else? latest quilt

What’s most important to me is to have fun. And finish some UFOs. The best projects are the ones where I can have fun with my UFOs, even if the end result is not what I started out to make.

And now I’m going to spin the globe and send you to Jan Quigley over at Molly’s Meanderings, who will post on the 20th (right Jan?). She’s a crafty Aussie who likes to quilt, check out her blog here.

 October 14, 2014  Posted by at 7:36 am Uncategorized No Responses »
Sep 302014
 

Here it is, my mini for Project Quilting’s September challenge. When I read about the challenge for this month I thought “perfect, I can use up the scraps on my cutting table and finish this in no time.” (Hmmm – note to self – define “no time.”)

I finished it yesterday and am writing this blog post in time to get it linked up just under the wire. In fact, I will need to come back later and write a bit more about how I made this one, because I took a pile of process pics that I don’t have time to edit tonight. All I’m going to say now is it started with some scrap strips leftover from another project (not yet done). I sewed, I cut, I sewed, I cut, I played on the design wall. Then sewed some more.

It is quilted in simple spirals all over, with a variegated thread (Superior Rainbows) that doesn’t really show except on the green portions. The binding was a leftover bit in my “scrap bindings” box.

It finished 15 1/4 inches wide and 20 inches long. I named it “Sprawl.”

 September 30, 2014  Posted by at 7:47 pm Uncategorized No Responses »
Jun 302014
 

I managed one finish this quarter. Yep, just one. I spent most of my time in my garden this quarter which left little time for quilting. I just barely finished this Modern quilt in time to submit it for a special exhibition. I’ll know in August whether it was accepted or not.

Looking back, I see I had hoped to finish 5 quilts – man, was I dreamin’!

Quilt #1 is now a finished top, and I need to get it to fully finished by July 10th – 10 days from right now. Gulp.

Quilt #2 “Yellow Squares” is the one I finished, now called Golden Hour.

The others have not been touched. And I doubt I will touch them next quarter either. In fact, everything I need to finish next quarter is unstarted except for the airplane quilt.

 June 30, 2014  Posted by at 8:44 pm Finish-Along 1 Response »