Jul 072012
 

I did it! Managed to do this week’s step in Leah Day’s quilt-along. That’s two weeks in a row, but I have a suspicion that will be it.

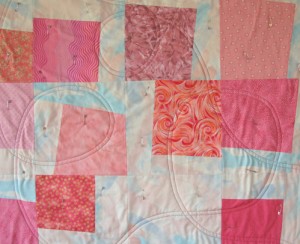
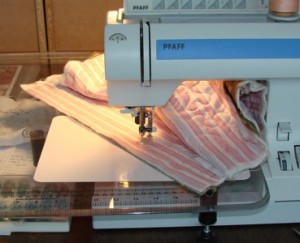
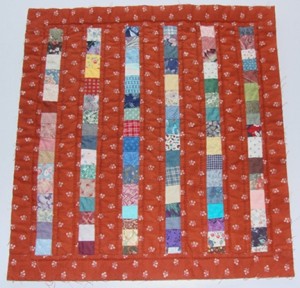
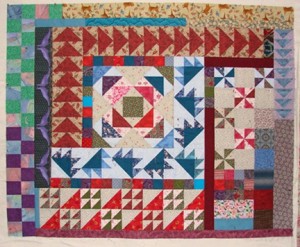
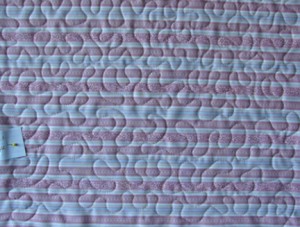
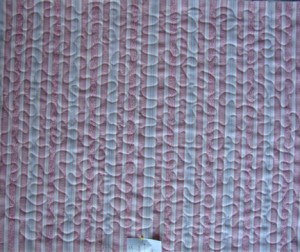
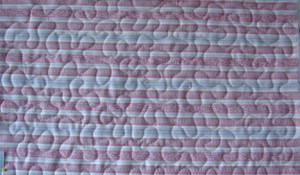
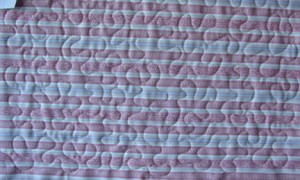
Here is my “modern” quilt top basted and the loopy division lines stitched. I cheated. Yep, I did. I used my walking foot to stitch these two lines. My FMQ skills are not up to managing two parallel lines, and my FMQ machine is still not set in its table. The plywood for the new top has been cut, sanded, and primed for a couple weeks now, but I’ve been too busy in the garden to lug it from the shop to the house. Maybe tomorrow.


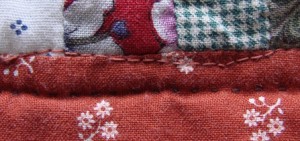
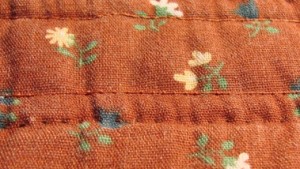
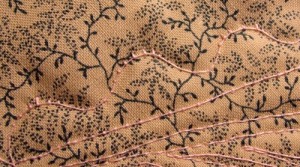
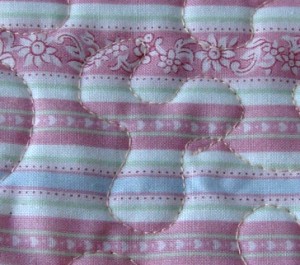
Here’s a closer shot so you can see the quilting lines, they don’t show up well in the full pic.


This one is ready for the next step except for one problem – I’ve got a strong urge to turn the dual lines into “railroad tracks” then fill in the remaining spaces with loopy-loo filler. I might have to make another top to do the stippling variations for the current week’s quilt-along. Or not. I don’t have to follow-along all the time.

 July 7, 2012  Posted by at 5:52 pm Free Motion Quilt-Along No Responses »
Jun 282012
 

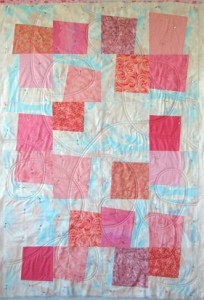
I couldn’t resist whipping up a quick top to follow Leah Day’s quilt-along. I designed it to end up crib size – easy enough to get a 40 by 60 inch top if you use 10 inch blocks.

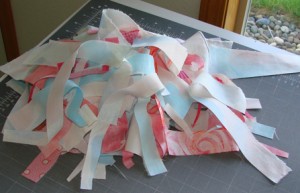
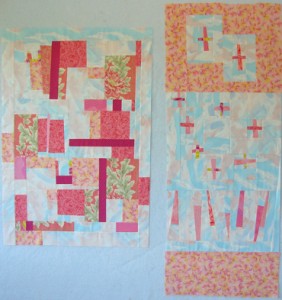
Making the blocks wonky resulted in a pile of trimmings, so I set out to make another top to use those up. Then another to take care of the odds and ends still sitting on my cutting table. The quilt on the right in the pic below used the trimmings, the one on the left the other bits and bobs.

I don’t consider either one done yet. I’m going to use them for practice pieces – paintsticks and rubbing plates on the first one, appliqued circles using my new circle cutter for the other. When I’m done I’ll either have an art piece – or something to chop up and make a new scrap quilt from.

The first one, of course, is for free-motion quilting practice, and will be given to charity once finished.

 June 28, 2012  Posted by at 8:42 pm Free Motion Quilt-Along 5 Responses »
Feb 262012
 

The Free Motion Quilting Project had a post on QAYG quilts, something I’ve tried a few times. In fact, I’ve done a half-dozen or so Quilt-As-You-Go quilts, all with different methods. I don’t have digital pictures for all of them though.

The first one, I was learning to quilt with a walking foot and a long way from trying free-motion quilting. My sewing machine at the time did not have a way to lower the feed-dogs, and I enjoyed hand quilting, so why bother with free-motion?

But hand-quilting was out. No way could I finish a queen-size quilt in time for a wedding. Not even in time for the accepted one-year window after the wedding. And I knew I’d have trouble quilting a queen-size quilt by machine, I’d done the one for our bed with very simple straight line quilting and it was a struggle. So I figured QAYG would be the way to go. Just like me to try out a new technique on a wedding gift, too.

I made maple-leaf blocks, and quilted a simple straight-line design on them. Honestly, I don’t remember exactly what I did, either in the ditch or echo of some sort. Once all the blocks were quilted, I attached them with sashing. I cut 2 1/2 inch strips, one for the top and two for the bottom.

After trimming the blocks to the correct size, I sewed a top and a bottom sashing strip along one edge of block 1. Then on block two I sewed the other side of the top sash and the other bottom sashing strip on the bottom.

Can’t remember what I did about batting, maybe added in little strips to fill the space. Anyway, the two blocks were joined on the top, but not yet on the bottom. I ironed the top, same as I would joining two unquilted blocks, then flipped it over, took care of the batting, and ironed the two back sashing pieces over.

I folded the edge of the upper one over, to hide the raw edge, and stitched it down by hand. Once I had rows assembled I did the same thing. It made a nice two-sided quilt, as I’d used different backing fabrics for the blocks. In fact, my sister confessed she liked the back better than the front!

That quilt convinced me there had to be a way to do this without the hand sewing. I tried two methods, and no longer remember which was first. For one, I left the backing squares extra-large, at least an inch all the way around, when I layered and quilted the blocks. Then I trimmed them to a uniform size, but still bigger than the tops. I sewed the backs together first, adjusted the batting to fit, and added a 2-inch “bias” type strip (they weren’t cut on the bias) over the top, straight-stiching close to the edge to fasten it down.

In essence I appliqued a strip to cover the seam, but on the front as part of the overall design. You could do any shape you wanted, really.

I also tried doing it like the first one, but quickly basting the seam then using a quilting design along the sashing that would hold the bottom pieces in place. (A simple braid or twist worked.) For a wall-quilt you could probably leave the raw edge as is when you fold the back pieces into place, fuse it down, then quilt over it to hold everything. For this diagonal setting I also pre-quilted the triangles. Then I added the border after the center was assembled, then quilted it.
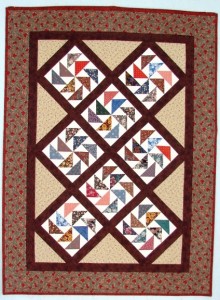
Later I made a couple of small wallhangings from blocks I had quilted earlier. I did a narrower sashing on the top, probably the same size Leah used, and hand-stitched the back. They do not hang well though. Maybe blocking then fusing a new back in place would help?
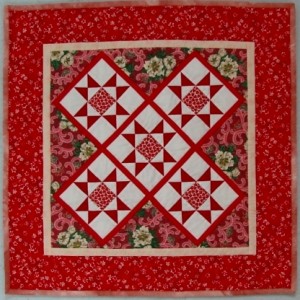
Since then I’ve tried making some quilts in sections, to be easier to quilt. This one, for example (cow quilt) was quilted in four sections then assembled. I didn’t preplan anything though, which turned out to be a mistake. I sewed the sections together like a normal seam, then contemplated what to do on the back. I ended up doing some remedial work on the back to flatten then hide the seams. I ripped out all stitching on the seam allowance then carefully cut the batting away and trimmed the backing to about an 18th inch seam allowance. I left the front fabric longer, and ironed it open. I tried fusing strips of fabric to cover the seam, but they didn’t stick well and I ended up hand-stitching strips with edges folded under over it all. That was too much work and I don’t recommend this approach! The picture was taken before quilting, so you can see the sections. I haven’t taken an after picture yet.
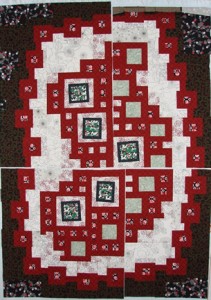
More recently, I did this one (still waiting for binding) in two sections. Smarter this time, I left the edges to be joined unquilted. Once everything else was done I sewed the tops together, trimmed the batting edges so they would butt together, folded the backs over and folded the upper one to hide the raw edge, and hand-stitched the seam. Then I went back and quilted across the seam area. Only problem I had was maneuvering the full quilt under the needle when the rest of it was all quilted. It did not want to bunch up, and insisted on moving as a solid chunk no matter how I folded or scrunched it. (I’d had trouble with the quilt above too.) Picture show the top half after quilting – I need to take a few more pictures!
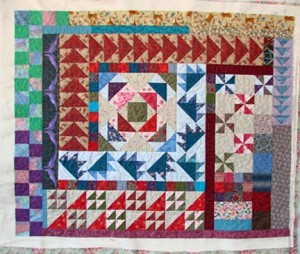
One idea I have not yet used, though I have a couple UFOs waiting, is to quilt row-length segments, starting in the center, then sewing the next row on and quilting it. Eventually you do have the full quilt to deal with, but you’re always working on the edge, never reaching into the center of a big quilt.
 February 26, 2012  Posted by at 3:03 pm Quilt As You Go No Responses »
Jan 302012
 

I finished the leaf quilting on the crib quilt, and it went fine.

This was the first time I used Warm and Natural batting and I’m really liking it to work with.


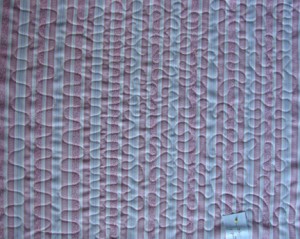
Next up was the Quilt-along’s next lesson, following a line.  I grabbed my first practice sandwich, which happened to be stripes, and followed some straight lines up and down, then sideways and angled. My machine hampered some of the angled ones because cramming the sandwich through the throat at an angle was difficult. That’s worth knowing for future projects – consider turning the quilt instead of working at an angle.

Then I switched threads and worked on an old piece, quilting in the ditch.

After I had worked two rows up and down, two sideways, and the last two angled one way then the other, I checked the back. Not only do I have trouble following the line sideways,

I have tension problems.

After that, I did some follow-the-fabric-design lines, these gentle curves. After doing a chunk, I turned it over. Ugh! Tension way off, but worst only in certain directions. Check out these one-sided eye-lashes –

I looked again at the crib quilt I had just finished all that leaf quilting on – nope, back looks fine. Then it dawned on me.

I had changed threads. I honestly thought both these threads were the same weight. I bought them from the same company, but they changed brands at some point. Apparently the new and the old aren’t the same. In fact, I think my bobbin tension needs a little bit of adjustment to handle the newer thread.

Live and learn. Or maybe that should be “sew and learn”? (There’s a good motto for someone!) Always check the tension for each and every thread. For now I will stick to using the older thread for my practice sessions, rather than mess with the tension. Though I am still going to test it before my next project.

Next up I basted the top half of a charity quilt made from old orphan blocks. Charity quilts are great practice pieces, by the way. Make some. I free-motioned in the ditch along the side of most of the strips, planning the path ahead to eliminate starts and stops. I stitched toward me, what I call “down,” as if I had the walking foot in place. That went fairly well, I even managed some even stitches. But I cheated – I turned the quilt.

Then, here, I turned the quilt and found myself with a lap-full. Ah ha, I thought, this is where it would be useful to be able to straight-line sideways. So I turned the quilt back and did that. Not very well, even going very slowly.

Eventually I realized it might work better to actually guide the quilt, not just pull it sideways. I focused on guiding it with my left hand while the right pulled. That was a little like rubbing my head and patting my tummy, but it worked better.

Then I realized I couldn’t see where I wanted the needle to go (I’m not using the best foot for this job), so I tried twisting my head around to the side, and sighting down the line I was trying to stitch sideways. That worked! I wouldn’t want to do hours in that position, but there are times when it is useful to go sideways, in the ditch.

I’m tempted to quilt the flying geese in the ditch, for sideways and diagonal practice.


 January 30, 2012  Posted by at 7:28 pm Free Motion Quilt-Along 4 Responses »
Jan 262012
 

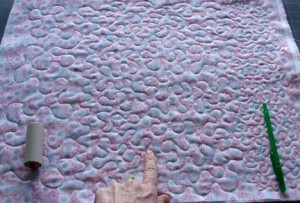
Week Three of the Quilt-along was about scale. Here’s my practice piece –

I used an empty cardboard spool for the big scale, my finger (actually my thumb but I couldn’t twist my hand around enough for the picture) for medium, and a pen for small. The idea was to aim for a 1-inch, 1/2 inch, and 1/4 inch scale. I’m not sure mine measure that, but I did swing three sizes. Actually, once I saw this pic, I realize my thumb-scale crept upward a little in size as I worked.

I found the big scale quick, but I don’t care for the looks in this size piece. For a bed-size quilt it would work fine, and I will keep it in mind for future charity quilts. I am comfortable with the finger-scale version, though the UFO I am thinking of using it on still needs basting.

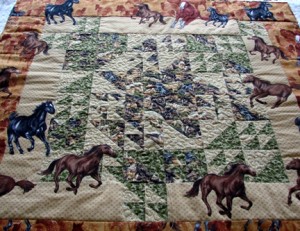
Meanwhile I pulled out another UFO (I have plenty), and used the pen-scale (I’m sure it’s closer to 3/8 than 1/4, but small enough) stipple on the pieced part of this horse-themed wallhanging. Maybe I will find the right design for the borders later in this series.

(I adjusted the contrast to make the quilting stand out, so the colors are a little off.)

 January 26, 2012  Posted by at 4:23 pm Free Motion Quilt-Along 1 Response »
Jan 232012
 

For the quilt-along I am following, I started a bit late, they are already on Week Three.

To catch up, I did Week One and Week Two of the Free-Motion Project’s quilt-along yesterday. I’ve been FMQing a few years now and have never managed stippling. The random movement eluded me for some reason. But by the time I was done yesterday, I was having fun, and now I’m trying to decide which of my many UFOs to stipple. I think I’ll end up doing some stippling, but not the entire quilt, on two different projects.

Here’s Week One’s result –

You can see where I started with simple U shapes to the left, and I shifted to smaller ones after 3 rows. The smaller ones were easier for me. On the right is my attempt to do Y shapes and lobster claws in rows. There are a few in there – but I kept getting carried away by the wiggling motion. Wheee! My lobster claws grew barnacles.

For Week Two, I started with simple Us down the center to divide my practice sandwich.

Can you tell which side is the random, start-in-the-center version and which is the rows? I couldn’t either. I labeled these two pieces so I could remember later which week was which, and included a notation for random and rows. As I took pictures, I looked closer, and found where I had done my center start –  – and I had my label wrong!


Here’s the random version –

And the row version –

Don’t believe me? Start at the lower left in the last pic and follow the stitching with your finger. See? Three rows. Kinda lumpy ones, which lets them blend together, but it worked for me.

 January 23, 2012  Posted by at 3:50 pm Free Motion Quilt-Along No Responses »